Set your canopy lights 18 to 24 inches above the plant tops, aim for 200 to 400 PPFD during seedling and vegetative stages, run them 16 to 18 hours a day, and use a timer from day one. That single setup gets most home growers 80% of the way there. The rest is measuring, adjusting height or dimmer output as plants grow, and fixing problems before they stall your grow. Here is exactly how to do all of that.
Grow Pros Under Canopy Lights: Setup, Spacing, and Fixes
Marcus Holloway
9 Jun 2026
What canopy lights actually are (and how to think about coverage)
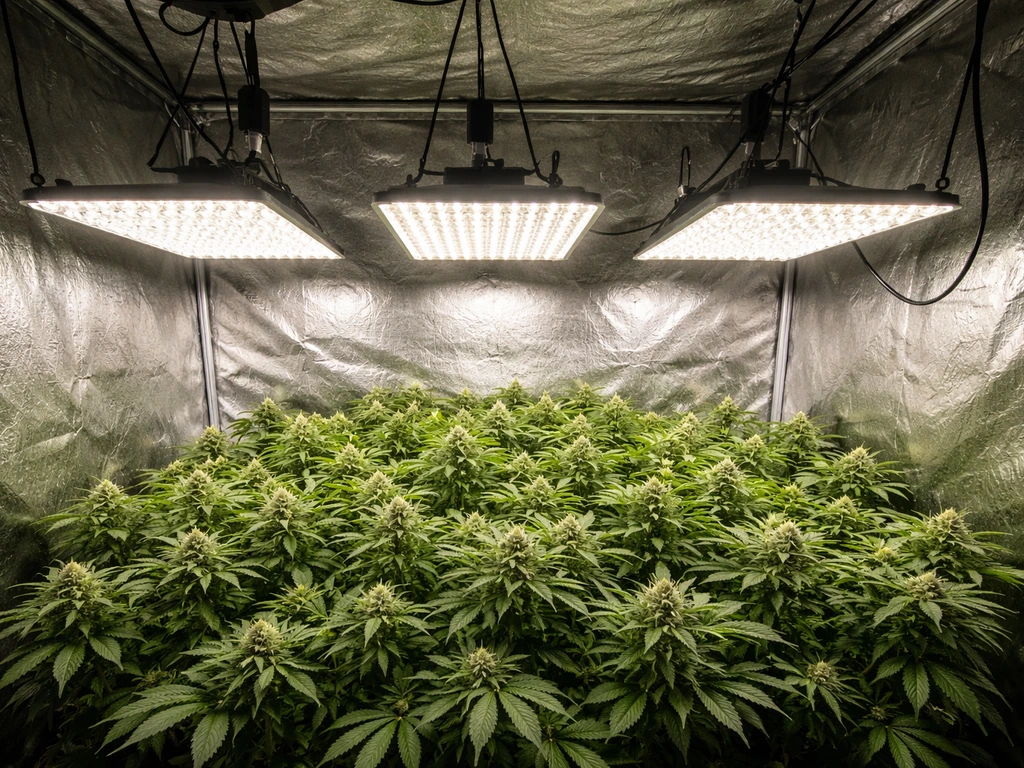
In a home grow context, canopy lights just means overhead lighting positioned above your plant tops to create a consistent light ceiling. This could be a single LED panel centered over a tent, a row of LED light bars spanning the full width of a shelf, or multiple fixtures spread across a larger footprint. The defining idea is that light falls down onto the top of the plant canopy, the same way sunlight does outdoors.
The challenge with any canopy setup is not just getting enough light at the center. It is getting consistent light across the entire footprint. When light is concentrated in one zone and weak at the edges, plants in bright spots race ahead while edge plants stretch or stall. This is called poor uniformity, and it is the main reason growers end up with an uneven canopy where some plants are done and others look like they just started.
The target professionals use is a uniformity ratio of 0.8 or higher, measured as the minimum PPFD across your canopy divided by the maximum. In practice for home growers, that just means the dimmest spot in your grow space should not drop below 80% of the brightest spot. A PPFD variation of plus or minus 10 to 15 percent across the canopy is a solid target. LED light bars arranged in parallel rows across the ceiling of a tent tend to do this better than a single compact panel, because the linear design spreads photons more evenly over the footprint rather than concentrating them in a cone below the center.
Choosing the right grow light type and spectrum
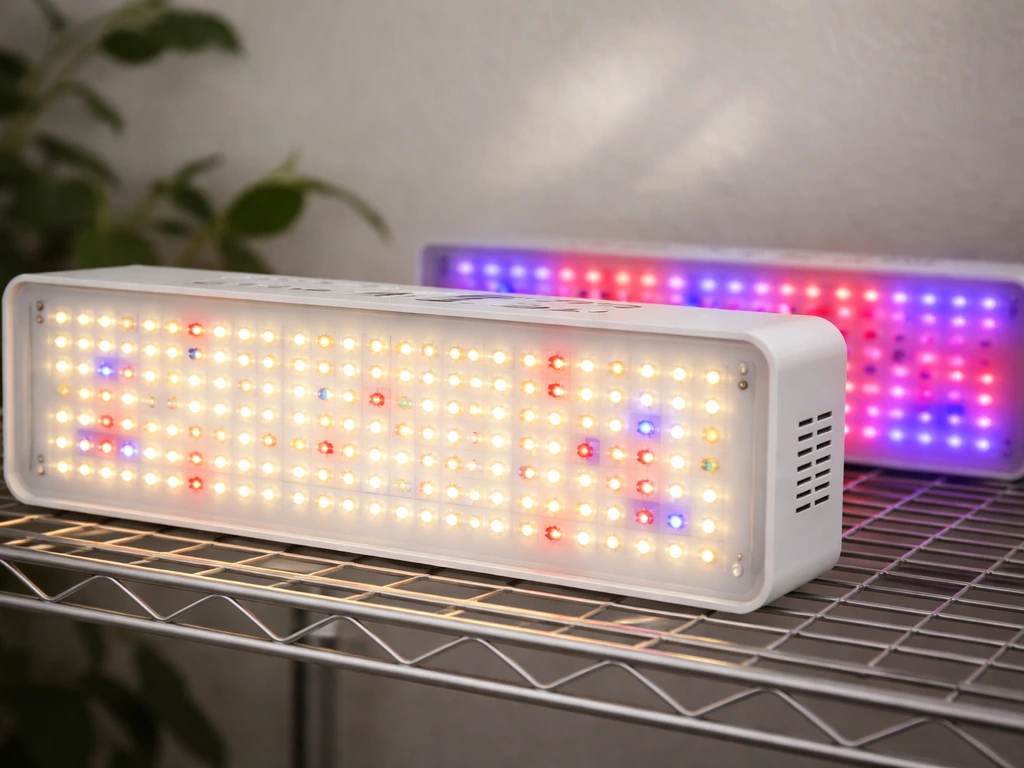
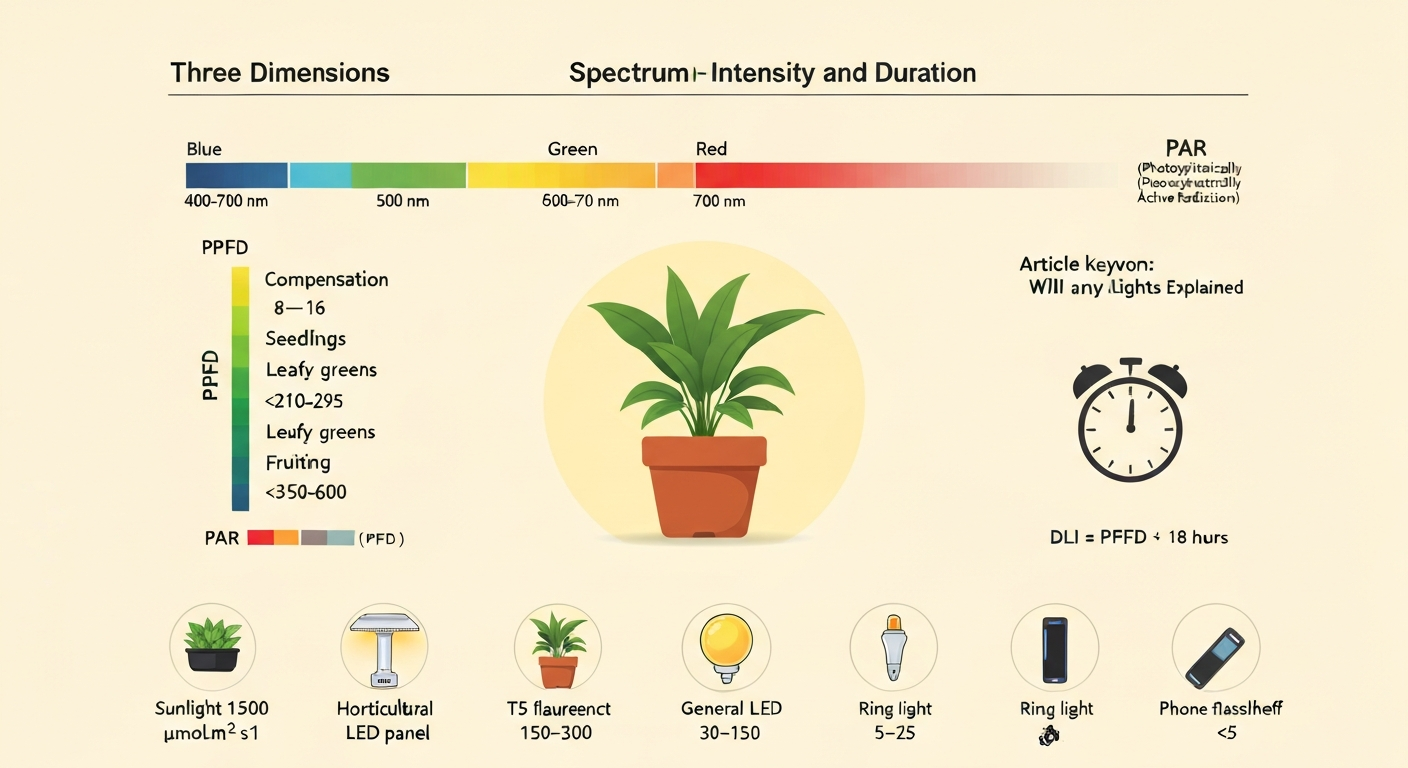
For most home setups, a full-spectrum LED is the practical answer. Full-spectrum fixtures cover the 400 to 700 nanometer range that plants actually use for photosynthesis (measured as PPFD, not lumens or lux, which are metrics for human vision). They work across vegetative and flowering stages without swapping bulbs, they run cooler than HPS or fluorescent options, and the better ones let you dim output via a 0 to 10V driver signal. If you are growing herbs, vegetables, or leafy plants, a full-spectrum LED bar or panel handles the whole grow.
The red/blue or "blurple" lights you still see sold cheaply are based on older thinking. They do work at a basic level, but full-spectrum LEDs have largely replaced them because spectrum affects more than just growth rate. Research on lettuce showed measurable physiological and morphological differences from spectrum changes even under the same PPFD, meaning plants do respond to spectral quality beyond just intensity. A broad, balanced spectrum gives you more flexibility as conditions change.
Some fixtures advertise separate veg and bloom switches or spectrum modes. These can help: blue-heavy light during vegetative growth tends to keep plants more compact, while a warmer, red-shifted spectrum during flowering supports fruit and flower development. But if your fixture only has one mode, do not stress. Consistent PPFD at the right level matters more than dialing perfect spectrum ratios, especially for beginner grows.
| Light Type | Best For | Coverage Uniformity | Dimming Support | Heat Output |
|---|---|---|---|---|
| Full-spectrum LED panel | General veg and flower, small tents | Moderate (center-heavy) | Usually yes (0-10V driver) | Low to moderate |
| LED light bars (linear) | Even canopy coverage, larger footprints | Excellent | Yes on quality units | Low |
| HID / HPS | High-PPFD flowering, larger spaces | Good with reflector | Limited | High |
| T5 / fluorescent | Seedlings, clones, low-light plants | Good at close range | Rarely | Low to moderate |
For seedlings and cuttings specifically, T5s or low-wattage LEDs at reduced output work well. You can also use the same canopy-light placement rules when wondering can you germinate seeds under grow light, especially by starting seedlings at reduced intensity. For seedlings, choosing the right output and keeping PPFD gentle helps you avoid burning them under intense lamps T5s or low-wattage LEDs. For most home grows, if you set the right light intensity and duration, seedlings can grow well under LED lights grow under LED lights. High PPFD applied too early can reduce performance rather than boost it. If you are germinating seeds or rooting cuttings under canopy lights, dial intensity down or raise the fixture well above the recommended veg height. Do grow lights help cuttings root, and if so, what intensity and placement should you use? Do grow lights help seeds germinate, and how should you adjust intensity for the best results? There is more detail on this below in the placement section.
Placement: height, spacing, and getting even coverage
Height is your primary intensity control before you touch a dimmer. Moving a fixture further from the canopy reduces PPFD predictably, and since PPFD changes linearly with driver output, you can use height and dimming together to land at your target intensity. A good starting point for most full-spectrum LED canopy setups is 18 to 24 inches above the plant tops for vegetative growth. You can even keep the placement consistent by using grow lights positioned under plants, as long as you still hit the right PPFD for your growth stage grow lights under plants. For seedlings or delicate cuttings, start at 24 to 30 inches or reduce intensity to the lowest third of the dimmer range.
Spacing matters for uniformity. A single fixture centered over a 4x4 tent will almost always show strong center readings and weaker edge readings. If you are using light bars, space them evenly from wall to wall rather than clustering them in the middle. For a single panel in a small tent, reflective walls (Mylar or white poly) help bounce light back toward edges and reduce fall-off significantly.
The most reliable way to confirm your placement is to map PPFD at plant-canopy height before plants go in. Use a grid of at least 9 points (3x3) across your grow area, ideally 16 points (4x4) for anything larger than a 3x3 tent. Take readings with all grow lights on and all other light sources off. If your numbers vary strongly across the grid, raise the light a few inches and re-measure. The goal is readings that are close together across all points, not just a high number in the center.
- Measure PPFD at 9 to 16 grid points at plant-tip height before plants are introduced
- Calculate uniformity: divide the lowest reading by the highest; aim for 0.8 or above
- If uniformity is low, raise the fixture, add a second fixture, or reposition bars before starting the grow
- For a single panel with poor edge coverage, add reflective walls to bounce light inward
- Re-measure after any height or position change to confirm improvement
Run schedule: timers, photoperiod, and how long to run your lights
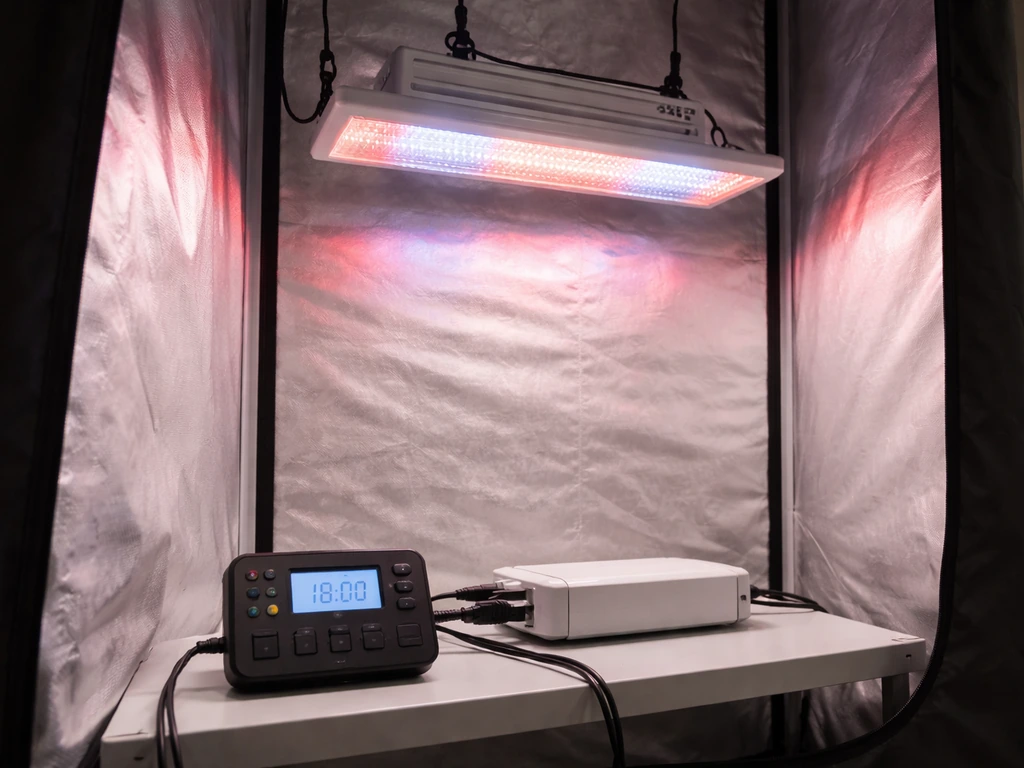
Use a timer from the very first day. Inconsistent photoperiods stress plants and produce inconsistent results. Most indoor plants in vegetative growth do best on 16 to 18 hours of light per day. Seedlings can run 18 hours. Do you use grow lights during germination? If you keep intensity gentle and use a timer from day one, your seedlings should get the light they need without stress. Flowering plants that need a photoperiod trigger (like cannabis) switch to a strict 12 hours on, 12 hours off. Herbs and leafy greens generally do well at 14 to 16 hours.
The reason photoperiod matters so much is that it combines with intensity to determine your Daily Light Integral, or DLI. DLI is simply PPFD multiplied by the number of light hours per day, scaled to a standard formula: DLI = 0.0036 x PPFD x hours per day. Seedlings typically want a DLI of 10 to 15, which at 200 PPFD means about 14 to 21 hours of light. Flowering plants often target DLI of 35 to 55, which at 800 PPFD on a 12-hour schedule puts you right in that range. The takeaway: you can hit the same DLI by running longer at lower intensity or shorter at higher intensity, and knowing this lets you dial in without stressing plants.
| Growth Stage | Photoperiod (hrs on/off) | Target PPFD (µmol/m²/s) | Target DLI |
|---|---|---|---|
| Germination / seedling | 18/6 | 100 to 300 | 10 to 15 |
| Vegetative | 18/6 or 16/8 | 400 to 600 | 20 to 30 |
| Flowering (photoperiod plants) | 12/12 | 600 to 1000+ | 35 to 55 |
| Herbs / leafy greens | 14 to 16 hours | 200 to 400 | 15 to 25 |
A cheap mechanical outlet timer works fine for most home setups. Digital timers are more reliable if you need exact on/off windows for photoperiod-sensitive plants. Whatever you use, set it once and leave it alone. Interrupting the dark period for flowering plants even briefly can cause stress.
Dimming and intensity control as your plants grow
Most quality LED grow lights support dimming through a 0 to 10V control signal from the driver. This is a low-voltage signal separate from the mains power, meaning you adjust the driver output without touching wall power directly. The practical effect is that dimming down the driver reduces PPFD linearly, so if your light at full output at 20 inches gives you 800 PPFD, dropping the driver to 50% gives you roughly 400 PPFD at the same height. This is useful and predictable.
The key habit is to start seedlings and young plants at reduced intensity (30 to 50% of max output) and increase toward full output as the grow progresses. Do not crank everything to max from day one. Plants that have just been transplanted or are in early vegetative growth have not yet built the leaf mass to handle peak light, and hitting them with high PPFD right away can cause bleaching or stunting before they even get started.
As plants grow taller, they move closer to the fixture. This is easy to miss: you set the light at a perfect height on day one and by week four the canopy has risen six inches closer. PPFD at the leaf surface rises significantly even though you touched nothing. Check and adjust height or dimming weekly during periods of fast vegetative growth. A simple measurement with a PAR meter app (or a dedicated quantum sensor if you want precision) takes two minutes and tells you exactly where you stand.
Troubleshooting common problems under canopy lights
Stretching and leggy growth
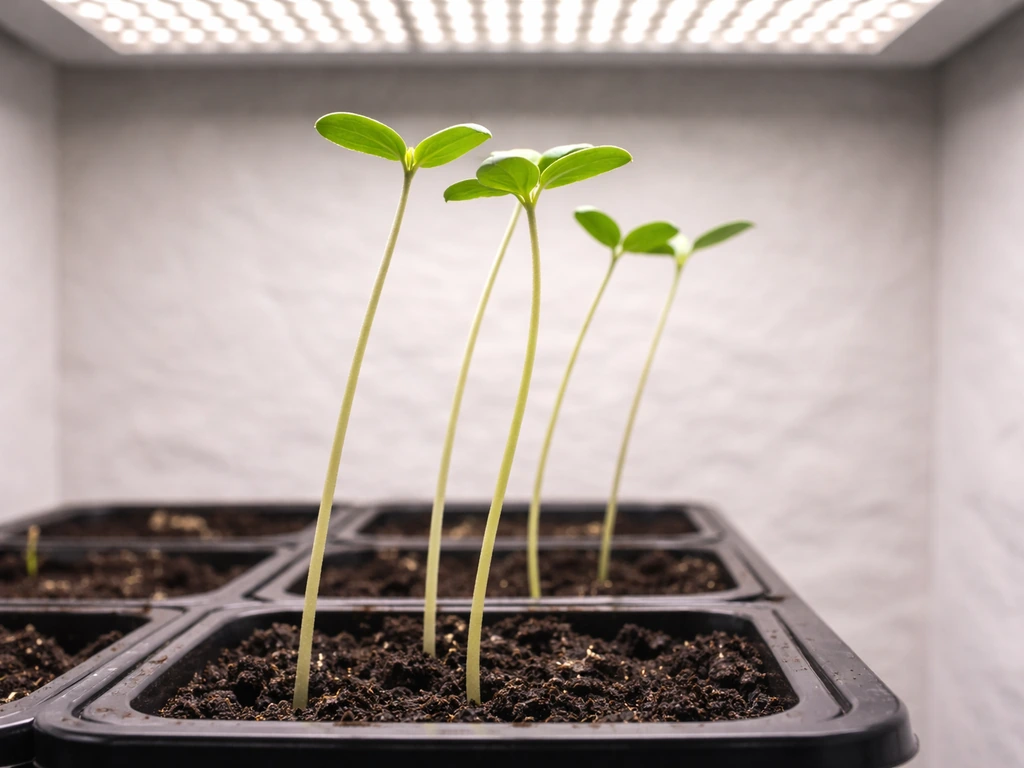
If seedlings are tall, thin, and leaning toward the light, PPFD is too low. Plants elongate to search for more light, a process called etiolation, and it happens when the overhead intensity does not meet their minimum threshold. The fix is straightforward: lower the fixture closer to the canopy, increase the dimmer output, or check that your uniformity is not leaving sections of the grow in a low-PPFD shadow zone. For seedlings, target at least 150 to 200 PPFD at the top of the plant.
Leaf bleaching and washed-out patches
White or faded patches on the leaves closest to the light are photo-bleaching, and it means PPFD is too high at that point on the canopy. This is different from heat damage, which shows up as brown, crispy edges rather than pale or white fading. For bleaching, raise the fixture or reduce dimmer output immediately. Do not wait to see if it gets better on its own because the affected tissue does not recover. The plant can push new growth, but the bleached leaves are done.
Bleaching often appears weeks into a grow that started fine. As described above, plants grow up into the light zone over time, so a fixture that was safe at week one can be bleaching the canopy by week three. Weekly height checks during fast growth periods prevent this entirely.
Uneven canopy: some plants racing, others lagging
If plants directly under the center of the fixture are growing faster and denser than plants at the edges, your uniformity is off. Map your PPFD across the grid and look at the edge readings. If they are significantly lower than center readings, try raising the light (which widens the beam spread), adding a second fixture, or rotating plants so edge plants spend time in the bright zone and center plants rotate out. Rotating plants every few days is a surprisingly effective low-cost fix for single-fixture setups.
Slow, weak growth despite adequate light
If plants look healthy but are just not growing quickly under canopy lights, the culprit is usually DLI rather than peak PPFD. You might have decent intensity but too short a photoperiod, leaving the daily light dose below what the plant needs. Calculate your DLI (PPFD x hours x 0.0036) and compare it to the stage-appropriate target in the table above. Adding an hour or two to the photoperiod is often the easiest adjustment before you start raising fixture heights or increasing intensity.
Safety, heat, and electricity: using canopy lights responsibly
Modern LED grow lights are much safer than older HID or HPS setups in terms of heat and fire risk, but they are still electrical devices running for 12 to 18 hours a day. The driver and power supply are the most important components from a safety standpoint, and quality matters. Look for fixtures with UL or ETL certification on the driver. These marks mean the electrical components have been tested for safety, not just that the LED chips perform as advertised. Cheap fixtures without certification are a real risk when running unattended for months at a time.
Thermal damage to plants (brown, crispy leaf edges rather than bleaching) is usually caused by the fixture being physically too close combined with poor airflow in an enclosed space. LED fixtures still produce heat at the driver and housing even if the light itself is cool. Keep at least 12 inches of clearance above the canopy at minimum and ensure your tent or grow room has active exhaust and circulation. A small clip fan moving air across the canopy helps prevent heat pockets and strengthens stems at the same time.
For eye safety, do not stare directly into operating LED grow lights, especially fixtures running at high intensity. The concentrated light can cause eye fatigue and discomfort with extended direct exposure. Wear UV-protective glasses when working inside a tent with lights on. Most quality grow lights produce minimal UV at the intensity levels used in home setups, but the bright blue and white light is still hard on your eyes at close range.
On electricity cost: a 300-watt LED running 18 hours a day uses about 5.4 kWh per day. At an average electricity rate of around 14 cents per kWh, that is roughly 75 cents per day, or about $22 to $23 per month for that one fixture. Scale that up for multiple lights or longer runtime. It is not trivial, but it is predictable. Calculate your expected costs before you set up: watts divided by 1000 gives kilowatts, multiply by hours per day for daily kWh, multiply by your rate.
Your canopy light commissioning checklist
Before you put a single plant under the light, run through this sequence once. It takes less than an hour and prevents most of the problems beginners spend weeks trying to fix after the fact.
- Mount your fixture at the manufacturer's recommended height for your plant stage (start at 24 inches if unsure)
- Set the dimmer to 50% or lower for seedlings and young transplants
- Map PPFD across a 3x3 or 4x4 grid at plant-canopy height with all other light off
- Calculate uniformity (min reading divided by max); if below 0.8, adjust height or fixture position and re-map
- Set your timer for the appropriate photoperiod and confirm it cycles correctly before adding plants
- Calculate your DLI (PPFD x photoperiod hours x 0.0036) and compare to the stage target
- Add plants and check canopy height weekly during active vegetative growth
- Increase dimmer output gradually week over week, re-measuring PPFD each time
- Check for stretch, bleaching, or uneven growth at the 10-day mark and adjust accordingly
- Confirm your electrical connections use a certified driver and that airflow keeps the fixture and canopy from overheating
Getting a canopy grow dialed in is mostly a measurement habit, not a guessing game. Measure PPFD before you start, track canopy height weekly, adjust height and dimming in response to what you see, and use a timer without exception. Plants under a well-managed canopy light setup are not that different from plants growing outside on a reliable sunny schedule. Give them the right daily light dose, keep the intensity in range for their growth stage, and the rest follows.
FAQ
If I use two or more canopy lights instead of one, do I need to calculate anything differently?
Yes, but you should treat it as a power budget and a placement uniformity problem. If you split output across multiple fixtures, keep them on the same 0 to 10V dimming control (or at least verify both at the driver level) and then re-map PPFD, because even small height or angle differences can create new hot spots or shadow zones.
How often should I re-check height or PPFD after I dial in the canopy lights?
For most home LED canopy setups, you do not need to change the fixture height every day. A practical workflow is check PPFD at the start, then adjust canopy height or dimming weekly during fast vegetative growth, and only do an extra check if you see bleaching, leaning (etiolation), or sudden slow growth.
Can I run different plants on different timers under the same canopy lighting setup?
Mixing schedules can create uneven stress even when the light intensity is correct. If you want different photoperiods for different plants, use separate timers or separate circuits so you do not interrupt a flowering dark period, and then verify PPFD mapping per zone because the “bright zone” can shift when only some fixtures are on.
If my fixture says dimmer 50% equals half intensity, can I trust that without measuring?
Do not rely on the dimmer percentage alone. Dimming changes PPFD predictably at a fixed height, but real output can drift with temperature and fixture aging, and LED drivers sometimes scale differently at low levels. Re-measure with a PAR meter or quantum sensor, especially after changing bulbs, drivers, or relocating the light.
What should I do if I see bleaching, should I just lower intensity and wait?
If your plants are bleaching, raising the fixture or reducing driver output usually fixes it quickly, but the damage will not disappear. The safe approach is to reduce to a PPFD level where the bleached tissue stops expanding (then wait for new growth to normalize), and keep your uniformity target so edge plants do not end up under-lit while center plants recover.
Does tent reflectivity matter a lot for grow pros under canopy lights, or is PPFD all that counts?
Yes, and it is one of the most common uniformity mistakes. If a reflective wall is dusty, wrinkled, or you leave open gaps around the tent, light can leak and create uneven bounce. Clean and straighten reflective surfaces before you map PPFD, and confirm you measure with only the intended lights on.
How do I avoid stressing seedlings when I increase canopy light intensity over time?
For seedlings and cuttings, err on the side of higher height or lower driver output early, then increase gradually. Even though the article notes reduced PPFD works, the key mistake is jumping from “gentle” to “full veg” too fast, which can still cause stress. Use weekly checks to confirm you are not drifting into the bleaching range.
What should I do if I do not have a PAR meter to measure PPFD?
If you cannot map PPFD, at minimum you should validate placement using plant response plus a repeatable routine. For example, keep light height consistent, start at reduced output, and watch for etiolation (leaning) or bleaching (pale or white patches). Then tighten your process by borrowing a PAR meter or using your phone app only as a rough screen, not your final dial-in tool.
Will improving airflow or adding a fan fix slow growth if my light placement seems correct?
Yes, fans can change the outcome indirectly. Better airflow reduces heat pockets and helps plants transpire normally, which supports growth once light and DLI are correct. However, airflow will not fix wrong intensity or wrong photoperiod, so treat it as a stabilizer, not the main adjustment.
How careful do I need to be about timer accuracy and power outages for canopy lights?
It depends on the schedule and stage, but as a rule, do not “accidentally” interrupt darkness. A safer practice is to set timers once, avoid switching during the dark period, and if you use a digital timer, verify the backup power behavior so it does not reset and change on/off times during outages.
Is rotating plants every few days enough to fix poor uniformity from a single ceiling fixture?
If your center and edge plants differ, rotation is a tool, but it is not a substitute for uniformity. Rotate in a consistent pattern and re-map PPFD after you change anything (fixture spacing, height, reflective surfaces), because rotation can mask the issue without actually correcting shadow zones.
Can canopy lights contribute to mold or pests in my grow room, and what should I watch for?
Algae and fungus gnats can worsen near over-lit, humid conditions, especially if canopy lighting runs long and you also keep surfaces wet. The light itself is not the cause, but the common mistake is keeping excess humidity and poor airflow alongside strong lighting. Use the same canopy airflow setup and avoid water pooling under leaves.
Next Articles
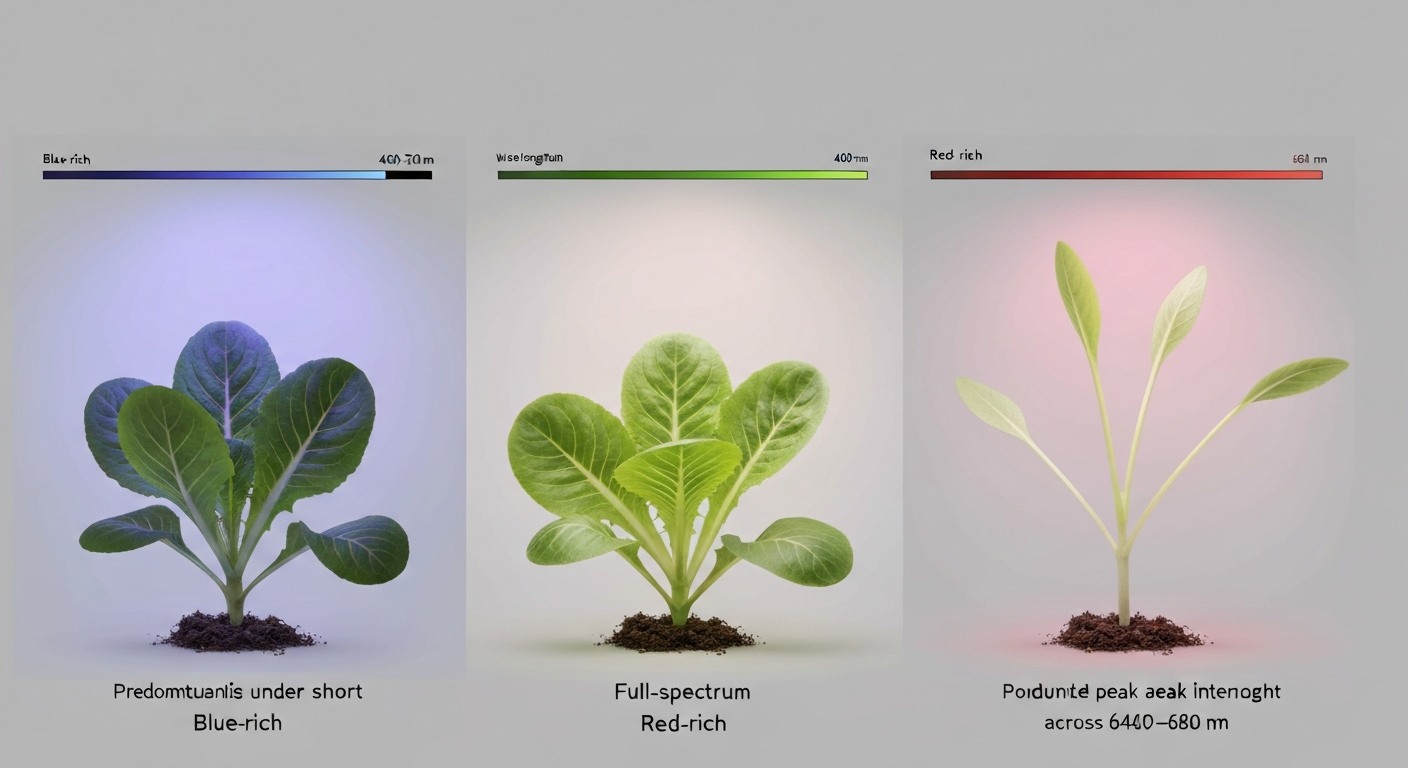
Why Do Plants Grow Best in Blue Light? Science & Practical Guide
Explore why blue light boosts vegetative growth, ideal blue:red ratios, PPFD, photoperiods, fixtures, and setup tips.
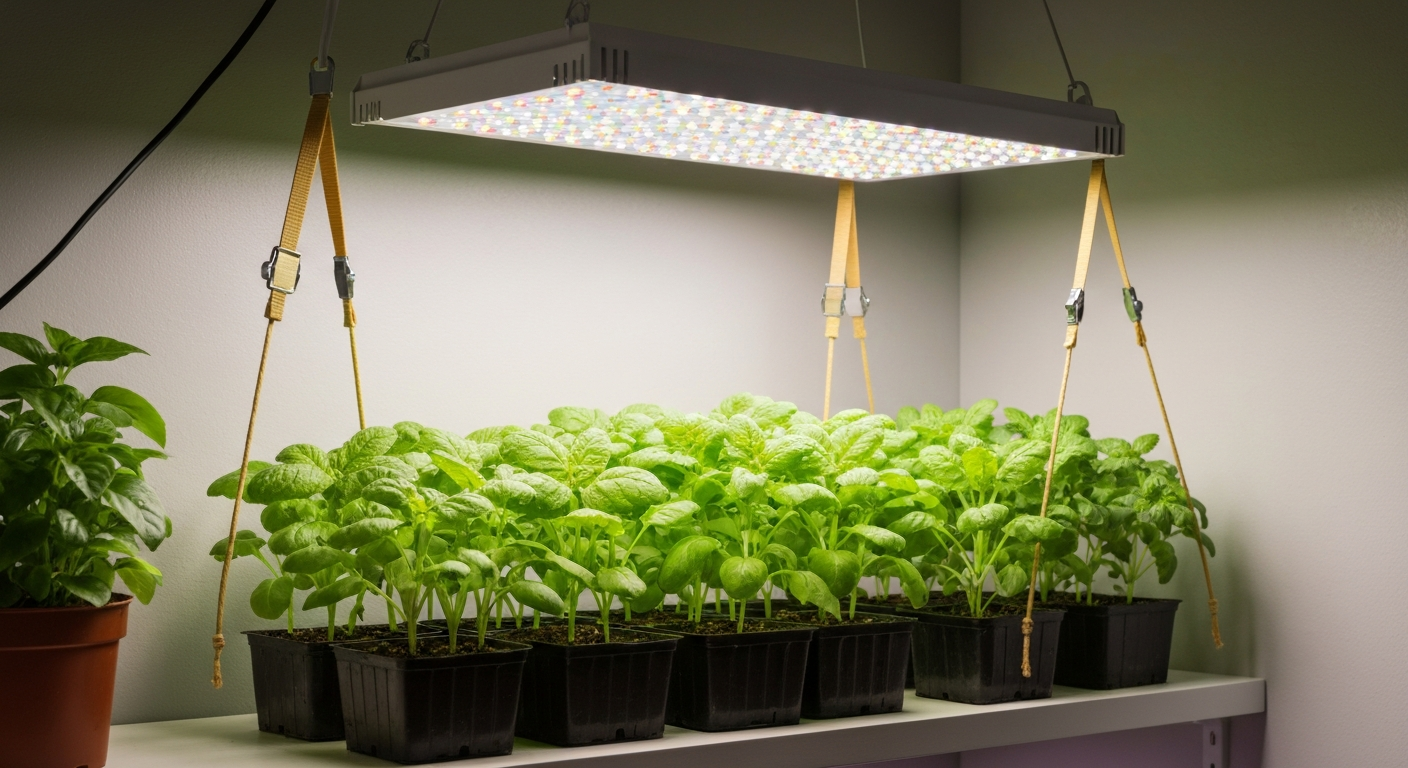
What Artificial Light Will Grow Plants: Best Lights Guide
What artificial light will grow plants: practical guide to LED, CFL, HID spectra, PPFD targets, setup, cost & tips.
Will Any Light Grow Plants? Guide for Indoor Growers
Can any light grow plants? Clear yes/no, science-backed light specs, setup tips, and which household lights work.