No, you should not leave grow lights on 24/7 for most plants. Almost every common indoor plant, from seedlings to fruiting vegetables to houseplants, needs a dark period each day. The sweet spot for most setups is 16 to 18 hours of light per day for seedlings, 14 to 16 hours for leafy greens, and 12 to 14 hours for flowering and fruiting plants. Run everything on a timer, not by hand, and your plants will grow better and your electricity bill will thank you.
Do You Leave Grow Lights On 24/7? Best Schedules
Marcus Holloway
3 Jul 2026
Why 24/7 Light Is Usually a Bad Idea
Plants are not just solar panels. They have internal clocks, and those clocks depend on a regular cycle of light and dark to regulate everything from photosynthesis to carbohydrate storage to flowering. Research on lettuce, tomato, and other species shows that continuous light disrupts those circadian rhythms, throwing off sugar metabolism and, in some cases, stunting growth rather than boosting it. In tomatoes specifically, studies have found that continuous lighting actually alters photosynthesis and carbohydrate accumulation in ways that hurt overall plant development, not help it. Running your lights around the clock is not just wasteful, it can actively work against you.
There is also the photoperiodism angle. Many plants use day length as a signal for when to flower. Short-day plants like poinsettias need more than 12 hours of darkness to trigger blooming. Long-day plants bloom only when they get more than 12 hours of light.
If you leave lights on 24 hours, you override those signals entirely, and your flowering plants may never bloom at all. No, you generally should not grow autoflowers on 24 hours of light, because even though they do not rely on day length to flower, constant light can still stress plants and reduce overall performance can you grow autoflowers on 24 hours of light.
Even a small amount of light leaking into a dark period can throw off the process, which is why even ambient light from a TV or window can delay poinsettia flowering.
How Long to Run Grow Lights (By Plant Type and Growth Stage)
The right photoperiod depends on what you are growing and where it is in its life cycle. Here is a practical starting framework based on extension service guidance and general horticultural research.
| Plant Type / Stage | Recommended Hours Per Day | Notes |
|---|---|---|
| Seedlings (most species) | 16 to 18 hours | University of Minnesota and University of Maine both recommend this range for supplemental lighting during germination and early growth |
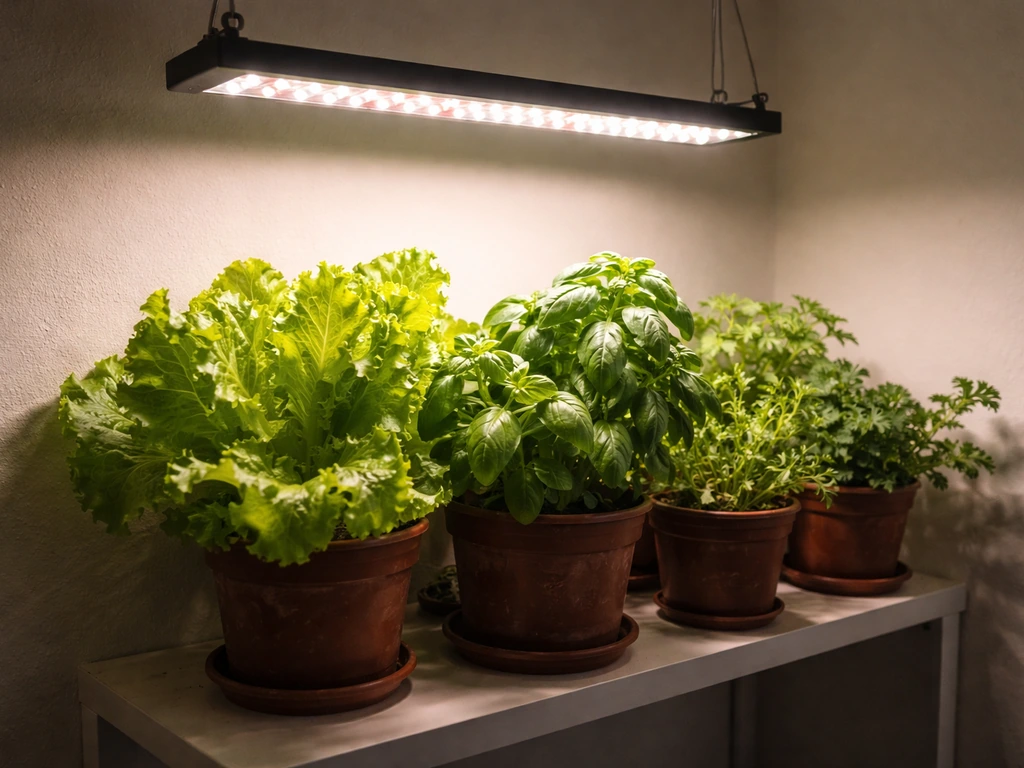
| Leafy greens (lettuce, spinach, herbs) | 14 to 16 hours | Tolerant of longer days but still benefit from a consistent dark period |
| Fruiting vegetables (tomatoes, peppers) | 14 to 16 hours | Continuous light shown to disrupt carbohydrate cycles in tomato; 14-16 hours is a safer starting point |
| Flowering plants (short-day types) | 12 hours or less | Need darkness to trigger blooming; examples include chrysanthemums and poinsettias |
| Flowering plants (long-day types) | 14 to 18 hours | Bloom when days are longer; examples include petunias and rudbeckia |
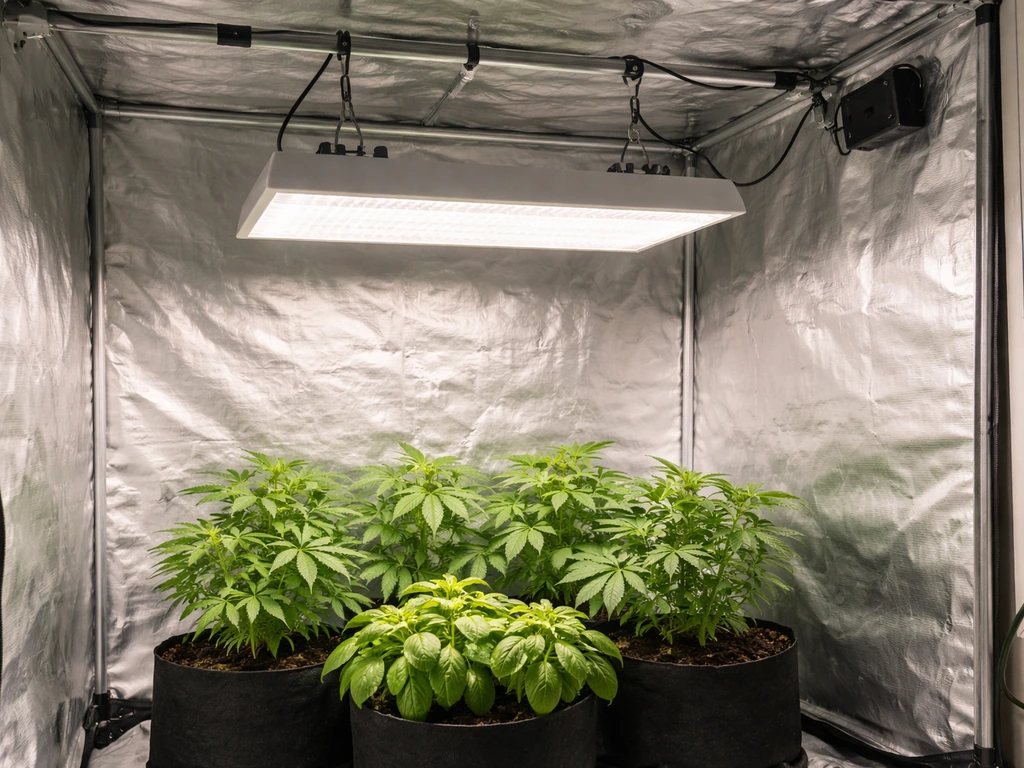
| Autoflowering varieties | 18 to 20 hours | Less dependent on photoperiod triggers but still benefit from some dark time |
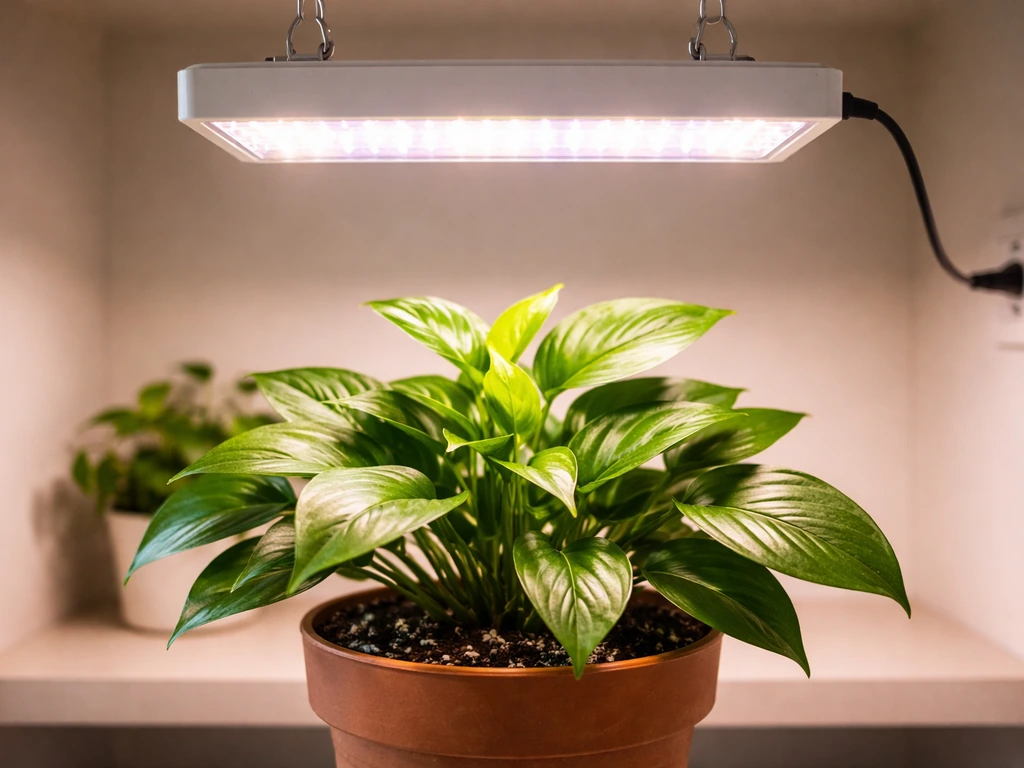
| Established houseplants (supplemental) | 12 to 14 hours | Usually just supplementing low natural light; match natural day length roughly |
One thing worth noting: these are starting points, not absolute rules. The right schedule for your setup depends on your fixture's intensity, the distance from the canopy, and how your specific plants respond. You will dial it in over time, and the monitoring section below explains exactly how to do that.
Getting Light Intensity and Distance Right
Hours per day is only half the equation. How much light actually hits your plants (measured as PPFD, or photosynthetic photon flux density) matters just as much, and PPFD drops fast as you move the fixture farther away. Too little light at the canopy and your seedlings will stretch toward the lamp, producing weak, leggy stems. Too much and you will start seeing bleached or crispy leaf tips, which is a sign of light burn or heat stress.
Positioning Your Fixture
For T8 fluorescent shop lights, University of New Hampshire Extension recommends keeping them less than one foot from the seedling canopy. For LED grow lights, the right distance varies by fixture wattage and design, but most consumer LEDs work well at 12 to 24 inches above the canopy during the seedling stage. As plants grow taller or move into the vegetative stage, you can raise the light and also increase the photoperiod slightly if plants seem to want more. The manufacturer's specs for your specific fixture are worth reading here, since beam angle and output vary a lot between budget panels and higher-end units.
Spotting and Fixing Light Stress
- Leggy, stretched stems reaching toward the light: fixture is too far away or hours per day are too short. Move the light closer first.
- Pale, bleached, or papery patches on upper leaves: light is too intense or too close. Raise the fixture a few inches.
- Leaf edges curling upward or brown, crispy tips: possible heat stress, especially with high-wattage fixtures or HPS lamps. Increase ventilation and raise the fixture.
- Yellowing lower leaves with normal upper growth: often a nutrition issue, not a light issue. Check feeding before adjusting light.
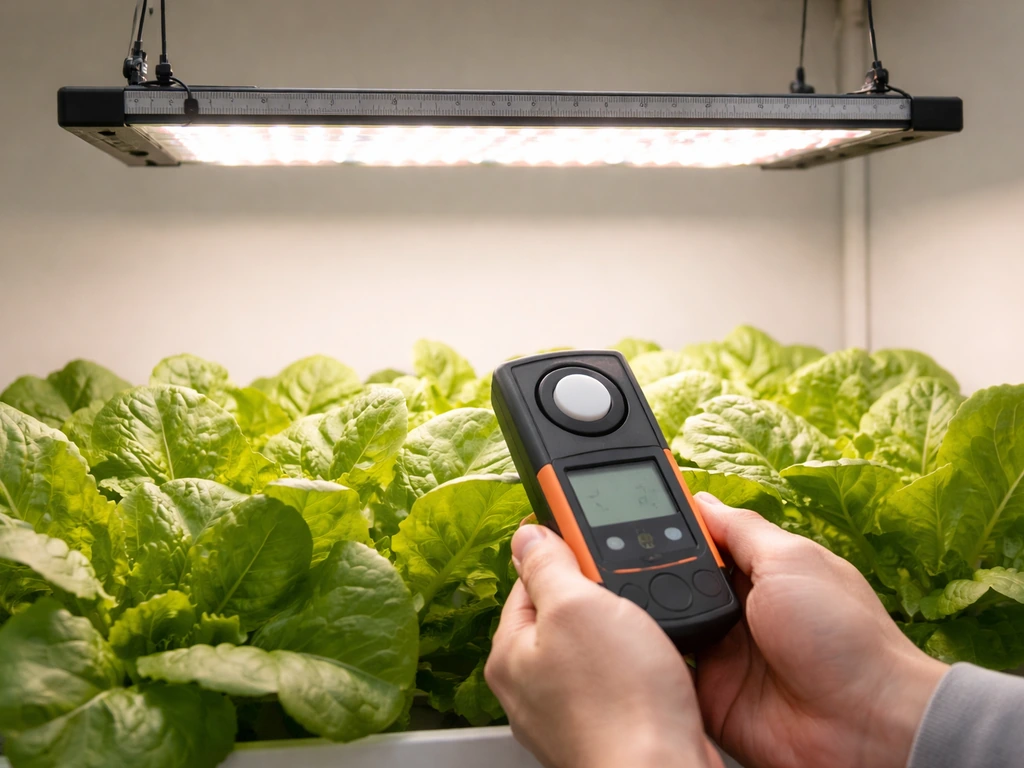
- Slow growth despite adequate hours: check that the fixture is actually delivering enough PPFD at canopy level. A cheap PAR meter or smartphone app can give a rough reading.
Safety Stuff Worth Knowing (and Some Myths to Put to Rest)
Electricity, Heat, and Fire Risk
Running grow lights for 16 hours a day adds up. To estimate electricity cost from a grow light, you can use a calculator-style rule where monthly kWh scales with fixture watts, hours per day, days per month, divided by 1000, multiplied by your $/kWh rate monthly kWh cost scales with (fixture watts × hours/day × 30) / 1000 × $/kWh. A 100-watt LED panel running 16 hours a day for 30 days uses about 48 kilowatt-hours.
At an average US rate of around $0. 17 per kWh, that is roughly $8 per month per 100 watts. A 400-watt setup is $32 per month. It is not terrifying, but it is real money and it scales with fixture size and hours.
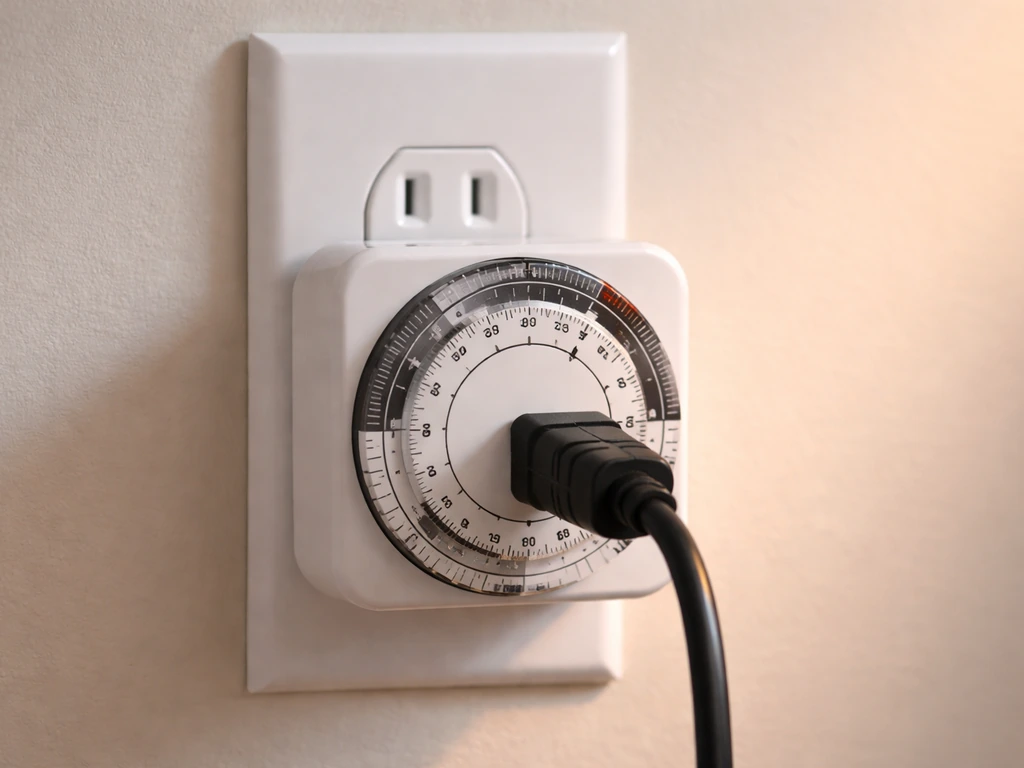
Using a timer so the light does not accidentally run all day or all night is the easiest way to avoid wasted electricity and unnecessary heat buildup. If you are tempted to have grow lights on 24 hours a day, a timer makes it much easier to keep a proper light and dark cycle Using a timer so the light does not accidentally run all day or all night.
Heat is the more immediate physical concern. Fluorescent fixtures can raise the temperature around seedlings by 5 to 10 degrees Fahrenheit according to University of Maine Cooperative Extension. High-wattage HPS or CMH fixtures run much hotter. Keep fixtures off flammable materials, make sure cords are not pinched or overloaded, and never exceed the wattage rating on your outlet or timer. Most mechanical plug-in timers are rated for 15 amps, which covers most home grow setups easily, but always check the label.
Will Grow Lights Tan You or Damage Your Eyes?
This comes up a lot and the answer depends entirely on the type of fixture. Standard LED grow lights and fluorescent tubes used for home gardening emit very little to no UV radiation, so they will not tan your skin or burn your eyes during normal use. The real UV risk comes from specific types of high-intensity discharge lamps, particularly certain metal halide or mercury vapor fixtures where the outer glass envelope can break, exposing nearby people to UV output.
The FDA has issued specific alerts about this for certain unshielded fixtures. For typical home LED grow lights, the risk is negligible, but staring directly at a bright grow light at close range for extended periods is still a bad idea simply because of brightness, not UV.
If you are working closely under a very bright fixture for long stretches, basic safety glasses are a reasonable precaution.
Setting Up a Timer and Dialing In Your Schedule
Choosing a Timer
A basic mechanical outlet timer handles most home grow setups perfectly well. Look for one that is UL-listed, rated for at least 15 amps at 120V, and has 30-minute or 15-minute increment settings. These typically cost under $15 and are available at any hardware store. If you want more flexibility, a digital timer lets you program multiple on/off cycles per day, which is useful if you ever want to split a photoperiod or run supplemental lighting only during specific windows. For anyone running multiple grow zones or an automated indoor garden, a relay-based controller that manages multiple outlets from a single timer is worth the upgrade.
A Starting Schedule You Can Use Today
- Seedlings or young starts: set lights on at 6 AM, off at 10 PM (16 hours on, 8 hours off). This aligns with a natural daytime window and makes it easy to observe your plants.
- Leafy greens and herbs: 6 AM to 10 PM (16 hours) works well here too. You can drop to 14 hours once plants are established if you want to save electricity.
- Flowering plants needing a short-day trigger: 8 AM to 8 PM (12 hours on, 12 hours off). The dark period must be truly dark, no ambient light from windows, hallway light leaks, or phone screens near the plants.
- Make sure the dark period is consistent. Disrupting it even occasionally can delay or prevent flowering in sensitive species.
Dimming and Blackout Considerations
If your LED fixture has a built-in dimmer, use it during the seedling stage. Running a dimmable LED at 50 to 75 percent output while keeping the fixture close is often better than running it at full power from further away. Just make sure your dimmer is compatible with the driver type in your fixture: not all LED drivers accept every dimming protocol, and mismatched dimmers can cause flickering or inconsistent output.
If you are using grow lights near a window, consider how seasonal changes in natural light will interact with your artificial schedule. In summer, a south-facing window might already be hitting your plants with 10 or more hours of light, so your supplemental lighting might only need to run for a few additional hours in the morning or evening.
Watching Your Plants and Adjusting as You Go
Your plants will tell you if the schedule is working. The first two weeks under a new lighting setup are the most informative. Check in every few days and look for the stress signals described earlier. Healthy seedlings under good lighting will have thick, compact stems, deep green color (not yellowish, not bleached), and leaves that are flat and horizontal rather than cupped upward or angled sharply toward the light.
If you see stretching, move the light closer before increasing the hours per day. If you see burning or bleaching, raise the light or reduce the dimmer setting before cutting the photoperiod. Changing one variable at a time makes it much easier to figure out what actually fixed the problem. Give each change about a week before deciding whether it worked, since plants respond to light adjustments gradually rather than overnight.
For flowering plants, track your schedule against when you expect blooms. If a short-day plant is not flowering after 6 to 8 weeks on a 12-hour schedule, check for light leaks during the dark period first. Even a thin strip of light under a door can be enough to disrupt photoperiod-sensitive flowering. Covering gaps with blackout curtains or placing sensitive plants in a dark closet during their dark period is a simple fix that makes a real difference.
Once you get a schedule that produces healthy, compact growth and on-time flowering, stick with it. The most common mistake is overcomplicating things: adjusting the timer every few days, switching between 14 and 18 hours, or constantly moving the fixture. Consistency is what your plants actually want. Set a timer, check in regularly, and adjust only when the plants give you a clear signal that something needs to change.
FAQ
What happens if I accidentally leave my grow lights on 24/7 for a few days?
If it is only brief, most plants will not die immediately, but you may see early stress like weaker growth, slowed development, or leaf discoloration. For photoperiod-sensitive plants, the bigger risk is missing flowering cues if the dark period is interrupted even temporarily.
Do plants ever benefit from longer days than the usual 12 to 18 hours?
Sometimes, but only if the light intensity is appropriate and the plant shows compact growth. If you increase photoperiod beyond your starting range, do it gradually and watch for stretching (too little effective light) versus bleaching or crispy edges (too much effective light or heat).
Does “dark period” mean complete darkness with zero light leaking in?
For many flowering and short-day plants, yes. Even small leaks, like hallway LEDs, a TV glow, or daylight from a gap under a door, can disrupt the dark period. If flowering timing is off, treat the room like a blackout zone during the entire dark window.
Will a timer still work if my power blinks or the timer loses power?
It depends on the timer type. Many simple mechanical timers keep the schedule correctly only if power interruptions are brief and the device retains its state, while some digital timers may reset. After any outage, verify the on and off times with a quick check or by observing when the LEDs switch.
Can I simulate a dark period by turning off the lights but keeping ventilation fans on?
Yes, fans and airflow are not the issue. What matters is the light exposure reaching the canopy during the dark window. As long as airflow continues, plants still get CO2 exchange without the photosynthetic interruption.
Are there signs that my lights are too close or too intense even if I did not run 24/7?
Yes. Excess intensity often shows up as pale or bleached patches, dry or crispy leaf tips, and sometimes overall leaf “pruning” where growth slows. If you see these, raise the fixture slightly or reduce output, then keep the new setting stable for about a week to judge results.
Should I use the same schedule for seedlings, vegetative plants, and flowering crops?
No. Even within the same species, schedules usually shift as plants move through life stages, for example longer light periods for leafy growth and shorter photoperiods for flowering induction in photoperiod plants. Autogrowing strains still generally prefer a normal dark period for resilience.
Is it okay to set lights to 18 hours, then extend to 20 hours if I want faster growth?
Not automatically. Extending time can help only if the plants are not already at the right effective intensity. If you add hours, monitor carefully for signs of stress, and consider adjusting distance or dimmer first rather than pushing photoperiod higher.
Do grow lights affect humidity and can that change how I should schedule them?
Indirectly, yes. Warm fixtures can raise local temperature, which can increase evaporation and shift humidity, potentially causing tip burn or slower recovery from watering changes. If your room environment swings when lights turn on, you may need to adjust airflow and watering routines, not just the photoperiod.
Do I need to worry about eye safety if I use lights for many hours each day?
You should avoid staring at the LEDs or bulbs at close range, even if UV is negligible for typical home LED setups. If you routinely work under high output or during long sessions, basic protective eye wear is a practical precaution.
Next Articles
Are Grow Lights Safe to Leave On? Safe Use Guide
Learn if grow lights can run all day safely, covering fire and heat risks, electrical safety, timers, and safe distance.
What Type of Light Do Plants Need to Grow Indoors
Pick the right grow light indoors by spectrum, brightness, and placement so plants grow well, bloom, and stay healthy.
Does Plant Grow Light Work? A Practical Test Guide for Plants
Practical test guide to see if grow lights work, choose the right spectrum and setup, and troubleshoot weak results.