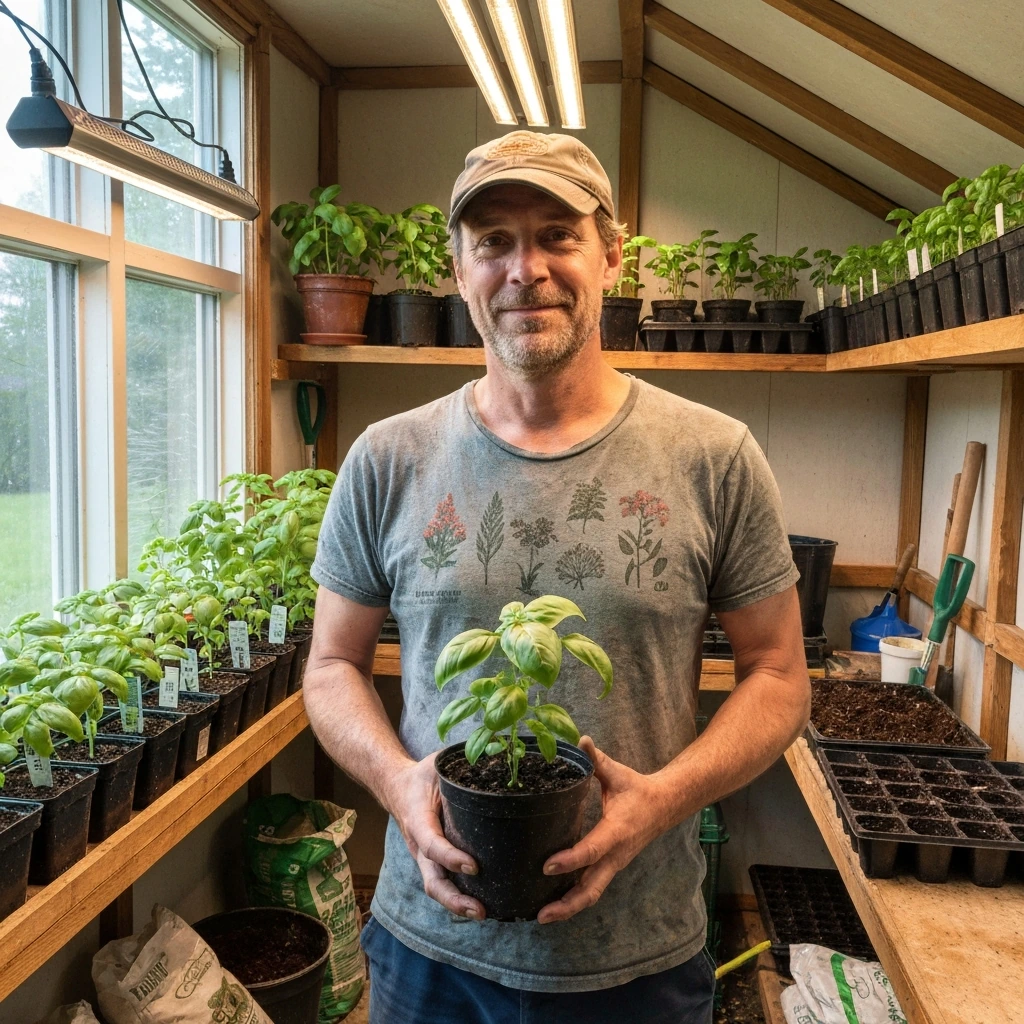
For most seeds and seedlings, run your grow light 14 to 16 hours per day. That's the sweet spot backed by multiple university extension programs, and it works well for vegetables, herbs, and flowers whether you're using LEDs or fluorescent shop lights. If your seedlings are stretching toward the light or looking pale and weak, the fix is usually getting the light closer, not leaving it on longer. But if you're starting sun-loving crops like tomatoes or peppers, bumping up to 16 to 18 hours per day gives them the extra daily light dose they need to stay compact and healthy before transplant.
How Long Should Seeds Be Under a Grow Light? Daily Schedules
Marcus Holloway
22 Jun 2026
The general rule for seeds under grow lights
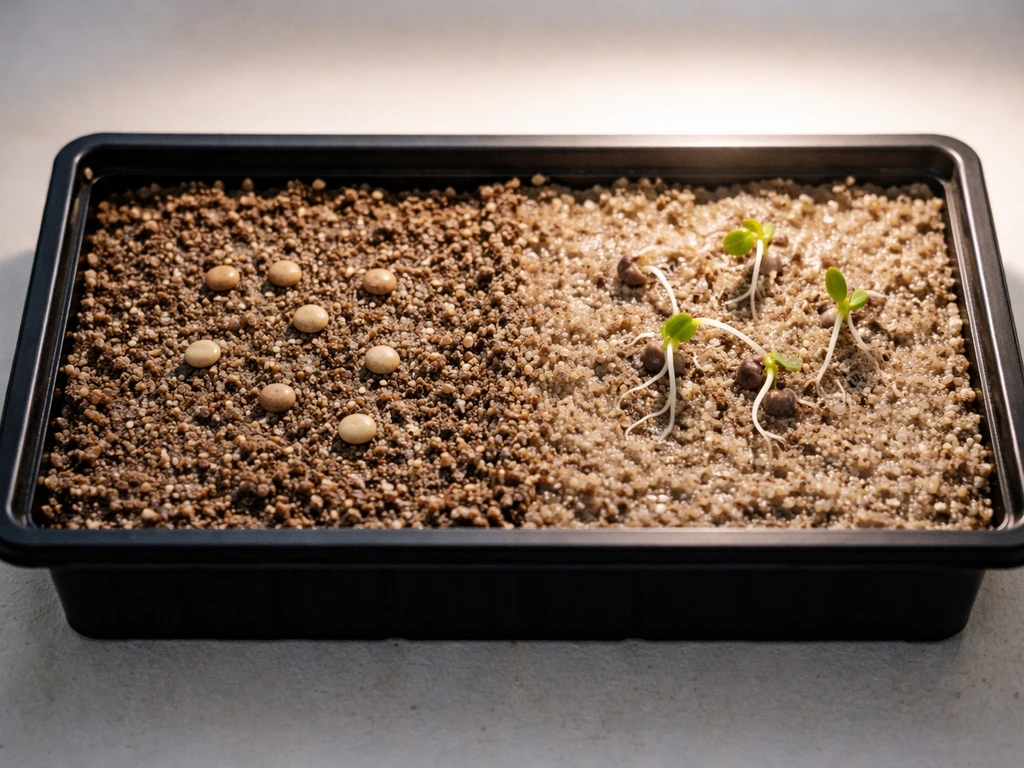
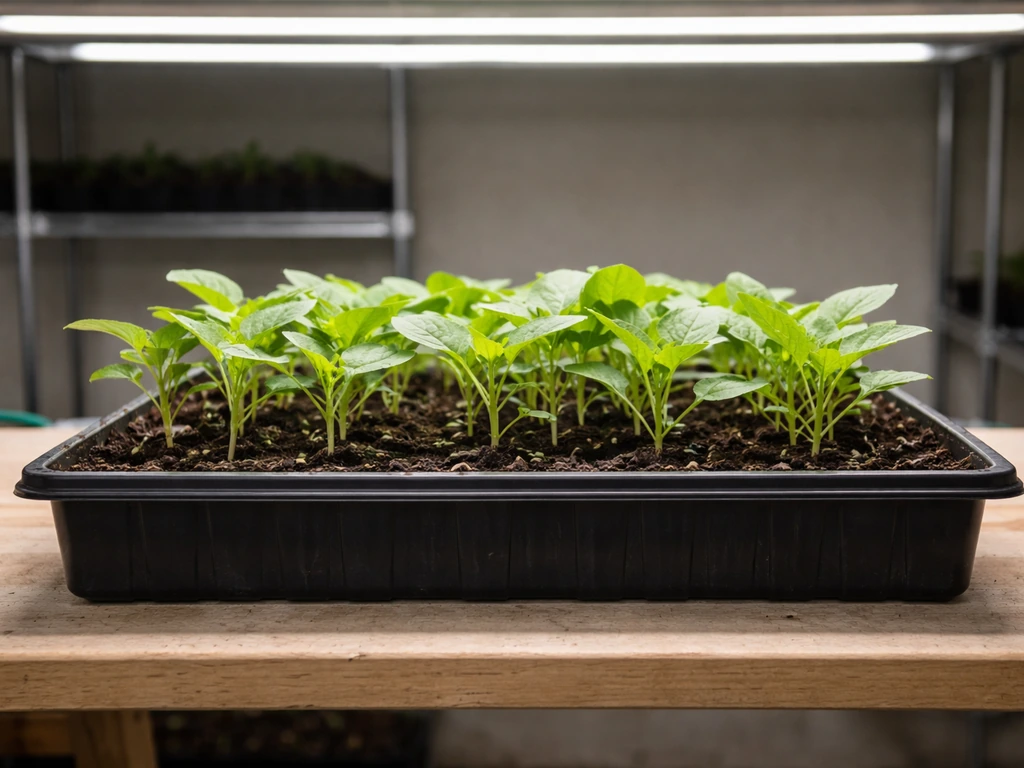
Seeds don't need light to germinate. What they need is warmth and consistent moisture. Once the seed cracks open and a shoot emerges, light becomes essential. That's the moment your grow light schedule actually starts to matter. A good starting point is 14 to 16 hours per day for most seedlings grow light schedule. From first sprout onward, most seedlings thrive on 14 to 16 hours of light per day with 8 to 10 hours of darkness. The darkness isn't just a break for you to save electricity. Plants actually use that dark period for important metabolic processes, and skipping it entirely can stress them over time.
The 14 to 16 hour range is a practical consensus across Purdue, UMass, NC State, and the University of Maryland extensions. UMN Extension bumps the recommendation up slightly to 16 to 18 hours for seedlings specifically, and UNH Extension mentions that for very low-output fluorescent shop lights running as long as 22 hours can help sun-loving plants hit an adequate daily light dose. Think of these as dials you can turn based on your light setup, not strict rules.
How many hours per day by growth stage
The right photoperiod (that's just the number of hours the light is on) shifts a bit as your seeds move through their early stages. Water seedlings under grow lights when the top layer of potting mix starts to dry out, and adjust based on how fast the soil dries under your lamp photoperiod. Here's how to think about it practically:
| Stage | Hours of Light Per Day | Notes |
|---|---|---|
| Pre-germination (seeds only) | 0 hours (no light needed) | Focus on warmth and moisture; light is not a factor yet |
| Germination to first sprouts | 0–16 hours | Turn lights on when shoots emerge; start at 12–14 hours if unsure |
| Early seedling (first true leaves) | 14–16 hours | Most vegetables, herbs, and flowers do well here |
| Active seedling growth (sun-loving crops) | 16–18 hours | Tomatoes, peppers, squash; helps compensate for lower-intensity lights |
| Approaching transplant stage | 14–16 hours | Maintain schedule; begin hardening off before moving outdoors |
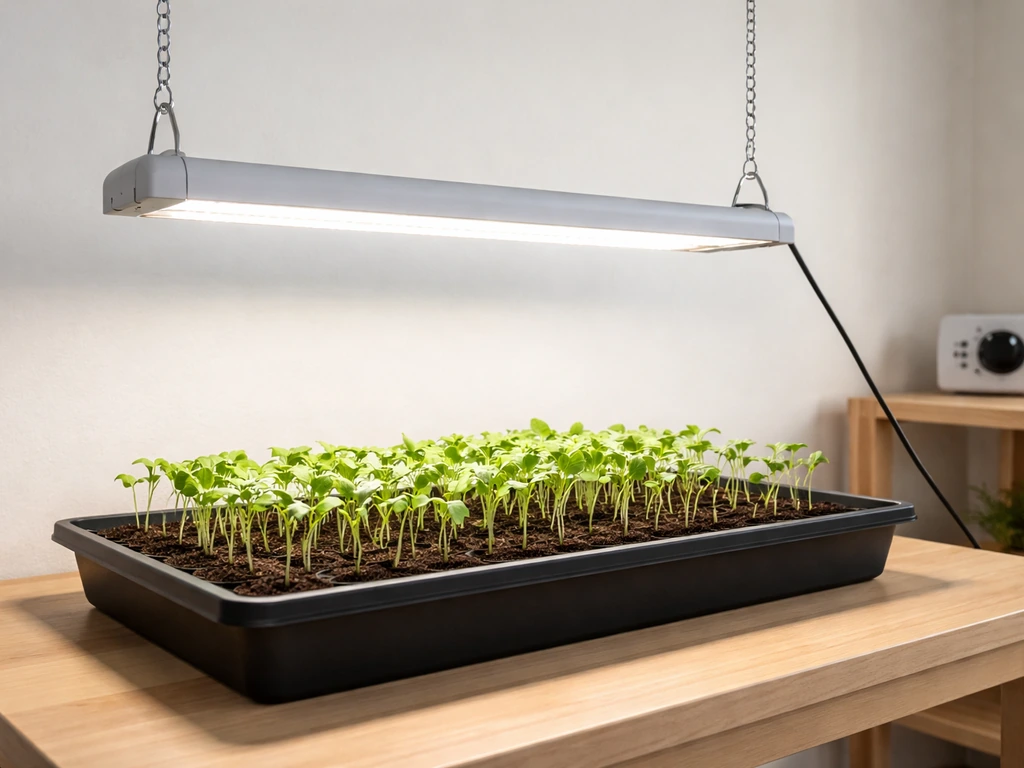
A simple default that works for most home setups: turn the light on when you wake up and off about 16 hours later. A plug-in timer makes this completely automatic and takes the guesswork out of it. That single tool, probably the most underrated part of any seed-starting setup, keeps the schedule consistent even when you forget.
Signs your seedlings need more or less light
The plants will tell you if your light schedule is off. You just have to know what to look for. Knowing when to stop using grow lights for seedlings depends on whether they have reached sturdy growth and are receiving enough natural light to keep developing. The most common problem is seedlings that are getting too little light, even with the light on all day.
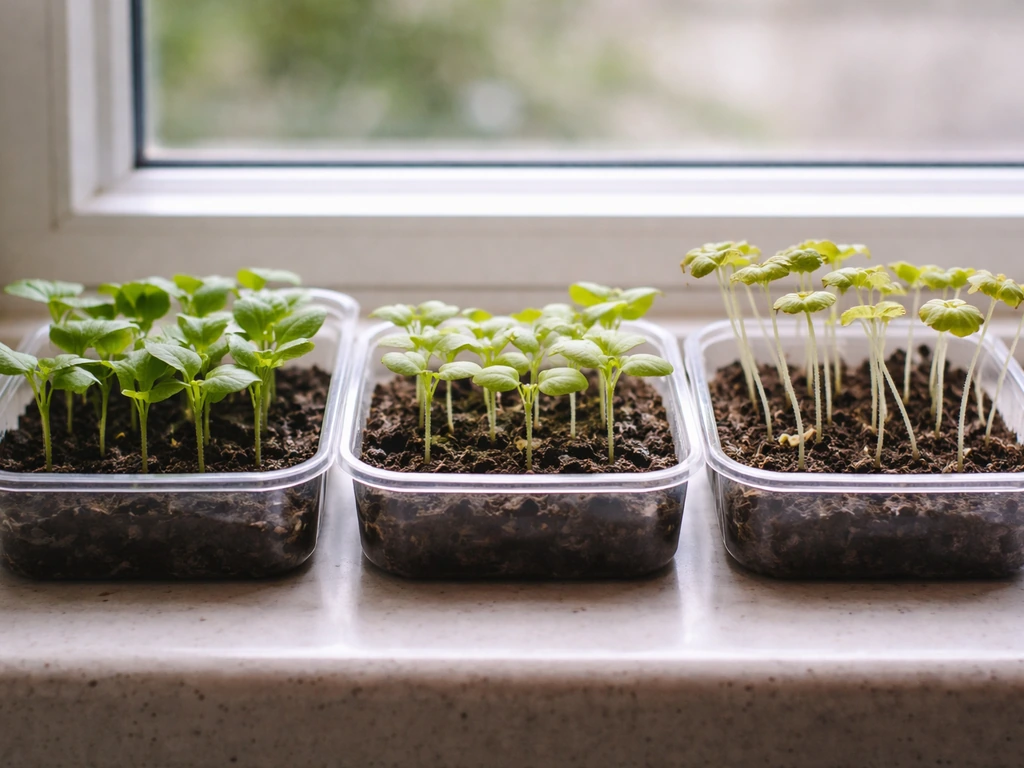
Leggy, stretched seedlings with long gaps between leaves (long internodes) and thin, weak stems are a classic sign of insufficient light. The plant is essentially reaching desperately for more. Pale yellow coloring is another red flag. Leggy growth under a grow light usually means the light is too far away or too dim, not that you need more hours.
On the other side, too much light intensity (not necessarily too many hours) can bleach leaves or cause them to look washed out and pale. Heat stress from a light that's too close will cause wilting, dry soil, and edge burn on leaves. If the potting mix is drying out faster than expected and seedlings look stressed mid-day, excess heat from the light is likely contributing. Getting the light-to-plant distance right matters as much as the schedule itself.
- Leggy stems, long internodes, pale color: light is too weak or too far away, not necessarily on for too few hours
- Seedlings leaning or bending toward one side: uneven light coverage, rotate trays or reposition the fixture
- Yellowing or bleached leaves with no stretching: possible light intensity too high or heat stress
- Wilting during the day, perking up at night: heat from the light is drying out the soil and stressing roots
- Slow germination after sprouts appear: adequate light schedule is missing; start the 14–16 hour window as soon as shoots emerge
- Stunted, dark green, thick leaves: rare, but can signal too much light for low-light plants like lettuce under a high-output fixture
Matching your light schedule to intensity and distance (the DLI connection)
Duration and intensity work together. Running a weak light for 18 hours can produce the same daily light dose as a stronger light running for 12 hours. This is the concept behind DLI (daily light integral), which is just the total amount of photosynthetically useful light a plant receives in a day. You calculate it by multiplying light intensity (measured in PPFD, or micromoles of light per square meter per second) by the number of hours the light is on, times 3600. It sounds technical, but the practical takeaway is simple: if your light is dim, you compensate by running it longer. If it's powerful, you can shorten the day.
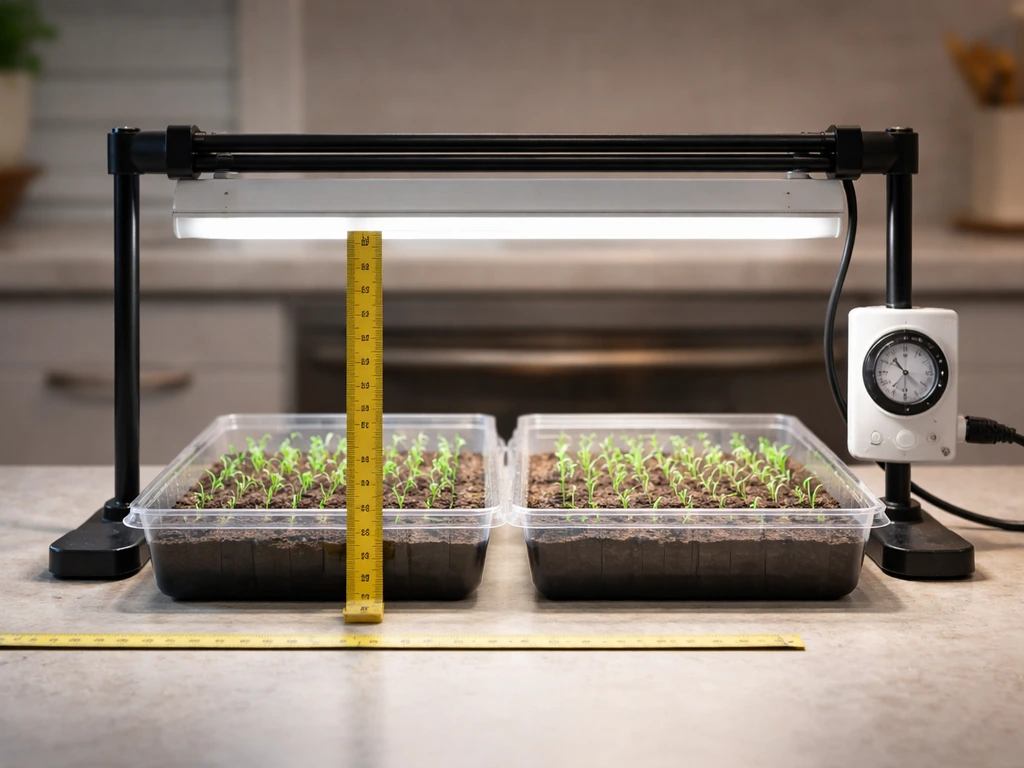
For seedlings, a PPFD of around 100 to 300 µmol/m²/s at the canopy level is a reasonable target. Most fluorescent shop lights and entry-level LED grow lights sit toward the lower end of that range. UMN Extension recommends keeping lights 4 to 6 inches above seedlings and moving the fixture up as plants grow. UNH Extension suggests staying within about 6 to 12 inches for fluorescents. The closer the light, the more PPFD your seedlings actually receive, and the fewer hours you need to compensate.
One important physics note: doubling the distance between your light and your seedlings drops the light intensity to roughly one quarter of what it was. So if your light is 4 inches away and you move it to 8 inches, your seedlings are now getting about 25% of the light they were getting before. That's why leggy seedlings so often improve dramatically just by lowering the fixture, not by extending the light schedule.
A practical distance and duration starting guide
| Light Type | Recommended Distance from Seedlings | Starting Hours Per Day |
|---|---|---|
| Fluorescent shop lights (T8/T12) | 2–6 inches | 14–16 hours |
| T5 fluorescent (higher output) | 4–8 inches | 14–16 hours |
| Entry-level LED panels | 12–18 inches | 14–16 hours |
| High-output LED grow lights | 18–24 inches (check manufacturer specs) | 12–16 hours |
| Incandescent (not recommended) | At least 12 inches | Not suitable for seed starting due to heat and poor spectrum |
These are starting points. Adjust based on what your seedlings show you. If they're stretching even at these distances, bring the light closer rather than extending the hours. If leaves look stressed or bleached, raise the fixture or reduce the photoperiod slightly.
Common mistakes and how to fix them
Leggy, stretching seedlings
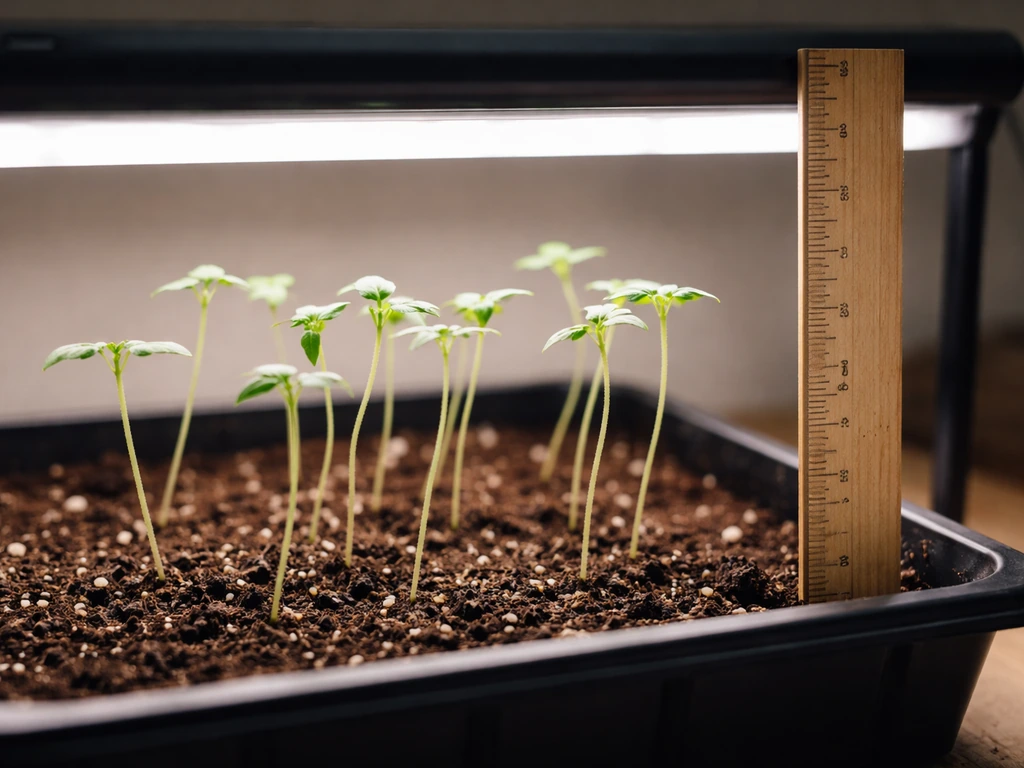
This is the number one problem people run into, and it's almost always a distance issue rather than a schedule issue. If your seedlings are thin, tall, and flopping over, the light is too far away. Move it closer first. If that doesn't help within a few days and you're running less than 14 hours, bump up to 16. Leggy growth that's already happened won't reverse, but new growth will be sturdier once the light situation improves.
Slow germination after sprouting
If seedlings sprouted but then stalled, check that the light is actually on for 14 to 16 hours and positioned close enough. Also rule out temperature issues. Also rule out temperature issues how long should grow lights be on for seedlings. Excess heat from a light that's too close can stress young seedlings and slow them down just as much as too little warmth during germination. The ideal seedling temperature after sprouting is typically 65 to 70°F for most vegetables. If the area under the light feels noticeably hot to your hand, raise the fixture.
Overheating and drying out
Grow lights, especially older fluorescent tubes and incandescent bulbs, put out a lot of heat. If your soil is drying out faster than expected and seedlings look stressed during the day, heat is likely the culprit. LEDs run much cooler, which is one of the reasons they've largely replaced fluorescents for home seed starting. If you're using a heat mat for germination, keep it on its own circuit and don't run it through the same timer as your lights. Once seeds have germinated and the light is on, most seedlings don't need a heat mat anymore anyway.
Older fluorescent tubes losing output
Fluorescent tubes lose efficiency as they age. If you've been using the same shop light bulbs for a couple of seasons and your seedlings are getting leggier than they used to, the bulbs may simply be putting out less light. Replacing them is cheap and often fixes the problem without any changes to your schedule or distance.
Leaving seedlings in the seed flat too long
Even with a perfect light schedule, seedlings that stay in small seed cells too long become stunted or leggy because their roots run out of room and nutrients. Once seedlings have their first set of true leaves, it's usually time to pot up to a larger container. If you are wondering when to remove seedlings from grow lights, look at how they transition to outdoor or indoor light levels and stop when they can handle brighter conditions. Good light timing can't compensate for rootbound plants.
Safety and setup tips for home use
Setting up a grow light for seeds at home is genuinely simple, and the safety considerations are just basic electrical and heat common sense. Here's what actually matters:
- Use a timer: A simple plug-in outlet timer is inexpensive and eliminates inconsistent schedules. Set it to your target 14–16 hour window and forget it. Consistent photoperiods matter more than the exact hours you choose.
- Keep heat mats off the light timer: If you use a heat mat during germination, plug it into a separate outlet or thermostat controller, not the same timer as your lights. Grow lights and heat mats have different jobs and different run schedules.
- Check the temperature under your light: Hold your hand at seedling level. If it feels uncomfortably warm after a few seconds, raise the fixture. LEDs are much less of a concern here than fluorescent tubes or HID lights.
- Don't stare directly into the light: Grow lights, especially high-output LEDs, are bright enough to cause eye discomfort with prolonged direct exposure. Look away when adjusting the fixture, or use basic UV-blocking sunglasses if you're working under them for extended periods.
- Make sure your electrical setup is adequate: Avoid daisy-chaining power strips. Plug grow lights directly into wall outlets where possible, and check that the circuit can handle the wattage. Most home LED grow lights for seed starting draw under 100 watts, which is well within standard circuit capacity.
- Add airflow: A small fan running on low near your seedlings helps strengthen stems, prevents damping off (a fungal issue), and keeps heat from building up under the light canopy. It's one of the most overlooked steps in a home seed-starting setup.
- Consider eye safety with UV-emitting fixtures: Most LED grow lights marketed for home seed starting emit very little UV. High-output horticultural LEDs or specialized full-spectrum fixtures may emit more. Check the manufacturer specs if you're unsure.
The bigger picture here is that seed starting under grow lights is a very forgiving process. The most important variables are getting the light close enough, running it long enough, and using a timer so you don't have to think about it every day.
A quick way to handle this is to start with a conservative schedule and then adjust when to turn on grow lights based on stretching, pale color, and how close your fixture is running it long enough. Once you have those three things dialed in, you can fine-tune from there based on what your seedlings show you.
How long you run the light matters, but it's almost always the combination of duration and distance that determines whether your seedlings come out compact and healthy or leggy and struggling.
FAQ
Do seeds need grow light before they sprout, or should I start the timer only after I see seedlings?
Seeds do not require light to germinate. Use warmth and steady moisture until you see the seed crack and a shoot emerge, then start the 14 to 16 hour light schedule (from first visible sprout).
What should I do if my seedlings look leggy, but the light is already on for 16 to 18 hours?
First check fixture distance and intensity, not just hours. If they are stretching, moving the light closer usually corrects the problem faster than extending the photoperiod, because light intensity drops sharply with distance.
How can I tell whether I need more light hours or just better light placement?
If seedlings are pale or tall with long gaps between leaves, placement (distance) is usually the issue. If they look compact and green but soil dries too quickly, adjust heat and watering rather than increasing hours.
Should I use a timer, even if I only plan to run the light while I’m awake?
A timer helps prevent accidental underexposure and inconsistent darkness, which can stress seedlings over time. A simple approach is daylight-to-bed planning, but the key is consistency at 14 to 16 hours (or higher for sun-lovers) once sprouting begins.
Is it harmful to run the grow light longer than 18 hours for seedlings?
Longer can be fine in some cases (especially with very low-output fluorescents), but for most setups going much beyond the typical range increases the risk of heat stress and pale or washed-out leaves. If you see bleaching or wilting midday, reduce intensity or shorten the photoperiod.
Can I combine a heat mat and grow light on the same timer?
Avoid putting the heat mat on the same timer circuit as your grow lights. Keep the heat mat on its own control, because heat and light stress can overlap and slow growth if the area becomes too hot.
What temperature range should I aim for under the grow light after seedlings emerge?
A common target is about 65 to 70°F for many vegetable seedlings. Use a simple hand test too, if the underside feels noticeably hot, raise the light or address airflow and room temperature.
How often should I water seedlings under a grow light, and does the light schedule change that?
Water when the top of the potting mix starts to dry out, the schedule affects how quickly the mix dries. If your soil dries faster mid-day than before, check heat from the fixture and consider raising the light or adjusting watering frequency.
My fluorescent shop light bulbs are old, could that affect how long I should run them?
Yes. Fluorescent tubes lose output as they age, so seedlings may require longer to maintain the same daily light dose. Replacing aging bulbs often fixes legginess without changing your timer.
If I’m growing tomatoes or peppers, should I always run lights longer, or can I instead adjust distance?
You can do either, but distance is often the faster lever for quality. If they stretch, bring the light closer first, then if needed increase the day length toward the higher end (around 16 to 18 hours) to support sturdy growth before transplant.
At what point should I stop using grow lights or reduce the schedule?
Once seedlings can handle brighter natural or indoor light levels and they have sturdy growth, you can taper off. Do not rely on grow light timing to fix issues caused by being in small cells too long, root congestion still leads to stunting.
Why do seedlings sometimes stall even when the light schedule seems correct?
Light timing is only one variable. Check germination temperature, verify the light is actually running the full daily window, and rule out excessive heat from close fixtures, nutrient or moisture inconsistencies, and temperature swings in the room.
Next Articles
When to Turn On Grow Lights for Seedlings: Schedule
Know exactly when to start grow lights for germination and seedlings, set daily hours, adjust height, and fix leggy or s
How Long Should Plants Be Under a Grow Light?
Get indoor grow-light timing by plant stage with starter hour ranges and rules to fix under or overlighting.
When to Remove Seedlings From Grow Lights: Timing Guide
Move seedlings off grow lights when they have true leaves and sturdy stems, then harden off to avoid legginess.