Use grow lights indoors whenever your plants are not getting enough natural light to support their current growth stage. That usually means seedlings started in late winter, plants sitting more than a few feet from a window, any crop pushing toward flowering or fruiting under a dim ceiling, or any houseplant showing signs of stretch and slow growth in the darker months between October and March. The moment your natural light drops below what your plant needs, a grow light fills the gap. See our detailed guide on when to use grow light for timing, intensity, and stage-specific recommendations. It really is that simple.
When to Use Grow Lights Indoors: Timing, Duration & Tips
Marcus Holloway
12 Aug 2026
Who this guide is for and what you'll get out of it
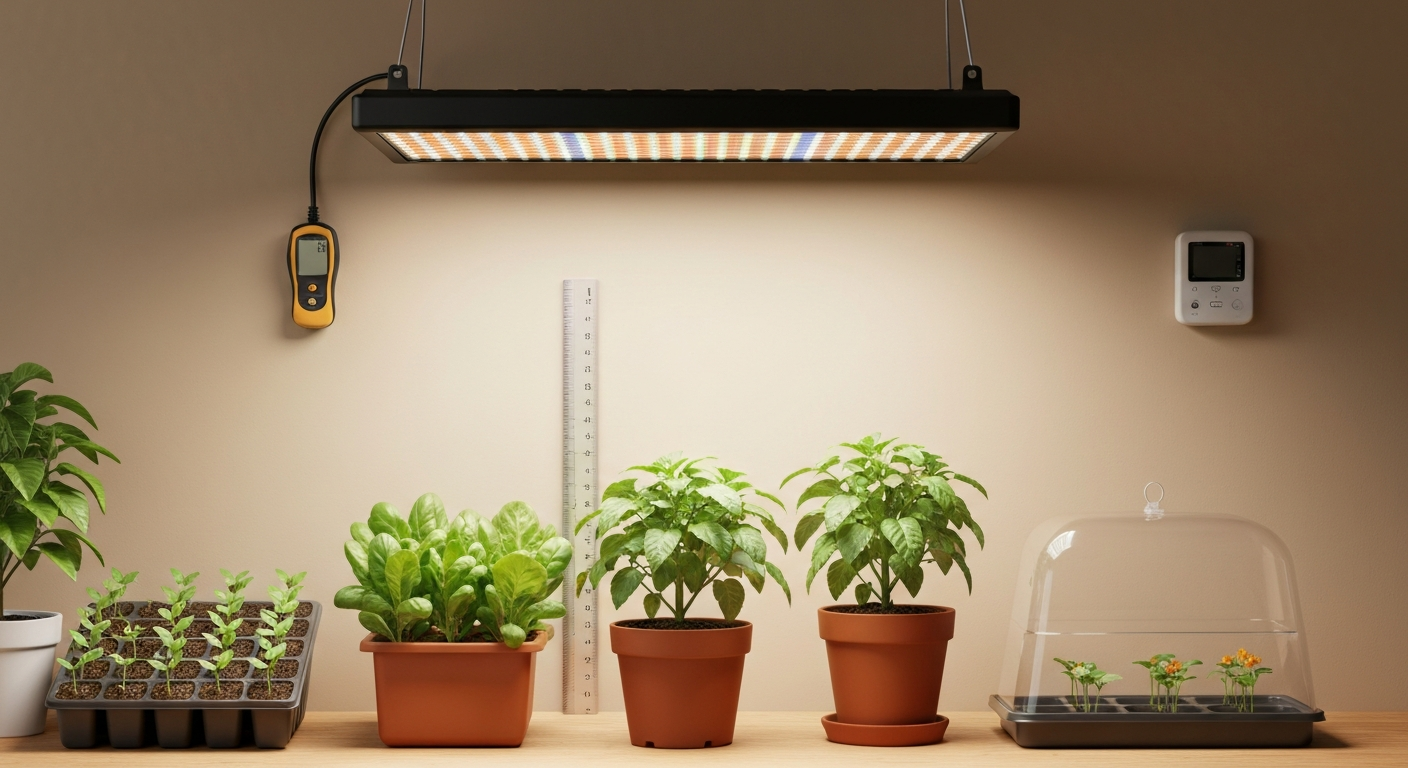
If you've ever watched a seedling tray go leggy on a windowsill, or wondered why your basil keeps stretching toward the glass and tasting like nothing, this guide is written for you. I've been through both experiences more than once. This article walks through a practical decision flow for figuring out whether you actually need a grow light, then goes stage by stage through seedlings, vegetative growth, flowering, and cuttings, giving you specific hours, intensity targets, and fixture distances for each. There's also a quick diagnostic section so you can read what your plants are already telling you, and a reference table at the end you can bookmark and come back to.
Do you actually need a grow light?
The honest answer is: maybe not. Some plants do fine on a bright south-facing windowsill, especially in summer. The way to know for sure is to measure light at canopy level across the day, not just glance at the window and assume it's enough. A cheap lux meter or even a phone app will get you close enough for a first assessment. Take readings in the morning, at midday, and in the afternoon, then convert those numbers into a daily light integral (DLI). Iowa State Extension's stepwise method recommends taking multiple canopy-level readings across the day (morning, midday, afternoon), converting them to PPFD/DLI, and comparing the rolling seasonal DLI to crop-stage targets to decide if supplemental lighting is needed Iowa State Extension's stepwise method recommends taking multiple canopy-level readings across the day (morning, midday, afternoon), converting them to PPFD/DLI, and comparing the rolling seasonal DLI to crop-stage targets to decide if supplemental lighting is needed.. DLI is the total photons a plant receives in a day, and the formula is straightforward: PPFD (in µmol·m⁻²·s⁻¹) multiplied by your light hours, multiplied by 0.0036. If your window delivers 150 µmol·m⁻²·s⁻¹ for about 6 hours in December, your DLI is roughly 3.2, which is below what almost anything useful wants.
University extension programs categorize indoor light into three practical bands: low light sits around 50 to 150 µmol·m⁻²·s⁻¹, medium is 150 to 250, and high is 250 to 450. If your canopy is sitting in low light and you're trying to grow herbs, start seeds, or push a fruiting plant, you need supplemental lighting. If you're in medium or high light and your plant is a shade-tolerant houseplant just needing to stay alive, you probably don't. Run through these questions honestly before you buy anything.
- Is your plant within 2 feet of a south or west-facing window that gets direct sun for at least 4 to 6 hours? If yes, low-light houseplants may not need a supplement.
- Are you starting seeds between September and April in the northern hemisphere? Almost certainly yes, you need a light.
- Is the plant a fruiting or flowering crop (tomatoes, peppers, herbs going to seed)? It likely needs DLI above 15 to 20 mol·m⁻²·d⁻¹, which windows rarely deliver year-round.
- Is it mid-autumn to early spring and your measured DLI is below 10? Add supplemental light for nearly any actively growing plant.
- Is your plant a low-light tropical (pothos, ZZ plant, cast iron plant) that you just want to maintain? It can often survive on ambient room light alone.
Quick diagnostics: what your plant is already telling you
Signs you need more light
Etiolation is the most obvious one: stems stretch long and thin between nodes, reaching toward whatever light source exists. Leaves go pale or yellow-green because the plant is producing less chlorophyll than it needs. Growth slows to a crawl, new leaves come in smaller than expected, and flowering plants simply stop forming buds. If a seedling that sprouted 10 days ago looks like it's trying to climb out of its tray, it is almost certainly light-starved.
Signs you have too much light or your fixture is too close
Bleaching or whitening of leaf tissue, especially at the top of the canopy closest to the fixture, is the clearest warning. You might also see leaf edges scorching brown, leaves cupping or curling inward as a stress response, or an unexpected reddening or purpling from increased anthocyanin production. These are the symptoms that tell you to raise the light, reduce the photoperiod, or both. See the section on when to raise grow lights for specific distance and timing recommendations. I've burned the tops of basil plants by leaving a full-spectrum LED too close after transplanting from a seedling tray. The fix is always to increase distance first before anything else.
Seedlings and germination: when to switch the light on
For seed starting, turn the grow light on the day you plant, not after germination. For a detailed timeline on exactly when to turn on grow lights at each stage, see when to turn on grow lights. For a concise rule of thumb covering timing across different growth stages, see when to turn on grow lights for indoor plants. Most seeds germinate in darkness just fine, but by having the light on from day one you make sure the moment a seedling emerges it hits photons immediately rather than spending its first 24 hours stretching toward nothing. The moment the seed coat cracks and the shoot reaches for the surface, light needs to be there. Running 16 hours of light per day is a solid starting point for most vegetable and herb seedlings. At a moderate PPFD of around 100 to 150 µmol·m⁻²·s⁻¹ and 16 hours, your DLI lands between roughly 5.8 and 8.6 mol·m⁻²·d⁻¹, right inside the 5 to 10 range that Virginia Tech extension recommends for seedlings.
Some growers push seedling photoperiods to 18 or even 22 hours, especially with fluorescent setups, to compensate for lower fixture output. There's research showing sweet basil seedlings respond well to higher DLI, with biomass increasing meaningfully as DLI climbs, so if your goal is robust transplants rather than just survival, nudging toward the upper end of that DLI range makes sense. Keep the fixture close, typically 2 to 4 inches for fluorescents and 6 to 12 inches for most LED panels, and watch for stretch as your indicator that you need to lower it or extend hours.
Vegetative growth: timing and daily targets
Once seedlings are transplanted and actively putting on vegetative growth, the DLI target climbs. Leafy greens like lettuce want roughly 12 to 17 mol·m⁻²·d⁻¹, and herbs like basil, parsley, and cilantro can push into the 10 to 25 range depending on species. To hit 15 mol·m⁻²·d⁻¹ with an LED delivering 250 µmol·m⁻²·s⁻¹ at canopy level, you need about 16.7 hours (250 × 16.7 × 0.0036 = 15.03). In practice, a 14 to 18 hour photoperiod at a PPFD of 150 to 350 µmol·m⁻²·s⁻¹ covers most vegetative herb and leafy green goals.
Set your light on a timer and keep it consistent. Plants have circadian rhythms, and while total daily photon dose is the dominant driver of growth, an inconsistent schedule adds stress that compounds over weeks. A plug-in mechanical timer is cheap and reliable. I run mine on a fixed schedule, on at 6 AM, off at 10 PM for most vegetative crops, which gives 16 hours without any drama. Avoid situations where ambient room lighting bleeds into the dark period, particularly for any plant you plan to eventually push into flowering, because even low light during the intended dark window can disrupt photoperiod responses.
Flowering and fruiting: photoperiod, intensity, and when to make changes
This is where timing really matters beyond just quantity of light. Plants fall into three photoperiod categories: long-day plants flower when nights are short (below a critical threshold), short-day plants flower when nights are long, and day-neutral plants flower based on age and maturity regardless of daylength. The actual inductive signal is night length, not day length, which is why even a brief light interruption during the dark period can prevent a short-day plant like a chrysanthemum from flowering. Many chrysanthemum varieties have a critical daylength around 14 hours, meaning you need to provide nights longer than about 10 hours to trigger blooming.
For fruiting vegetables like tomatoes and peppers grown under artificial light, a 12 to 14 hour photoperiod with PPFD at the canopy in the 300 to 600 µmol·m⁻²·s⁻¹ range is a common practical target, aiming for DLI in the 15 to 30+ mol·m⁻²·d⁻¹ window. To push a day-neutral crop through flowering and fruit set, raise your PPFD rather than your hours. Increasing light intensity while holding the photoperiod constant is cleaner than extending the day when you don't need to, because it avoids photoperiod interference in mixed growing spaces. Move the fixture closer to the canopy or step up to a higher-output panel when you transition from vegetative to flowering stages.
A note on seasonal switching
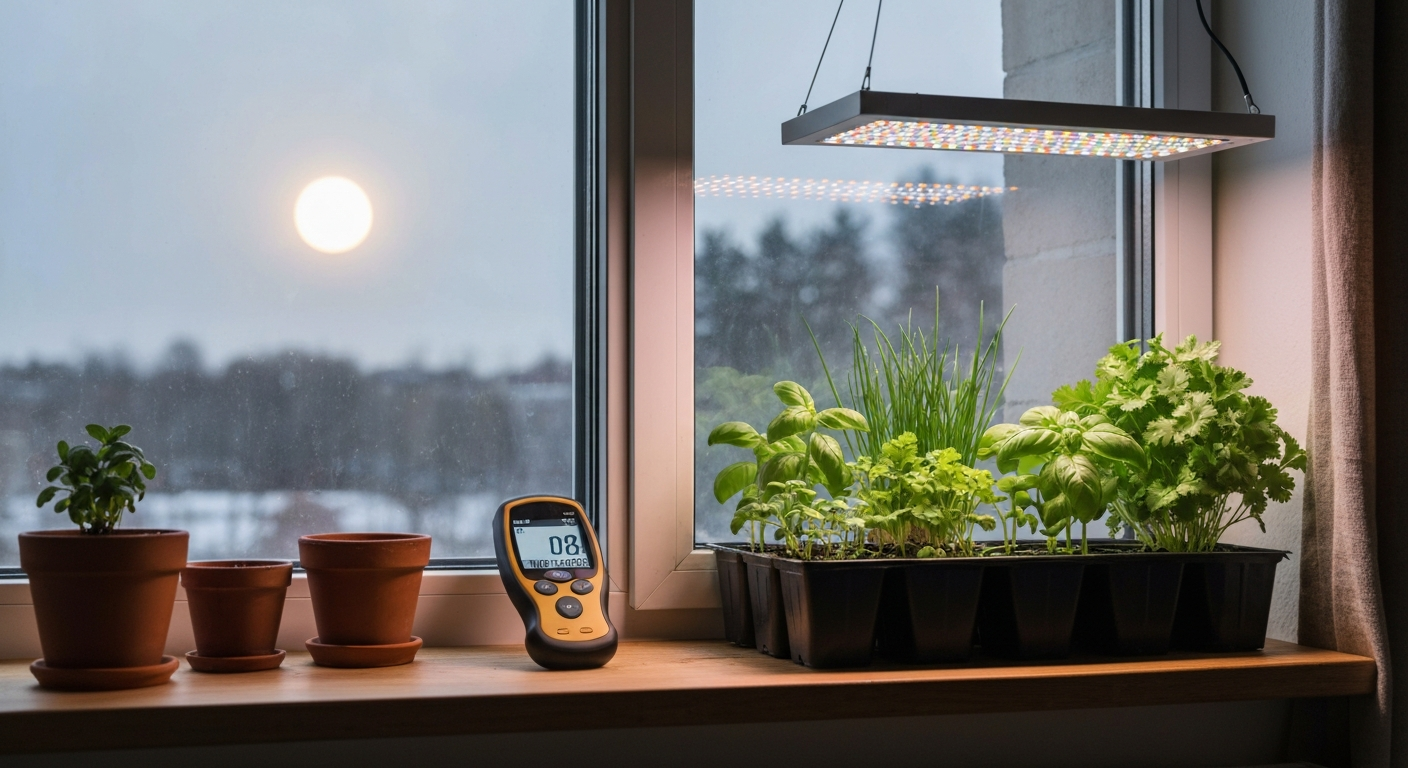
In winter, the case for grow lights becomes almost automatic if you're trying to grow anything other than dormant bulbs. Between October and February at mid-latitudes, even a south-facing window can deliver as little as 3 to 5 mol·m⁻²·d⁻¹ on a clear day and far less when overcast. That's below the maintenance threshold for most actively growing plants. Turning supplemental lights on as days shorten in autumn, rather than waiting until plants visibly decline, keeps growth continuous and avoids recovery setbacks.
Cuttings and propagation: gentle light for delicate roots
Cuttings are probably the stage where I see people make the most mistakes with grow lights, usually by giving them too much. An unrooted cutting has no root system yet to deliver water, so high PPFD drives transpiration faster than the stem can compensate, causing wilting and failure even when humidity is good. Keep PPFD low during propagation, somewhere in the 50 to 150 µmol·m⁻²·s⁻¹ range, which keeps photosynthesis ticking over just enough to support callus and root formation without overwhelming the cutting. A DLI of 5 to 10 mol·m⁻²·d⁻¹ is appropriate here, achieved with 16 hours at low intensity.
Raise the fixture higher than you normally would, or dial down a dimmable LED to its lowest setting. Once you see new growth emerging from the cutting, indicating roots are forming and the plant can uptake water again, you can begin stepping up intensity gradually over one to two weeks until you reach the vegetative target for that species.
Stage-by-stage quick reference
| Stage | Daily hours | PPFD target (µmol·m⁻²·s⁻¹) | Approx. DLI (mol·m⁻²·d⁻¹) | LED distance from canopy |
|---|---|---|---|---|
| Germination / seedlings | 16–18 h | 100–200 | 5.8–12.9 | 6–12 inches (LED panel); 2–4 inches (fluorescent) |
| Cuttings / propagation | 14–16 h | 50–150 | 2.5–8.6 | 12–18 inches (LED panel) |
| Vegetative (herbs, leafy greens) | 14–18 h | 150–350 | 7.6–22.7 | 12–24 inches (LED panel) |
| Flowering / fruiting | 12–16 h (species-specific) | 300–600 | 13–34.6 | 18–24 inches (full-output LED panel) |
These ranges are practical starting points, not rigid rules. For stage-based DLI and PPFD recommendations (seedlings 5–10, vegetative 10–20, flowering 15–30+ mol·m⁻²·d⁻¹), see Calculating and Using Daily Light Integral (DLI): An Introductory Guide, Virginia Tech Extension blank" rel="noopener noreferrer">Calculating and Using Daily Light Integral (DLI): An Introductory Guide — Virginia Tech Extension. Use the DLI formula (PPFD × hours × 0.0036) to check whether your specific fixture and run time are hitting the target for your crop. A PAR meter gives you the most accurate PPFD reading at canopy level. If you don't have one, manufacturer PPFD maps at rated distances are a reasonable proxy for ballpark calculations, but measure when you can.
LED-specific tips that actually affect your results
Modern full-spectrum LEDs cover the photosynthetically active radiation range (400 to 700 nm) well, and most quality panels include some far-red output, which matters for flowering induction and shade avoidance responses in some crops. Heat output from LEDs is much lower than HID fixtures, but the diodes themselves still get warm, and running a fixture too close in a closed space can raise canopy temperature. Keep ambient growing space temperature between roughly 65 and 80°F (18 to 27°C) and check that the fixture is not creating a localized hotspot directly above the canopy.
One practical advantage of LEDs is energy efficiency, which makes longer photoperiods financially realistic. Running a 200-watt LED for 16 hours uses about 3.2 kWh per day. At an average US electricity rate of around 13 cents per kWh in mid-2026, that's roughly 42 cents a day, less than most people spend on coffee. The cost argument against grow lights is weaker than it used to be, especially for LEDs.
A few safety notes worth knowing
Most LED grow lights emit little to no UV-B, which is the wavelength responsible for tanning and the one associated with skin damage from prolonged exposure. Standard full-spectrum horticultural LEDs are not going to tan you or cause the kind of UV exposure that UV-B tanning beds produce. The main eye risk from grow lights is blue light intensity: staring directly at a bright LED panel is uncomfortable and can cause temporary visual afterimages, the same as staring at any bright light source. Avoid looking directly into the fixture when it's on, and use basic eye protection if you're working under high-output LEDs for extended periods. Beyond that, standard electrical safety applies: use waterproof or splash-resistant fixtures in humid propagation setups, don't run extension cords under rugs or through water, and make sure your outlet load stays within rated limits when running multiple fixtures on timers.
Putting it together: a simple starting routine
If you're just getting started, here's the simplest version of a grow light routine that actually works. Get a full-spectrum LED panel sized for your growing area, a plug-in timer, and something to hang the fixture with adjustable height. For guidance on when to use LED grow lights, see our timing and stage-specific recommendations. Set the timer for 16 hours on, 8 off, starting from whenever your morning begins. Place the fixture at 12 inches for seedlings, raise to 18 to 24 inches for established vegetative plants, and check the canopy weekly for the signs described earlier. Adjust distance when you see stretch (move closer) or bleaching (move further away). Once you're comfortable reading those signals, you can start dialing in DLI targets for specific crops and seasons. The learning curve is short, and the results are immediately visible.
FAQ
Do I need grow lights for my indoor plants or seedlings?
Quick decision flow: 1) Measure available light at canopy level (lux meter, PAR meter, or multiple observations across a day). 2) Estimate DLI or compare PPFD to stage targets (see stage table). 3) If measured daily light (or estimated DLI) is below the stage-appropriate target for more than 2–3 weeks, add supplemental lighting. Practical rules: • Low window light or rooms with <150 µmol·m⁻²·s⁻¹ at canopy usually need supplements for seedlings, herbs, or high-light ornamentals. • For shade houseplants (low-light species) windows often suffice. • For reliable results use a PAR meter or follow extension methods to convert foot‑candles to PPFD. Sources: Virginia Tech, Iowa State, Univ. of Minnesota extension methods.
When should I start using grow lights for seedlings and cuttings?
Start as soon as seeds germinate or cuttings are placed under mist/propagation: seedlings and cuttings benefit from steady light early to prevent elongation/etiolation. Typical photoperiods: 16–22 hours/day for many seedlings to reach seedling DLI targets (shorter photoperiods require higher PPFD). Target DLI for seedlings/cuttings: about 5–10 mol·m⁻²·d⁻¹; common PPFD ranges used are ~50–200 µmol·m⁻²·s⁻¹ depending on hours run. Monitor stem strength and color; stretch indicates insufficient light.
What light schedules and photoperiods should I use for vegetative and flowering stages?
Photoperiod templates: • Vegetative (most non-photoperiod-sensitive houseplants, herbs, leafy veggies): 12–16 hours/day; many growers use 14–18 h for fast leafy growth. • Flowering/fruiting (photoperiod-sensitive species requires species-specific night length): follow crop-specific critical daylengths (short‑day species need longer nights, long‑day species need long days or night interruption). • Seedlings: 16–22 h is common. Total DLI matters most; use photoperiod to reach DLI targets while staying within plant’s night requirement. For most home growers, set a consistent timer to avoid stray night light.
What daily durations and PPFD/DLI targets should I aim for by stage?
Stage-based guidance (convert PPFD×hours×0.0036 → DLI): • Seedlings & cuttings: DLI 5–10 mol·m⁻²·d⁻¹ → PPFD roughly 50–200 µmol·m⁻²·s⁻¹ (at 16–22 h). • Vegetative (leafy herbs/ornamentals): DLI 10–20 → PPFD ≈150–400 µmol·m⁻²·s⁻¹ (at 12–18 h). • Flowering/fruiting (fruiting veg, high-light ornamentals): DLI 15–30+ → PPFD ≈300–600+ µmol·m⁻²·s⁻¹ (commonly 12–16 h). Use species-specific targets within these ranges; some crops (e.g., basil) respond positively to much higher DLI up to ≈30–35 mol·m⁻²·d⁻¹ in experiments.
How should I position LEDs — how far above plants and when to raise or lower fixtures?
Distance guidance: • Low-light seedlings/cuttings: 12–24 in (30–60 cm) for many panel-style LEDs at low output; reduce distance for weaker fixtures. • Vegetative/medium PPFD: 12–18 in (30–45 cm) typical for many consumer fixtures. • High PPFD/flowering: 6–18 in (15–45 cm) depending on fixture power and manufacturer specs. Always check manufacturer recommended distances and measure PPFD at canopy. Raise fixtures if you see bleaching/necrosis, cupping, or scorched margins (symptoms of excess light/heat). Lower fixtures if you see elongation, pale thin leaves, or slow growth (symptoms of low light). Make small weekly adjustments (2–6 in/5–15 cm) rather than big swings.
What symptoms indicate too little or too much light (quick diagnostics)?
Too little light: elongated/stretchy stems (etiolation), small/pale leaves, slow growth, delayed or reduced flowering. Too much light/too close fixture: leaf bleaching or white patches, brown/necrotic spots at margins, leaf cupping or crisping, increased leaf reddening/anthocyanins in some species. If unsure, measure PPFD at canopy and compare to stage targets.
Next Articles
Should I Use a Grow Light in the Winter? Guide & Schedules
Decide if you need winter grow lights: easy checklist, LED recommendations, schedules, and setup tips.
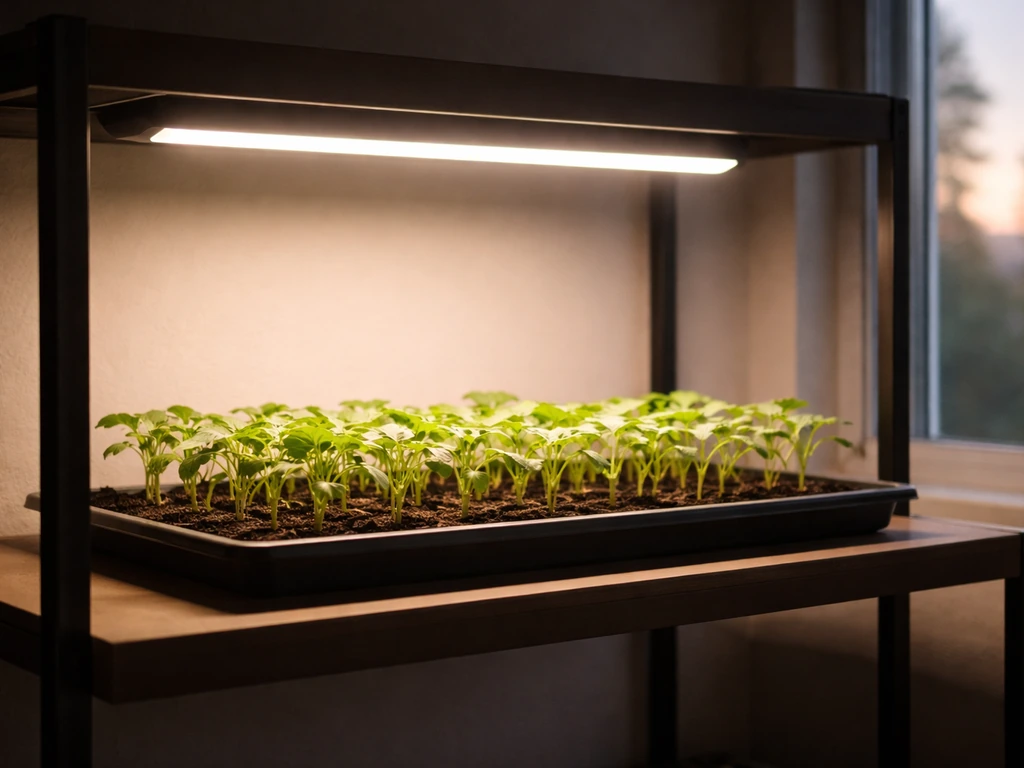
When to Turn On Grow Lights and When to Turn Off
Learn when to turn on and off grow lights by plant stage, with schedules and fixes for distance, intensity, and timing.
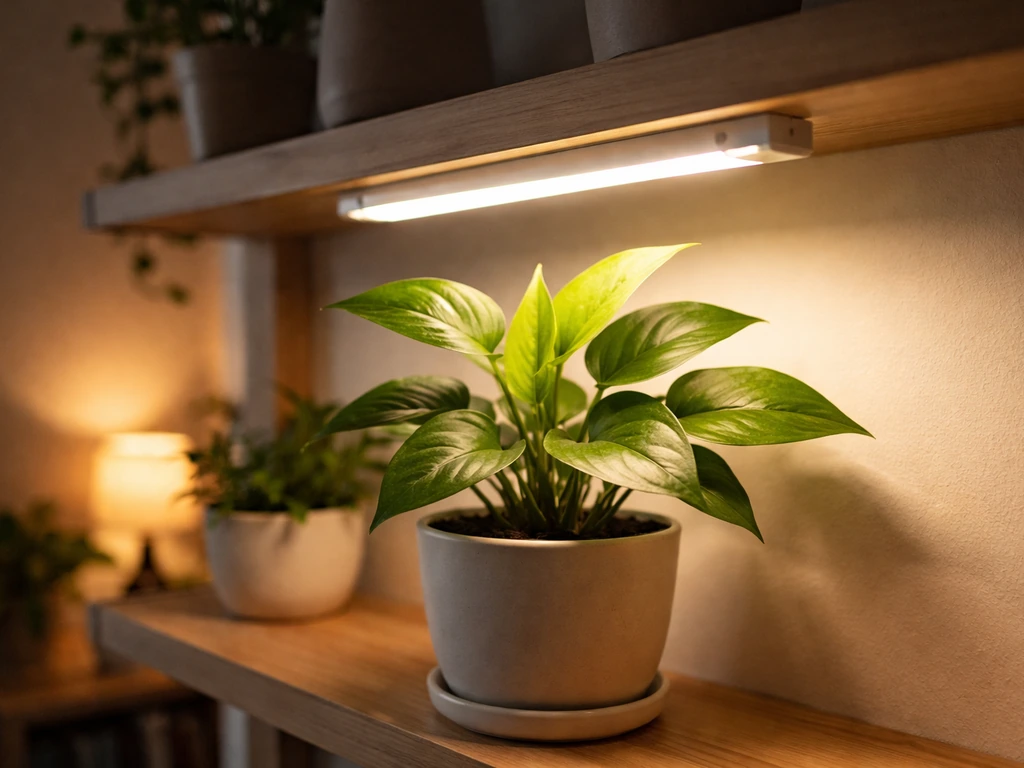
When to Use Grow Light: Signs, Timing, and Setup Tips
Learn when to use grow lights indoors, spot light-stress signs, and set timing, placement, and distance for healthier gr