Grow lights do not need to be directly centered above your plants to work well. In Mars Hydro’s FAQ (section 1), “hanging height” is clarified as the distance between the canopy and the LED grow lights, meaning recommendations are based on height-to-canopy rather than being centered directly above leaves. What actually matters is that your plants are receiving enough light intensity (measured as PPFD, or photosynthetic photon flux density) across the whole canopy. Overhead placement is simply the easiest way to deliver even coverage, but angled, offset, or side-mounted lights can produce the same results if you understand the tradeoffs and adjust accordingly.
Do Grow Lights Need to Be Directly Above Plants?
Marcus Holloway
21 Jun 2026
The real rule: intensity and coverage, not perfect centering

The reason everyone defaults to hanging a light directly above the plant is that it naturally spreads light the most evenly across the canopy. But the goal was never "centered overhead" for its own sake. The goal is getting enough photons to every leaf that needs them. As long as each part of your canopy hits its target PPFD, the light can be coming from an angle, from the side, or slightly off-center and your plants honestly will not care.
Where people run into trouble is assuming that because the fixture is "over" the plant, coverage is fine. A light that's too far away, aimed poorly, or only covering part of the canopy will underperform even when it's hanging dead center. Distance from the canopy and beam angle do more work than exact horizontal position. The WeGrowPros guide also notes that you can achieve acceptable uniformity by accounting for beam angle and how the fixture’s diodes are distributed, even if the light is offset or angled, as long as canopy PPFD is met beam angle and diode or fixture distribution can be managed to maintain uniform PPFD.
When overhead placement matters most
For some plants and goals, overhead centered placement is genuinely the best choice and worth setting up carefully.
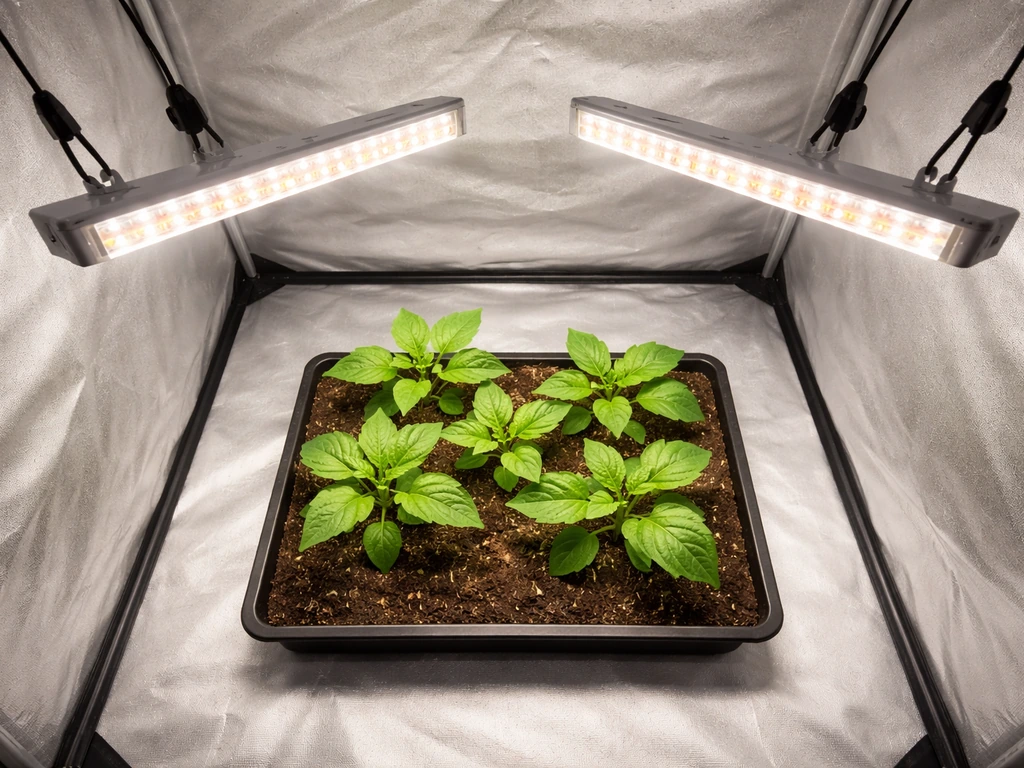
- Seedlings and young transplants: These are the most sensitive to uneven light. Seedlings that aren't getting uniform intensity from above will stretch toward the stronger side (etiolation), and you'll end up with weak, leggy plants before you even get started. University of Minnesota Extension recommends keeping lights no more than 4 inches above seedling tops, with 2 inches being ideal. At that close range, even a slight offset can create a meaningful intensity difference across a tray.
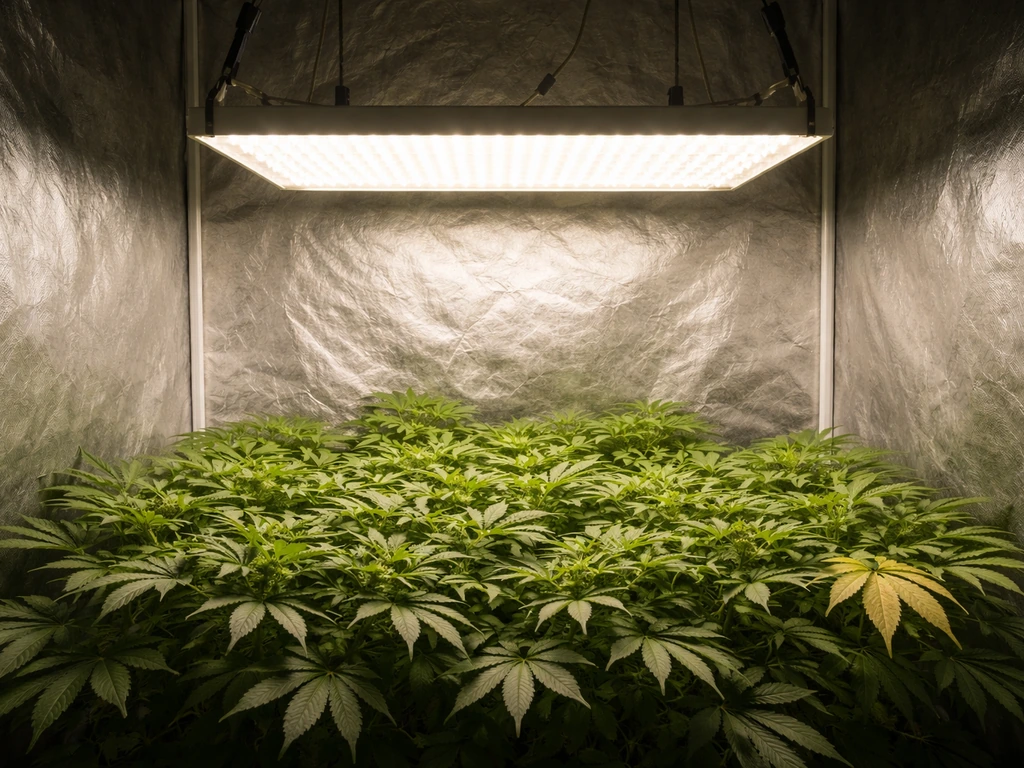
- Fruiting or flowering plants: Tomatoes, peppers, cannabis, and similar crops need high, consistent PPFD across the whole canopy to flower and fruit evenly. Overhead placement with proper coverage is the most reliable way to achieve that without hot spots or shadowed zones.
- Grow tents: The reflective walls of a grow tent are designed to work with overhead fixtures. Using an angled or offset light in a tent wastes the reflective advantage and creates uneven intensity.
- Compact, bushy plants: If a plant's canopy is wide and dense, overhead light is better at penetrating down through the leaves. Side or angled light tends to hit the outer edge well but misses the interior.
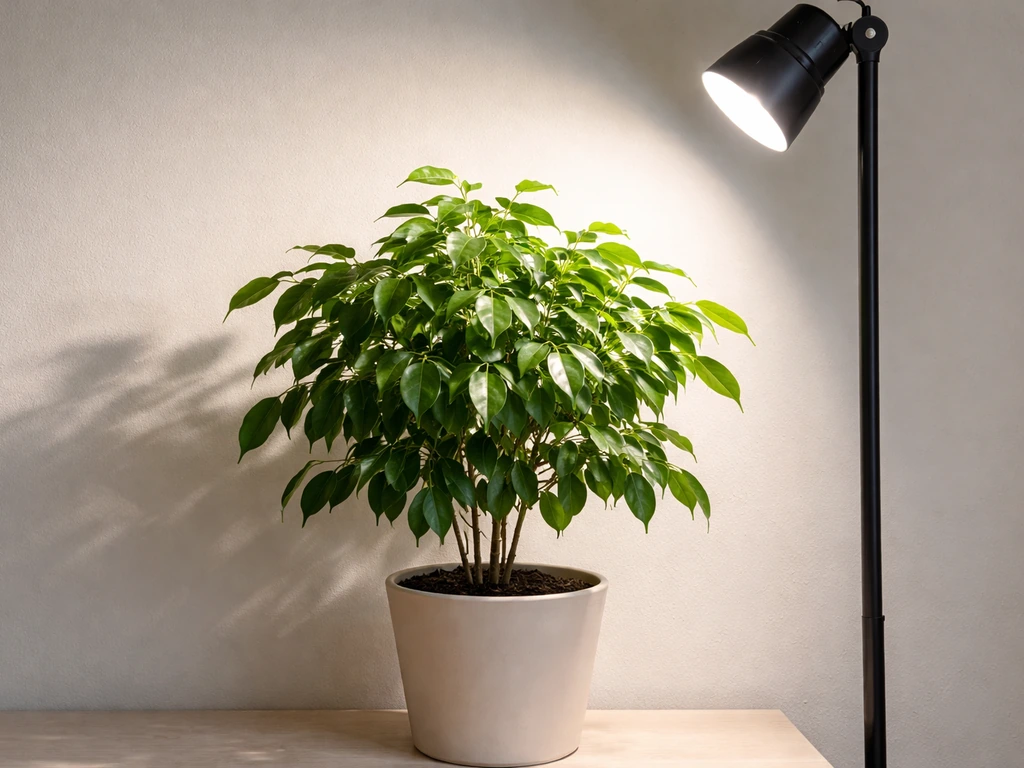
For lower-light houseplants, foliage plants, or herbs that just need supplemental light during winter, offset or angled placement is much more forgiving. A floor lamp-style grow light positioned to the side of a snake plant or pothos will do the job fine. Reflected light from walls and surfaces also contributes to what the plant receives, especially with shade-tolerant species.
How to position grow lights when they're not centered above
If overhead placement isn't an option for your setup, here's how to make an offset or angled position work without sacrificing plant performance.
Angle the light toward the center of the canopy
If your fixture is mounted to the side or slightly offset, tilt it so the beam is pointing toward the center of the plant, not straight down from where the fixture sits. Most LED grow lights have a defined beam angle (often 90 to 120 degrees), and that beam needs to cover as much of the leaf surface as possible. A fixture pointing at an empty corner is wasting most of its output.
Watch for shadow zones
Angled lighting creates shadows on the far side of the plant from the light source. For a single plant, rotate it every few days so all sides get even exposure. For a row of plants or a shelf setup, consider using two fixtures on opposite sides of the canopy to fill in the shadow zones each one creates.
Use beam angle to your advantage
Wider beam angles (120 degrees or more) spread light over a larger surface area but deliver less intensity at any given point. Narrower beam angles concentrate intensity but cover a smaller footprint. If your light is offset or elevated higher than ideal, a narrower beam angle can compensate by keeping PPFD high in the target zone. If your light is close and you want to cover multiple plants at once, a wider angle is better. This isn't as complicated as it sounds: check your fixture's spec sheet, and if it lists a beam angle, use that to estimate where coverage will be strongest.
Compensate with reflected surfaces
White walls, mylar sheeting, and even white pots reflect a meaningful amount of light back onto the plant. Iowa State University Extension notes that reflected light adds to canopy exposure even at lower intensity. If your light is offset, placing the plant near a white wall on the opposite side can help fill in the coverage gap without buying another fixture.
Distance and height: where to start

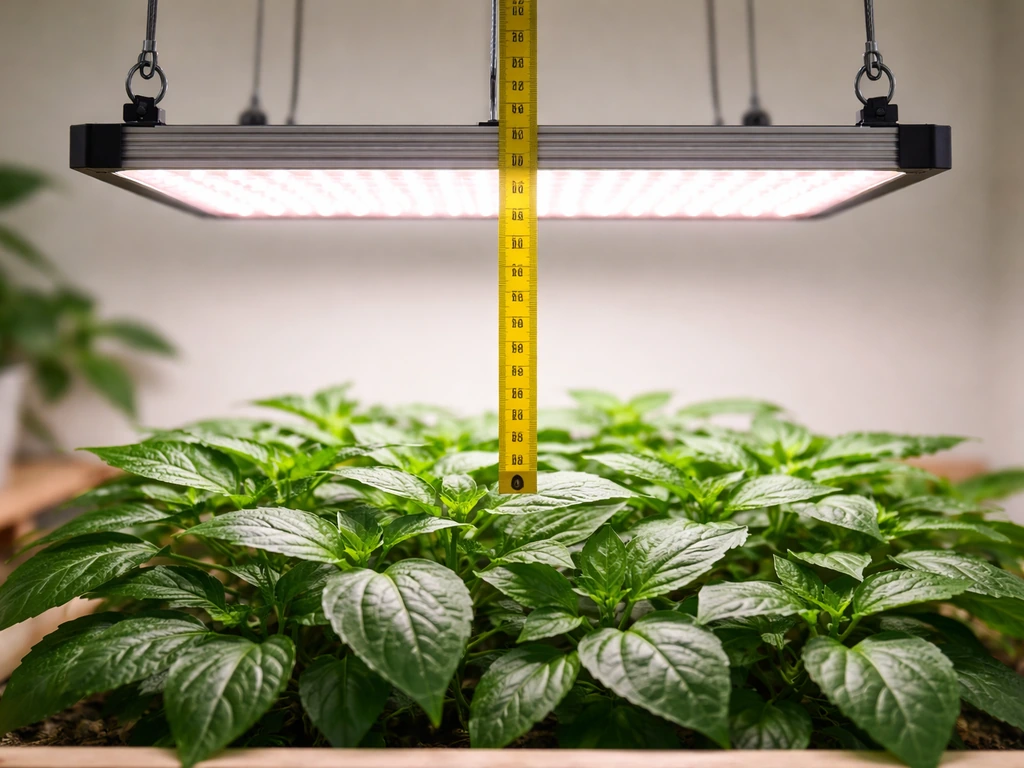
Whether your light is directly above or slightly offset, the distance between the fixture and the plant canopy is one of the most important variables you control. If you want a practical starting point for how close to put grow lights, begin with the distance that delivers the PPFD your plant needs at canopy level. Light intensity follows an inverse square relationship with distance: double the distance and you cut intensity to roughly one quarter. That's not a small difference.
| Growth stage | Recommended starting height (LED) | Notes |
|---|---|---|
| Seedlings | 2 to 4 inches | UMN Extension recommends 2 inches as ideal; no more than 4 inches |
| Vegetative growth | 12 to 24 inches | Varies by fixture wattage; start higher and move down if needed |
| Flowering / fruiting | 18 to 24 inches | High-output fixtures may need more distance to avoid bleaching |
| Low-light houseplants | 12 to 36 inches | Wide range depending on plant's light needs; observe response |
| Herbs and leafy greens | 6 to 12 inches | Most benefit from closer placement than decorative foliage plants |
These are starting points, not fixed rules. Manufacturers like Mars Hydro and Spider Farmer publish specific height and dimmer setting charts for their fixtures by growth stage, and those are worth using if you have one of those lights. The underlying logic is always the same: the chart exists to deliver a target PPFD to the canopy, not to enforce an exact height for its own sake.
If you want to get more precise, a PAR meter measures PPFD directly at canopy level. Place the sensor at the height of your plant's leaves (not at the fixture) with the lens facing the center of the light path. Most foliage houseplants do well in the 100 to 300 PPFD range; herbs and greens want 200 to 400; fruiting plants in flower want 400 to 800 or higher. A basic DLI target for shade-tolerant plants is around 5 to 10 mol/m²/day, while herbs and leafy greens sit closer to 10 to 20 mol/m²/day.
Signs your light position is wrong
Your plants will tell you when the light position isn't working. If you notice bleaching, scorched leaf edges, or slow growth despite higher settings, you may be pushing too much light in a grow tent. These are the signs to watch for and what they usually mean.
| Symptom | Likely cause | Fix |
|---|---|---|
| Leggy stretching, long gaps between nodes | Light too far away or coverage too uneven | Move light closer or reposition to cover the canopy more directly |
| Plants leaning or growing toward one side | Light is offset and intensity is uneven across canopy | Re-center the light, rotate the plant, or add a second light on the opposite side |
| Yellowing or bleaching on upper leaves | Light too close or too intense | Raise the fixture or reduce dimmer setting |
| Outer plants in a tray thriving, middle ones struggling | Fixture footprint too small for the tray; edge plants closer to beam center | Raise the light to widen coverage, or use a second fixture |
| Pale, washed-out new growth across the whole canopy | Overall intensity too low regardless of position | Lower the fixture, increase dimmer, or add another light |
| Crispy or scorched leaf tips closest to the fixture | Fixture too close, heat or intensity damage | Raise the light; check if fixture produces significant heat |
Stretching (etiolation) is by far the most common symptom with offset or poorly positioned lights. When a plant stretches toward a light source, it's telling you the intensity at its current position is too low. That can happen because the light is too far away, but it also happens when the plant is at the edge of the fixture's coverage zone and the center of the beam is elsewhere.
If you notice stretching, the light may also be too far away or too dim to deliver the PPFD your plant needs, which can happen even when the fixture is centered. Repositioning the light to bring the plant into the beam's sweet spot often fixes stretching faster than simply moving the light closer.
Keep in mind that too much light is also a real problem. If you're seeing bleaching, fading, or crispy patches on the leaves closest to the fixture, raise the light or dial back the intensity. This is separate from the question of position but worth mentioning because a lot of beginners overcorrect after seeing stretching by moving lights so close they cause damage. There's a sweet spot, and it usually takes a week or two of observation to find it for your specific setup.
Quick setup and troubleshooting checklist for today
If you're setting up or adjusting your grow light right now, work through this list in order. It takes about 10 minutes and covers the most common positioning mistakes.
- Measure your current canopy-to-fixture distance. Use a tape measure from the top of the tallest leaf to the underside of the light. Write it down so you have a baseline.
- Check that the beam is aimed at the plant, not just over it. If your fixture is offset or mounted to the side, tilt it so the light path runs through the center of the canopy, not off to one side.
- Set an appropriate starting height using the table above or your fixture's manufacturer chart. If you don't have either, start at 12 inches for most LED panels and observe for the first week.
- Check for stretching after 5 to 7 days. If new growth is elongated and spindly with wide gaps between nodes, the light is too far away or the plant is at the edge of the coverage zone. Move the light closer or re-center it over the plant.
- Check for bleaching or scorching after 3 to 5 days. If upper leaves are yellowing or look washed out, raise the light by 2 to 4 inches and check again in a few days.
- For uneven growth across multiple plants, raise the fixture to widen the light footprint, or rotate plant positions so each one spends time under the strongest part of the beam.
- If you can't get even coverage with one light, use white reflective surfaces on the walls, or consider adding a second low-cost fixture rather than straining one underpowered unit to cover too much area.
- Reassess every 2 weeks as plants grow. The canopy rises toward the fixture over time, so you'll need to adjust height regularly, especially during fast vegetative growth.
The bottom line is that grow light positioning is about delivering the right amount of light to the right parts of the plant, not about rigidly hanging a fixture in one specific spot. Start with overhead placement when you can because it's easier to dial in, but don't let an imperfect mounting situation stop you from growing. Angle it, offset it, prop it on a shelf: adjust based on what your plants show you, and you'll get there.
FAQ
If my grow light is slightly off to one side, will my plants still grow evenly?
Not necessarily. If the canopy gets the same PPFD across its width, plants grow fine even when the fixture is off-center. Use distance and angle first, then verify with a PAR meter if you need confidence, because horizontal position by itself does not guarantee even coverage.
Can a centered grow light still cause uneven results across the canopy?
Yes, but only up to a point. When a light is mounted very close, the beam can become so intense in the center that edges underperform, even though the fixture is centered. If you see bleaching on central leaves with weaker growth on the edges, raise the light or widen coverage by increasing beam spread (for example, using a higher dispersion angle fixture).
What should I do if my plants stretch toward the light even though the fixture is above them?
For most LED fixtures, “directly above” is usually unnecessary, but you should keep the plant within the light’s strongest footprint. If you notice stretching on the far side or corners, tilt the fixture so the beam intersects the canopy center, and consider rotating the plant or adding a second light to eliminate persistent shadow zones.
Does reflected light from walls or mylar mean I can ignore placement and height?
Reflective surfaces can help, but they are not a substitute for correct aiming. Reflections add usable light, yet they also come with direction and loss, so you still need the primary beam to hit the canopy. If your setup relies on wall bounce, place the plant closer to the reflective surface and monitor for leaf bleaching near the bounce path, not just at the center.
How often should I rotate a single plant when using an angled or side-mounted light?
A single plant can be rotated to balance shadows, but rotation is not a complete fix for wrong distance or an incorrect beam footprint. Rotating every few days helps, but if you still see consistent bleaching or stretching, adjust height and angle to bring the canopy into the beam’s sweet spot first.
How do I handle offset lighting for multiple plants on a shelf or in a row?
If you cannot mount overhead, aim the fixture so the beam travels through the canopy rather than landing on empty space between plants. For rows or shelves, two fixtures on opposite sides often work better than one offset unit because it reduces shadowing between plants, improving uniform PPFD without constantly moving individual pots.
Should I choose a wider or narrower beam angle if my light has to be mounted high?
Mounting too far away is one of the biggest causes of underperformance because intensity drops rapidly with distance. If your light is far, use a narrower beam only if it can still cover the full canopy. Otherwise, lower the light or increase output, then fine-tune with observation for stretching and bleaching.
If the fixture’s chart says one height, do I still need to adjust for offset placement?
Use the manufacturer chart as a starting point, then confirm at canopy height because real-world conditions like reflective walls, plant height changes, and dimmer nonlinearity can shift results. If you see persistent stretching or burning after a week or two, adjust in small steps and reassess, rather than changing multiple variables at once.
How quickly will my plants show that the light position is wrong?
Yes. Even a small change in distance can make a big difference because intensity follows an inverse-square relationship. If you move the fixture, recheck plant response after about 7 to 14 days, and consider using a PAR meter at canopy level if you want more precise targeting than visual cues alone.
What if I see signs of both stretching and leaf burn when using an offset light?
If it looks like “too much light,” reduce intensity or raise the light, and reassess rather than immediately moving it to an extreme position. Stretching and bleaching can be confusing because plants interpret them differently, so try to determine whether the issue is under-lighting at the leaf edges or over-intensity near the beam center, then adjust angle and height accordingly.
Next Articles
Can Plants Get Too Much Light From Grow Lights?
Yes. Spot overlight signs like bleaching, curling, stunting, heat stress and fix with distance, dimmer, timer.
How Close Should Grow Lights Be to Plants? Distances
Practical grow light heights for LEDs and fluorescents, plus spacing tips and troubleshooting for burn vs stretching.
What Type of Light Do Plants Need to Grow Indoors
Pick the right grow light indoors by spectrum, brightness, and placement so plants grow well, bloom, and stay healthy.