For most LED grow lights, start at 18 to 24 inches above your plant canopy. If you want the shortest path to the right height, use the guidelines for start distances, then fine-tune based on plant stress signs 18 to 24 inches. That range works for a wide variety of setups and gives you a safe baseline to adjust from. Seedlings and young sprouts do better with the light pulled back to blank" rel="noopener noreferrer">24 to 30 inches since they're sensitive to intensity, while flowering plants that need more light energy can handle 12 to 18 inches once they're established. Those aren't magic numbers, but they'll get you close enough to start without frying anything.
How Close to Put LED Grow Lights for Best Plant Growth
Marcus Holloway
9 Jul 2026
What actually changes the right distance
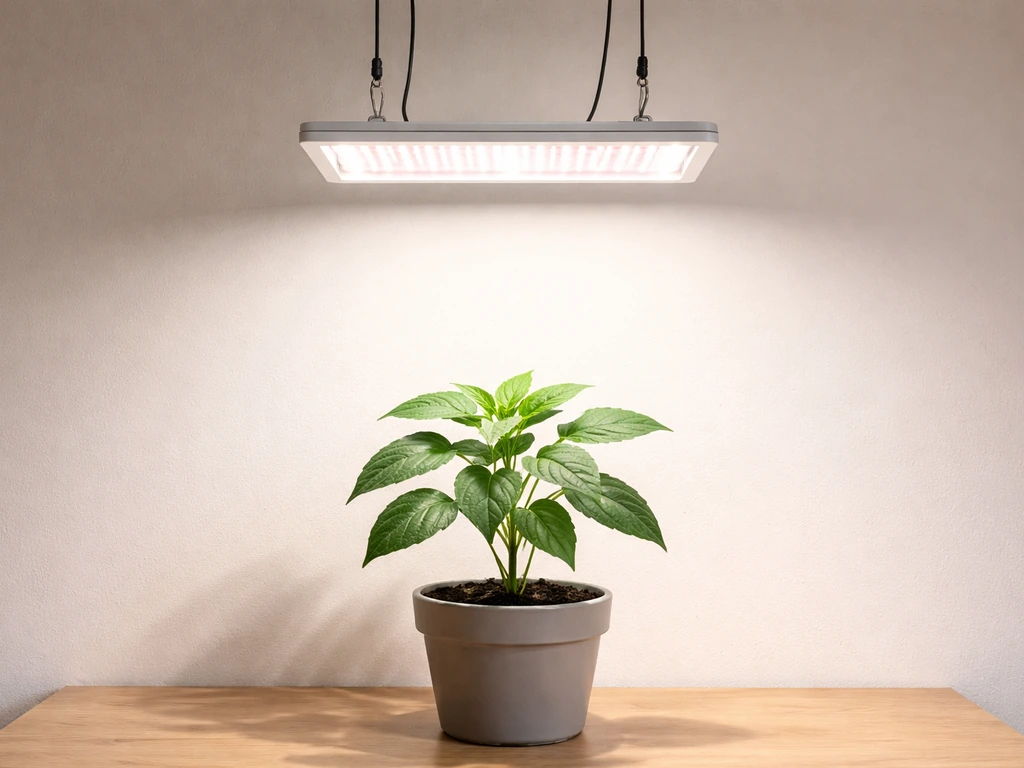
Distance isn't a one-size answer because three variables all interact: what you're growing, what stage it's in, and how powerful your light actually is. Get all three right and your plants will tell you they're happy. Ignore one and you'll spend weeks wondering why things look off.
Plant type matters more than most guides admit
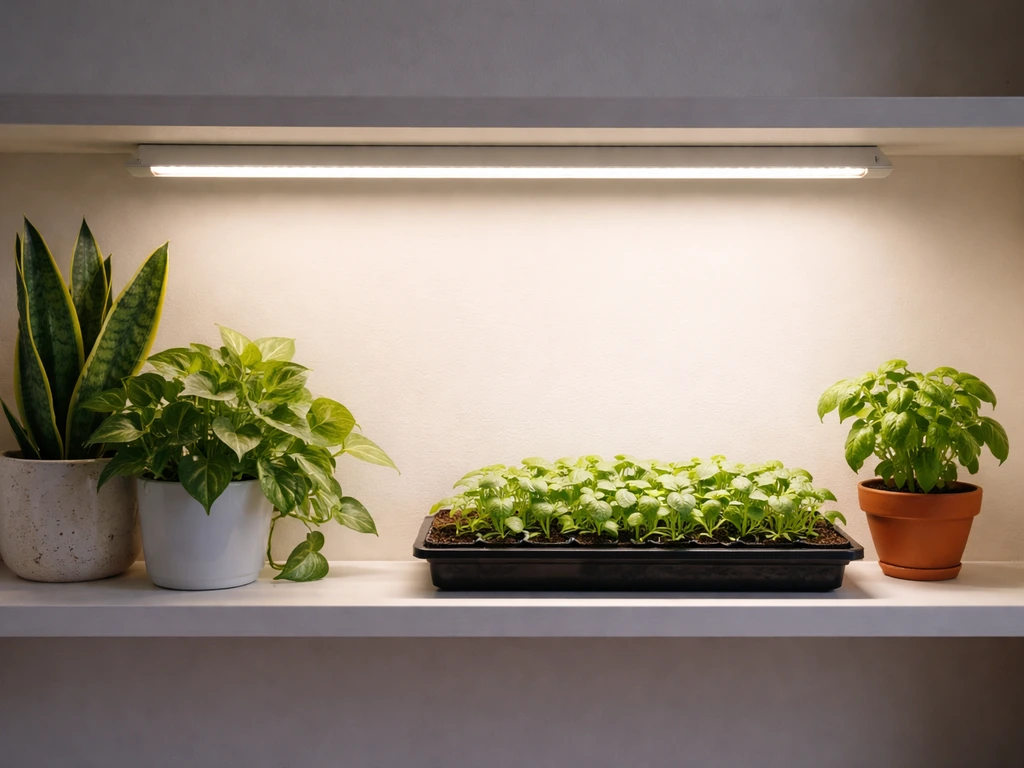
Low-light houseplants like pothos, snake plants, or peace lilies genuinely don't want intense light. Keep those 24 to 36 inches from even a mid-power LED. Herbs like basil, cilantro, and mint sit in the middle range and do well around 18 to 24 inches. Fruiting plants, tomatoes, peppers, and cannabis all want serious intensity and can be pushed to 12 to 18 inches once they're in their productive stages. The general rule: the more light a plant naturally wants outdoors, the closer you can run your light.
Growth stage changes everything
Seedlings and freshly sprouted plants need light to see them through, but they're not ready for full blast. Pull the light back to 24 to 30 inches during germination and the first few weeks of growth. As plants hit a vegetative stride and start putting on real leaf mass, you can bring the light down to around 18 to 24 inches. When flowering plants switch into production mode, closer is better as long as you're watching for stress signs. A practical example from one manufacturer's guide for a 100W-class LED: 24 inches for veg, 15 inches for flower. That kind of stage-based thinking applies broadly.
Light power (and whether you have a dimmer) shifts everything
A cheap 45W LED panel needs to be much closer than a 650W quantum board running at full power. Light intensity follows the inverse-square law, which means moving a light twice as far away doesn't halve the intensity, it drops it to one-quarter. That works in your favor when a light is too intense: pulling it back 6 inches makes a big difference. If your light has a dimmer, use it.
Running a powerful light at 50 to 75% power from a standard 18 to 24 inch height is often smarter than trying to hang it at an awkward height. Illinois Extension also advises using supplemental light and adjusting the distance so fixtures aren't placed too far for adequate intensity over time run your light at 18 to 24 inch height.
Manufacturer PPFD charts (if your light came with them) show you exactly how intensity maps at different heights, which is genuinely useful data.
Plant signs that tell you to move the light
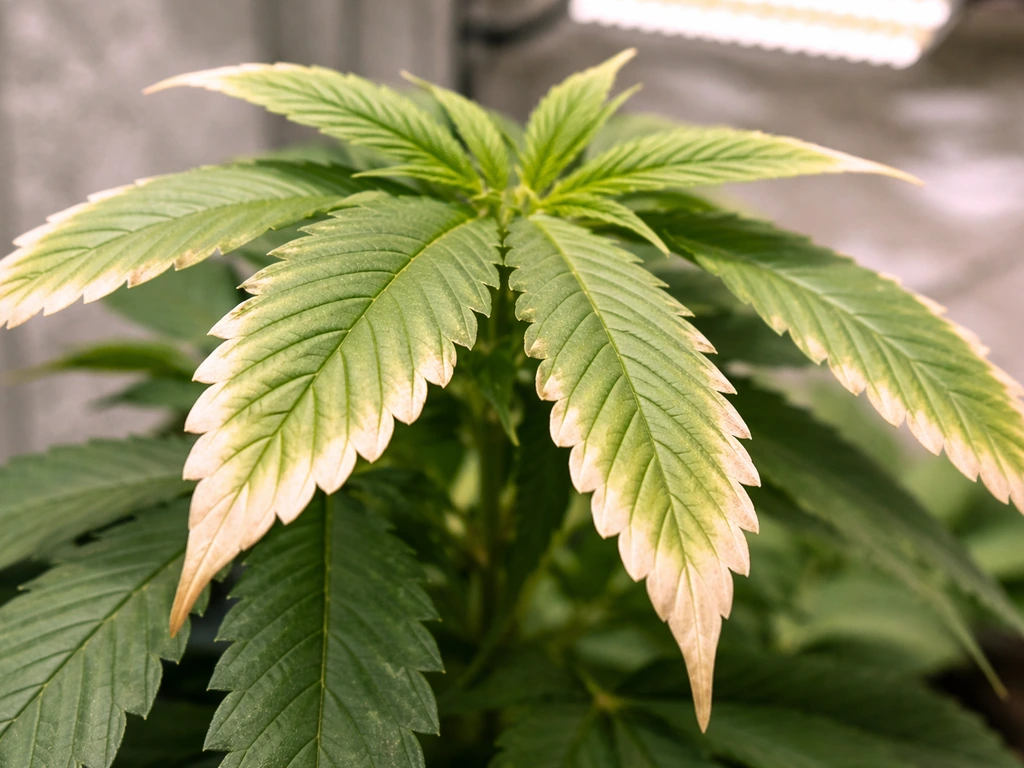
Your plants will always give you feedback faster than any chart. Learning to read these signals is the real skill.
Signs the light is too close (or too intense)
- Leaf edges or tips turning pale yellow or white, sometimes called bleaching. Unlike nutrient deficiencies, bleaching starts at the top of the plant nearest the light and the tissue doesn't recover color once it's gone.
- Leaves curling upward at the edges or folding lengthwise into a taco shape. This is a heat and intensity stress response, not a watering issue.
- Upward-facing leaves showing fading or brown crispy spots while lower leaves look fine.
- Stunted new growth or leaves that seem to stop expanding despite otherwise healthy conditions.
Signs the light is too far (or too dim)
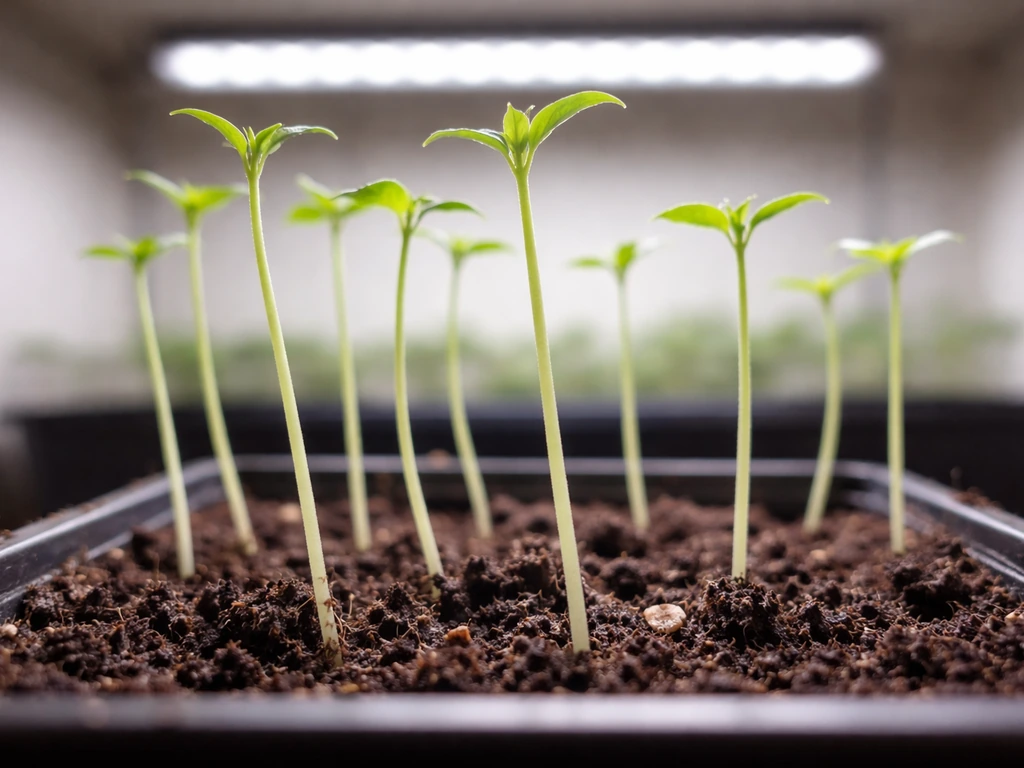
- Seedlings stretching tall and thin toward the light, called etiolation. This is the most obvious and common sign of insufficient intensity.
- Long internodal gaps on stems, where leaves are spaced far apart instead of compact.
- Pale green or washed-out leaf color that isn't explained by watering or nutrients.
- Flowering plants that just won't flower, or herbs that grow but never really thrive.
Both of these problems are fixable, but too-close damage (especially bleaching) can be permanent on the affected tissue. Both of these problems are fixable, but too-close damage (especially bleaching) can be permanent on the affected tissue can grow light be too close to plants. When in doubt, err slightly farther away and work your way in rather than starting too close.
How to measure and fine-tune your setup
The no-tool method: your hand test and plant watching
Hold the back of your hand at canopy level for 30 seconds. You should feel mild warmth at most, not heat. If it's uncomfortable to hold your hand there, the light is too close or too hot and needs to move up. Beyond that, the most reliable free method is checking your plants every two to three days during the first two weeks of a new setup. Adjust by 2 to 3 inch increments and give plants a few days to respond before moving the light again.
Using a PAR or light meter
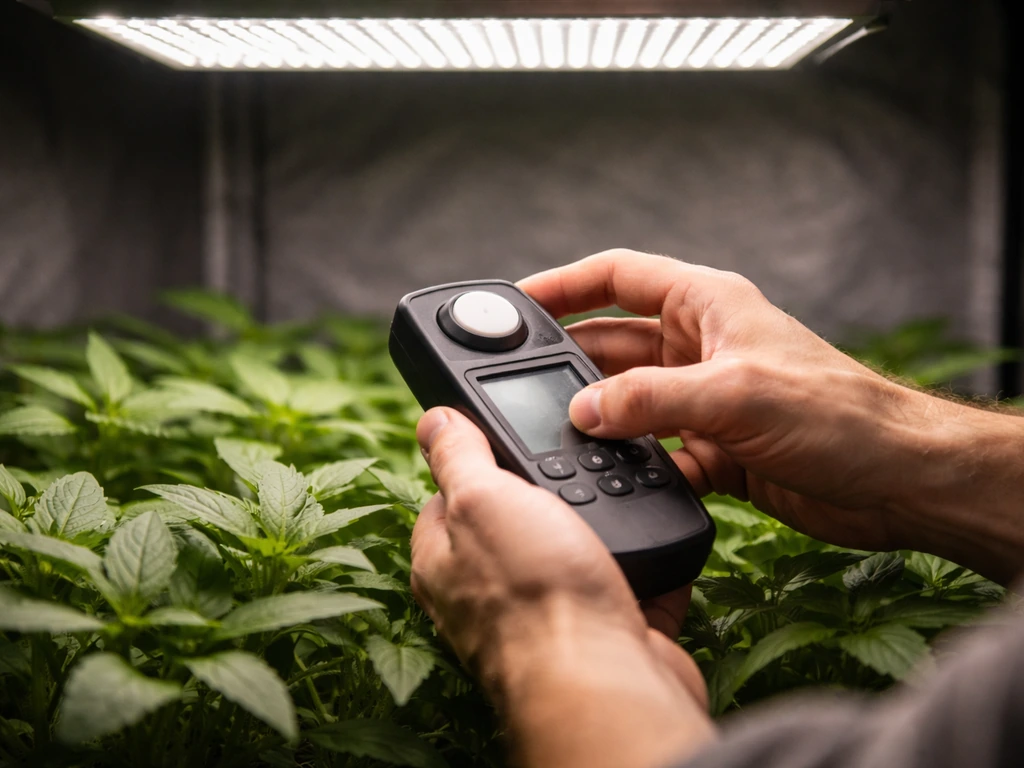
If you want to take the guesswork out, a PAR meter (which measures PPFD, or photosynthetic photon flux density in micromoles per square meter per second) gives you real numbers to work with. Hold the sensor level at canopy height, since a tilted sensor gives you inaccurate readings. Most leafy herbs and vegetables want somewhere between 200 and 400 µmol/m²/s for decent growth.
Fruiting plants and high-light crops push toward 400 to 800 µmol/m²/s. Cannabis in flower can use 800 to 1000+ µmol/m²/s if CO2 is supplemented, but under normal home conditions stay under 800. Dedicated PAR meters like those from Apogee are accurate but pricey. A budget option like the Apogee MQ-610 or cheaper alternatives still gives you directional data that beats guessing.
Just make sure your meter is calibrated or described as suitable for LED spectra, since some older sensors were built for different light sources and can give skewed readings.
The DLI approach: thinking in daily totals
PPFD is the intensity at a moment in time, but what plants actually accumulate is the total light over the day, called Daily Light Integral (DLI). You can hit the same DLI target with a higher-intensity light run for fewer hours, or a lower-intensity light run longer. For example, a target DLI of 10 mol/m²/day can be reached with 150 µmol/m²/s over 18 hours, or 300 µmol/m²/s over 9 hours. This matters practically: if you can't move your light closer, run it longer. If you're worried about heat from long runtimes, move it slightly closer and run it shorter.
Distance rules differ by light type
Not all LED grow lights behave the same, and the form factor changes the distance rules significantly. Not all grow lights behave the same, so you do need to watch whether your specific setup stays safely within the ideal distance rather than assuming it must be directly above plants.
| Light Type | Typical Starting Distance | Notes |
|---|---|---|
| Full-spectrum LED panel (budget, 45–100W) | 12–18 inches | Lower intensity; needs to be closer to deliver adequate PPFD |
| Quantum board (200–650W) | 18–30 inches | High output; dimmer highly recommended for seedlings |
| LED grow light bars/strips | 12–24 inches depending on array density | Even coverage but lower per-bar intensity; closer for low-light plants is fine |
| COB LED (high-intensity) | 18–36 inches | Very intense center hotspot; wider distance prevents bleaching directly under |
| Screw-in LED grow bulbs | 6–12 inches | Low total output; need to be close; best for single plants or supplementing |
| Fluorescent (T5/T8) for comparison | 4–9 inches | Much lower intensity than LED; must be kept very close to work at all |
Quantum boards are the most common high-end option right now and are genuinely powerful. Treat them with respect during seedling stages: a 300W+ quantum board at 18 inches and full power can stress young seedlings. Start at 24 to 30 inches or dim it to 50% and bring both the distance and the power up gradually as plants develop. LED bars and strips in a multi-bar array spread light more evenly, which reduces hotspot risk but also means you need to think about total coverage area versus intensity.
Safety, heat, and the stuff people get wrong
LEDs still produce heat, and it matters
A common misconception is that LEDs run cool. Modern high-power LEDs produce real heat, just less than HID or incandescent alternatives. The heat is concentrated in the driver and heatsink rather than radiating downward toward plants as strongly, but it's still there. In a grow tent or enclosed space with limited ventilation, heat can build up to levels that stress plants even if the light itself is at the right height.
If you notice heat stress or leaf problems, you might be able to have too much light for your grow tent even when the height seems right too much light in a grow tent. Make sure there's airflow around the sides and top of the fixture, not just below it. A thermometer at canopy level is a genuinely useful tool: keep temperatures in the 70 to 85°F range at canopy height.
Electrical safety and clearances
Always make sure your outlet, power strip, timer, and extension cord are rated for the total electrical draw of your setup. A 650W light pulling near full load through an undersized power strip or a long, thin extension cord is a fire risk. Use a power strip or outlet rated comfortably above your total wattage and keep cords away from water sources (which in a plant-growing environment is more important than it sounds). Your light's manual will specify minimum clearance distances to combustibles like wood, fabric, or plastic, and those numbers exist for good reason, so follow them. UL-listed fixtures follow standards that include spacing requirements, so buying lights that carry that certification is a good baseline.
Will a grow light burn your plants directly?
Modern LEDs are very unlikely to cause a physical heat burn on plant tissue from light radiation alone unless the light is absurdly close, like within a couple of inches. What people usually call a light burn is actually photoinhibition, where the plant's photosynthetic machinery gets overwhelmed by too many photons. If you’re wondering can grow lights be too bright, the short answer is yes, and plants will show stress when the intensity is beyond what they can handle.
The result looks like bleaching or blanching at the tips and tops. It's not a thermal scorch from heat but a biochemical stress response, and it won't recover on the affected leaves. The fix is exactly what you'd expect: move the light up or dim it down.
A simple starting plan you can use today
- Check your light's manual for a manufacturer-recommended height. If it includes a stage-based chart, use it as your starting point rather than a generic guide.
- If you have no manual, start at 24 inches for most setups. Use 30 inches for seedlings or sprouts. Use 18 inches for established vegetative plants with a mid-power light.
- Run the light at your target photoperiod (16 hours for veg, 12 for flower) and check plants after 3 days.
- Look for stretching (move closer or add hours) or bleaching/tacoing (move farther or dim down).
- Make adjustments in 2 to 3 inch increments, not big jumps, and wait 3 to 5 days between changes.
- If your light has a dimmer, use it. Start seedlings at 50 to 60% power and increase as they mature.
- If you can get a PAR meter reading, aim for 200 to 400 µmol/m²/s at canopy for veg, 400 to 800 for flowering plants.
- Keep an eye on canopy temperature. If it's pushing above 85°F at leaf level, improve airflow before adjusting light distance.
The biggest thing to know is that there's no single perfect distance, there's a range that works and a feedback loop that gets you dialed in. Plants are pretty communicative once you know what to look for. Start conservative, watch closely for the first two weeks, and adjust incrementally. You'll figure out your specific light and setup faster than you expect.
FAQ
If I just set up a new LED panel, what’s a safe default height to start at?
Start with 24 inches and then adjust based on plant response. If you see bleaching at the very top leaves or pale, washed-out color across new growth, move the light up 2 to 3 inches or reduce output (if your fixture has a dimmer).
How can I tell whether my plants are stressed because the light is too close or because the tent is too hot?
Don’t raise it immediately if symptoms show up. Instead, confirm whether it’s light stress versus heat stress by checking canopy temperature (use a thermometer at leaf level). If temps are in the 70 to 85°F range but leaves look bleached, raise/dim the light. If temps are high, improve airflow or adjust fixture position.
What should I do if I can’t lower the grow light closer than a certain height?
Use distance and runtime as a combined adjustment. If you cannot move the light closer due to clearance or heat, keep the height and run longer to reach your target DLI, for example adding a few hours per day, then re-check leaf color and growth rate after several days.
Is using a dimmer the same as lowering the light?
Yes, but only if you can confidently reduce intensity. Use a dimmer to start seedlings farther away or at lower power, then gradually increase both distance and output as leaves establish. If you dim and still see bleaching, move up regardless.
Do the distance rules change if my LED has strong hotspots or uneven coverage?
Sometimes. If the fixture has noticeable hotspots (bright center, dim edges), you may need to raise the light slightly and increase coverage area, or use multiple bars/boards so intensity is more uniform. A single board too low can overexpose the center even if the edges look fine.
How close should I put grow lights during germination and the first week after sprouting?
For germination, keep it around 24 to 30 inches or run at reduced power, then bring it down toward 18 to 24 inches once you have steady vegetative growth. Avoid making large height changes during the first week, since plants typically take a few days to show the effect.
What plant signs should I use to decide whether to move the light up or down?
Look for bleaching or blanching (often on tips and tops) for too much intensity. Stretching with darker, thin leaves can also happen if intensity is too low, so raise intensity by lowering the light a little (2 to 3 inches) rather than only increasing hours.
When using a PAR or PPFD meter, how exactly should I measure to avoid bad readings?
Use your PAR meter at canopy height and keep the sensor perpendicular to the light. If you tilt the sensor, you can read artificially low or high values, leading you to set the wrong distance. Re-check at multiple spots if you’re growing more than one plant area.
Does adjusting the photoperiod affect how close I should put the grow light?
Yes. If your timer or photoperiod changes, DLI changes too, and the same light height can suddenly become too intense or not intense enough. Keep schedule consistent for at least a few days before you make height adjustments.
What if my plants are different heights, do I set the light distance for the tallest or the average?
Cover the whole canopy, not just one plant. If your plants are different heights, the taller ones will get stressed first. Either raise the light for uniformity, use staggered plant heights, or target the intensity for the tallest plants and supplement shorter ones if needed.
Can LED grow lights cause problems even when the height seems right?
Usually not, but enclosed setups can still cause trouble. Even if the light itself is the correct height, poor airflow can raise canopy temperature. If leaves show heat-like droop alongside warm canopy readings, focus on ventilation first before moving the fixture.
Is the recommended distance to plants the same as the clearance distance to the ceiling or tent material?
Follow the fixture manual’s clearance to combustibles, and treat it as separate from the plant-distance guidance. Heat and electrical load can also force practical limits, so choose a height that satisfies both plant intensity needs and clearance requirements.
How much should I adjust the light each time, and how fast should I expect results?
Avoid tiny adjustments every day. Change the height in 2 to 3 inch increments, wait a couple of days, then reassess. That prevents over-correcting and makes it easier to recognize which change actually fixed the issue.
Next Articles
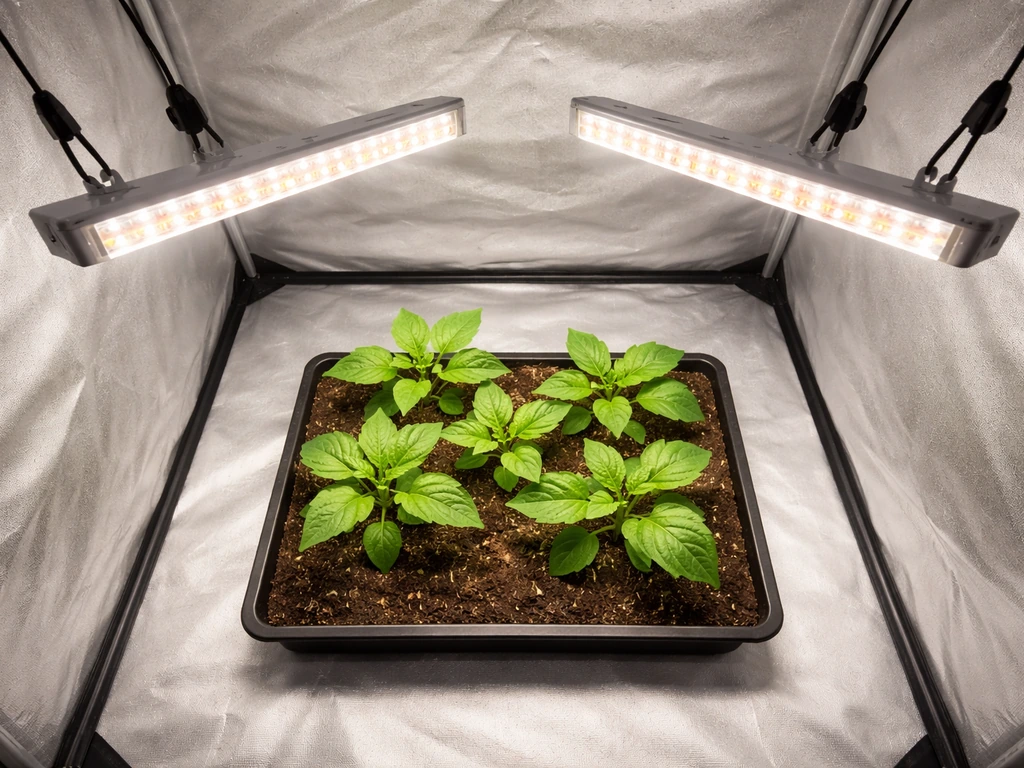
Do Grow Lights Need to Be Directly Above Plants?
Learn when grow lights must be directly overhead and how to set height, angle, and distance to prevent leggy or scorchin
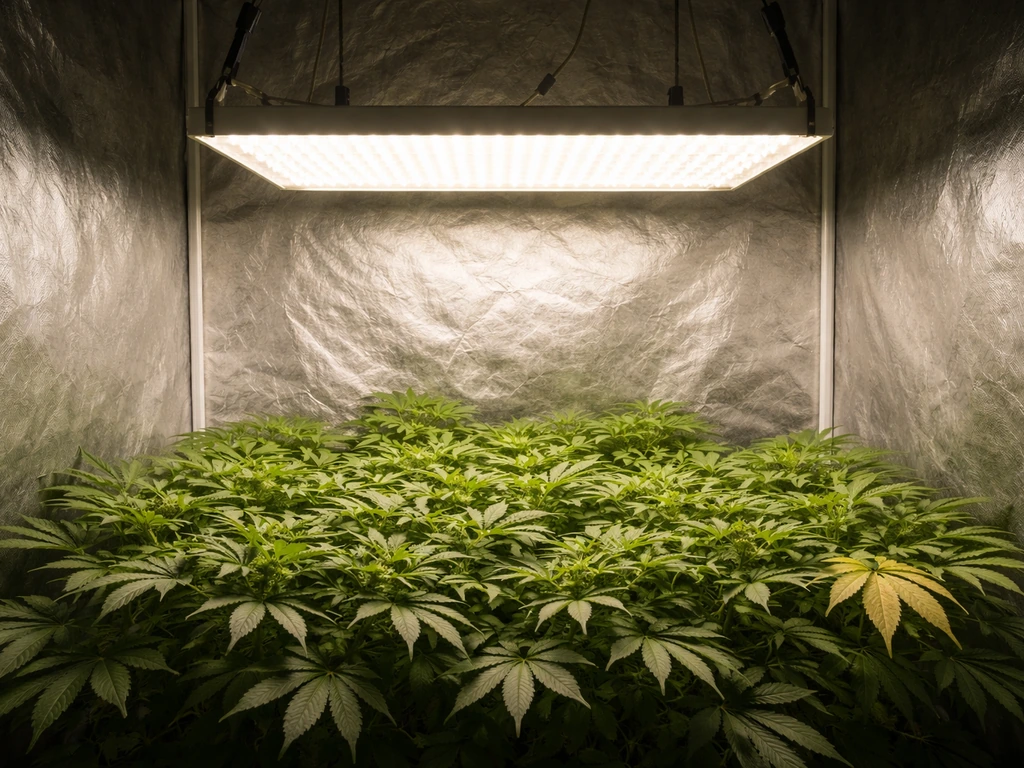
Can Plants Get Too Much Light From Grow Lights?
Yes. Spot overlight signs like bleaching, curling, stunting, heat stress and fix with distance, dimmer, timer.
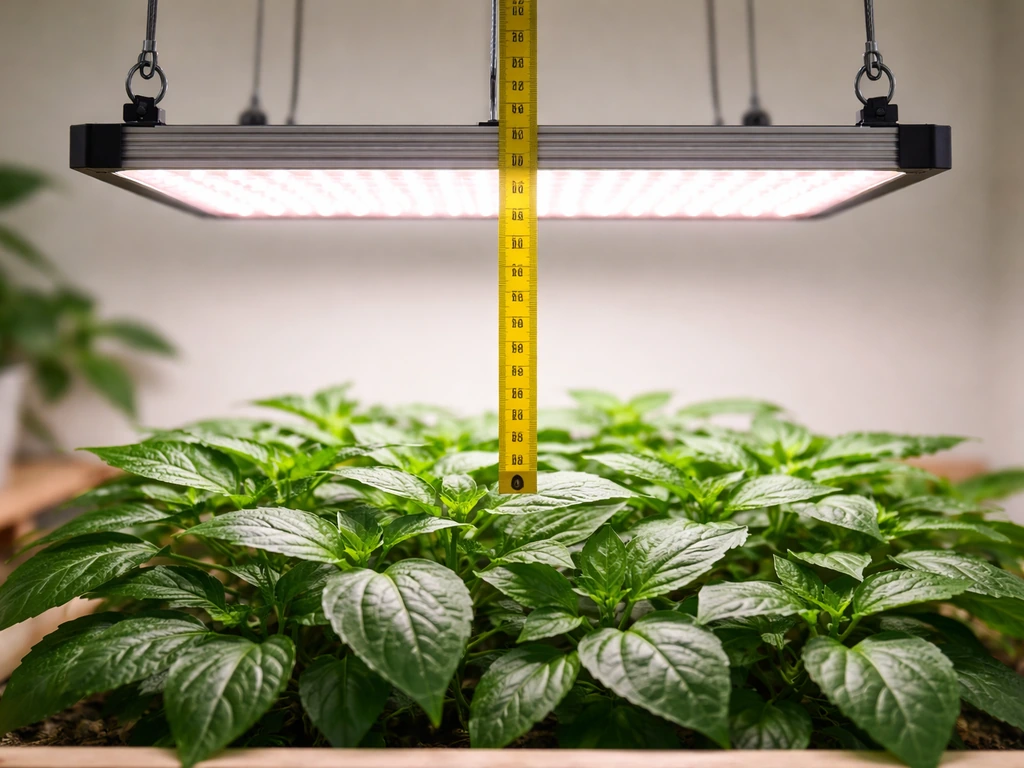
How Close Should Grow Lights Be to Plants? Distances
Practical grow light heights for LEDs and fluorescents, plus spacing tips and troubleshooting for burn vs stretching.