Yes, plants absolutely can get too much light from grow lights, and it happens more often than most beginners expect. Over-lighting shows up in two ways: the intensity is too high (the light is too strong or too close), or the photoperiod is too long (the light is on for too many hours). Either one stresses your plants, and both together can cause real damage fast.
Can Plants Get Too Much Light From Grow Lights?
Marcus Holloway
10 Jun 2026
A Connecticut CAES diagnostic checklist also recommends using a structured process to rule out other stressors, such as fertilizer and root damage, when leaves change raise the light, reduce the hours, or both.
The good news is that once you know what to look for, the fix is usually simple: raise the light, reduce the hours, or both.
Yes, plants can be overlit, here's why
Plants have a photosynthetic capacity, meaning there's only so much light energy they can actually use at any moment. When photon flux exceeds that capacity, the excess energy doesn't just go to waste, it can actively damage the photosynthetic machinery inside the leaf. Scientists call this photoinhibition: light-induced damage that reduces the plant's ability to photosynthesize efficiently. Think of it like trying to fill a bucket with a firehose. The bucket fills and then overflows, and the water (light energy) that keeps coming just causes a mess.
On top of intensity, duration matters just as much. Many plants need a rest period in darkness, and most extensions agree you should never exceed 16 hours of light in a 24-hour cycle. Going beyond that doesn't just fatigue the plant, it can interfere with photoperiod-sensitive processes like flowering. Some plants use the length of the dark period as a biological clock signal, so running your lights 20+ hours a day doesn't just stress them, it can prevent them from ever blooming.
Warning signs your grow light is too strong or on too long
These are the symptoms I've seen personally and that extension research consistently links to over-lighting. The tricky part is that some of them overlap with nutrient deficiencies or watering problems, so you need to look at the full picture before assuming the light is the cause.
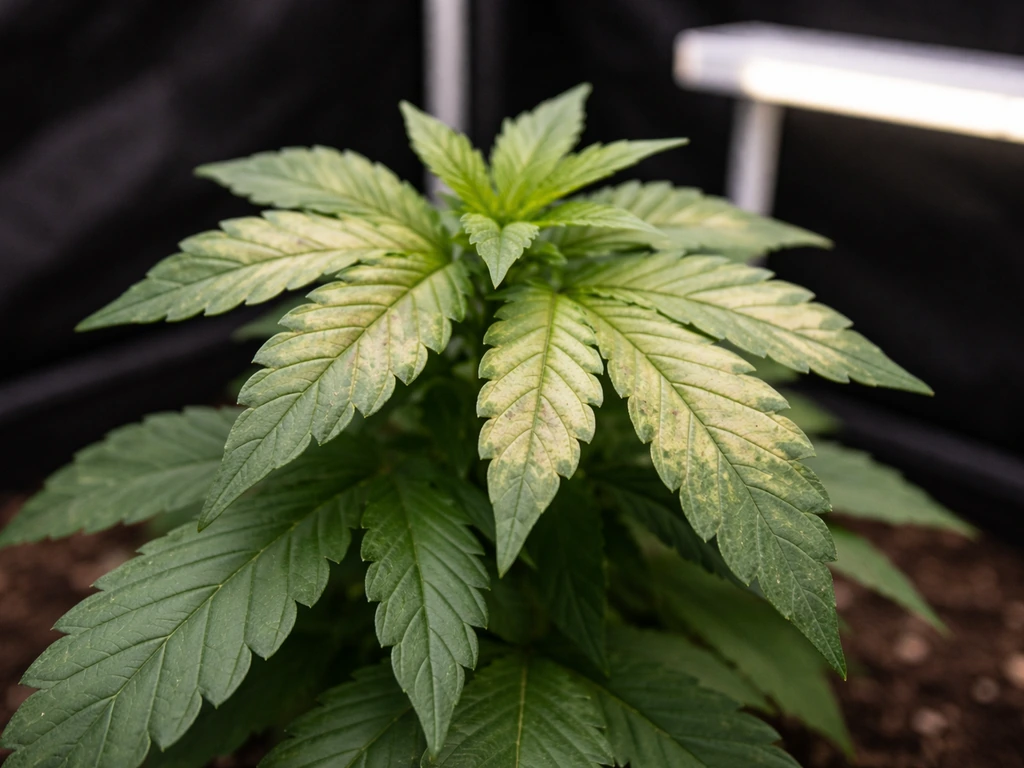
- Leaf bleaching or pale yellow-white patches, especially on the top surface facing the light
- Leaf edges or tips that look scorched or crispy, even when the soil moisture is fine
- Leaves that feel crinkled, stiff, or leathery to the touch (a classic proximity symptom)
- Short, stubby petioles (the stems connecting leaves to the main stalk), giving the plant a compressed, crowded look
- Leaves curling upward or downward, especially in the canopy closest to the light
- Slowed or stalled growth despite adequate watering and feeding
- Bleached or faded patches that appear suddenly after you moved the light closer or increased intensity
The crinkled/leathery texture and short petioles are particularly useful diagnostic clues because they're hard to confuse with a watering issue. Nutrient deficiencies tend to start at the leaf margins or in a specific color pattern (yellowing between veins, for example), while over-lighting tends to cause bleaching and texture changes across the upper leaf surface. If your leaves are yellowing uniformly from the bottom of the plant up, that's more likely nitrogen deficiency than light damage. When symptoms appear only on leaves directly under and close to the fixture, the light is almost certainly the culprit.
Intensity vs. photoperiod: two different problems, two different fixes
These two issues get lumped together but they work differently, and the fix for each is different. Intensity is about how many photons hit the leaf surface per second (measured in PPFD, or micromoles per square meter per second). Photoperiod is simply how many hours the light is on. Together they determine your plant's daily light dose, called DLI (Daily Light Integral), measured in mol/m²/day. If either the intensity or the duration is too high, the total daily dose can overwhelm the plant.
Here's a practical example: a PPFD of 250 µmol/m²/s running for 16 hours gives a DLI of roughly 14.4 mol/m²/day. That's appropriate for many leafy greens. But if you're running 500 µmol/m²/s for 18 hours, you're delivering more than double that dose, way too much for lettuce or herbs, and potentially stressful even for high-light crops. The point is that running lights longer doesn't automatically fix weak growth if the intensity is already appropriate, and it can push a properly-lit plant into overexposure territory.
| Problem | Likely Cause | Fix |
|---|---|---|
| Bleaching, scorching, leathery leaves at canopy | Intensity too high (light too close or too bright) | Raise the fixture or dim output |
| Good leaf appearance but no flowering or disrupted bloom cycle | Photoperiod too long, disrupting dark period | Shorten the on-time, cap at 16 hours max |
| Both symptoms present | Intensity AND duration excessive | Raise light and shorten timer simultaneously |
| Leggy, stretching plants | Intensity too low (not overlit — underlit) | Lower the fixture or increase brightness |
How symptoms differ by plant type
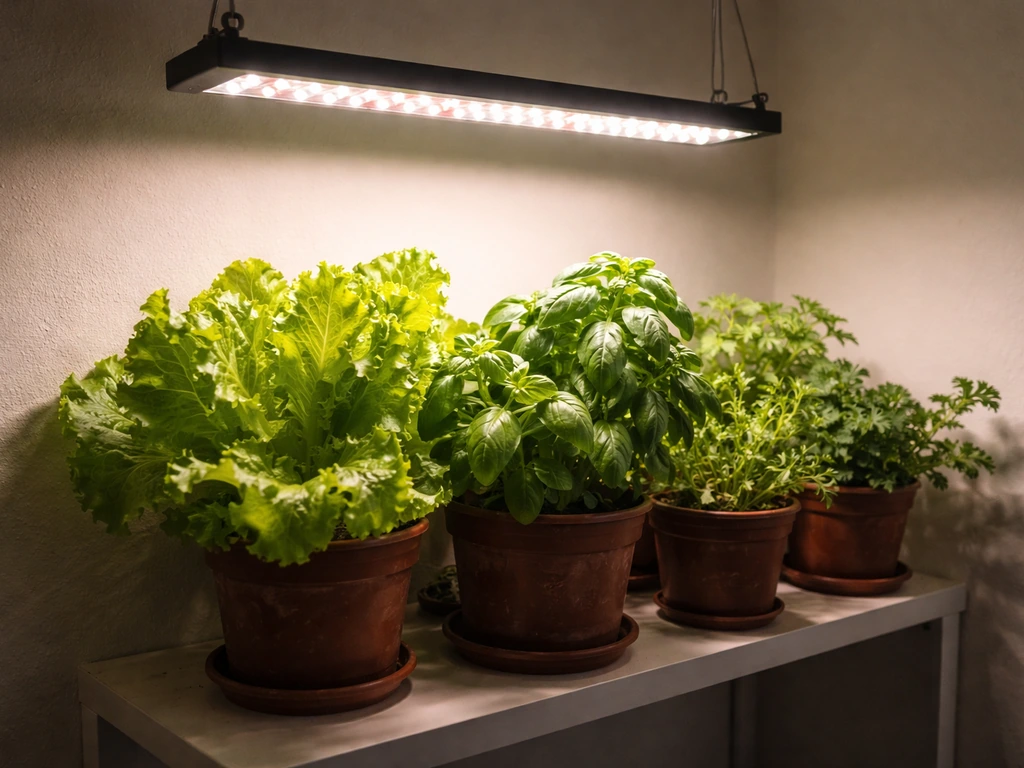
Leafy greens (lettuce, spinach, kale, herbs)
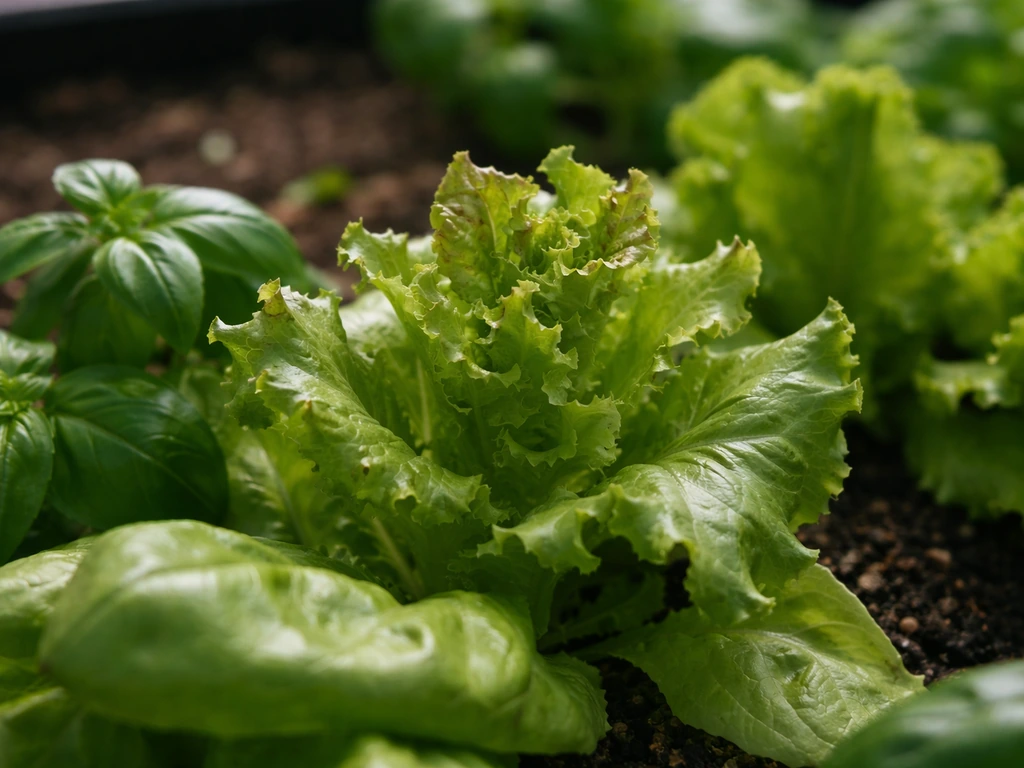
These are moderate-light plants. Target PPFD for vegetative leafy greens is roughly 100–400 µmol/m²/s, and DLI targets are typically in the 10–20 mol/m²/day range. Push them above that and you'll see bleaching and tip burn first, lettuce is especially prone to calcium-related tip burn when light intensity exceeds what the plant can transpire through. Herbs like basil will bolt and flower prematurely under excessive photoperiods even before you see physical leaf damage. If your lettuce looks washed out and the edges are browning despite correct watering, your light is almost certainly too intense or too close.
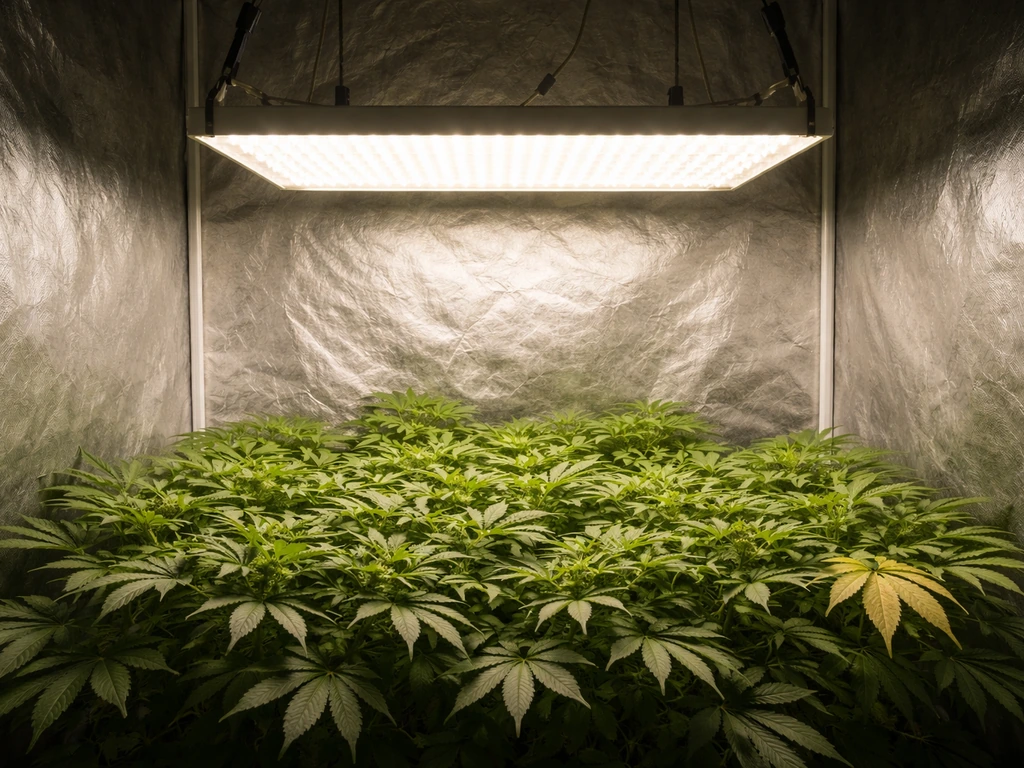
Flowering plants and fruiting crops (tomatoes, peppers, cannabis)
Flowering plants tolerate higher PPFD, roughly 400–1,200 µmol/m²/s depending on species and growth stage, but they're far more sensitive to photoperiod. Short-day flowering plants like cannabis need a specific length of uninterrupted darkness to trigger and maintain flowering. For many cannabis cultivars, the critical night length is around 9–10 hours, meaning exposure to 14–15+ hours of light keeps them vegetative. Running lights for 20+ hours on a flowering-stage plant isn't just wasteful, it'll actively prevent or reverse flowering. For tomatoes and peppers in the vegetative stage, the main over-lighting symptom is leaf curl and bleaching near the canopy, similar to leafy greens.
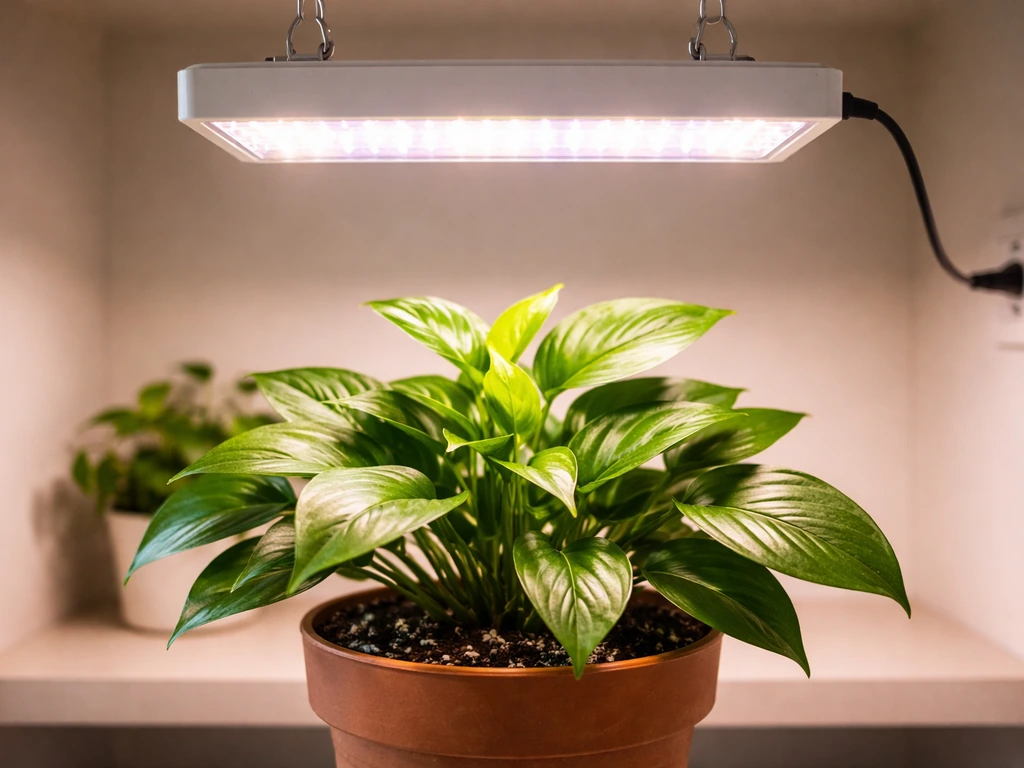
Seedlings and young starts
Seedlings are the most vulnerable. Their target PPFD is under 100 µmol/m²/s in the earliest stage, growing to 100–500 µmol/m²/s as they develop. The most common mistake I see is placing a full-intensity LED a few inches above fresh seedlings. Even if the light is technically within the recommended distance for mature plants, it can be overwhelming for a two-week-old seedling. Symptoms appear fast: bleached or whitened cotyledons, stunted growth, and that crinkled, stiff leaf texture. When introducing grow lights to new plants or clones, start at 50% dimmer output or hang the light 48 inches above for the first few days, then gradually move it closer as the plants adjust.
Safe grow-light setup: distance, timing, and dimming
Getting your setup right from the start prevents most overexposure problems. The key levers are mounting height, intensity (dimming), and your timer schedule.
Mounting height and distance
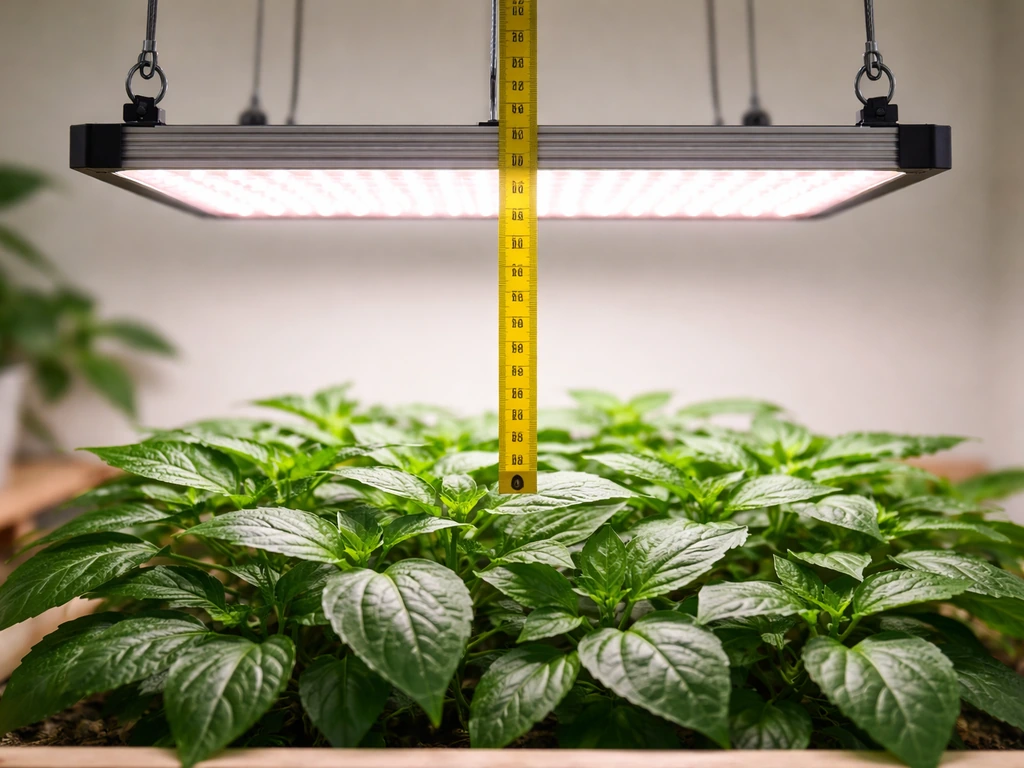
Distance is your most immediate intensity control. Doubling the distance from the canopy roughly quarters the light intensity that reaches the plant (inverse square law). For seedlings, most LED grow lights perform well at 24–36 inches above the canopy at reduced power, or closer once the plants have matured. HID lights (HPS, MH) generate significant heat and should stay at least 3 feet from the plant canopy to avoid heat stress on top of light stress.
Research on specific LED bar lights shows that the same fixture needs only 8 hours of runtime at 8 inches above the crop, but needs a full 16 hours at 20 inches to hit the same daily light dose. That means distance is also a timer issue, raising the light means you may need to run it longer to hit your target DLI.
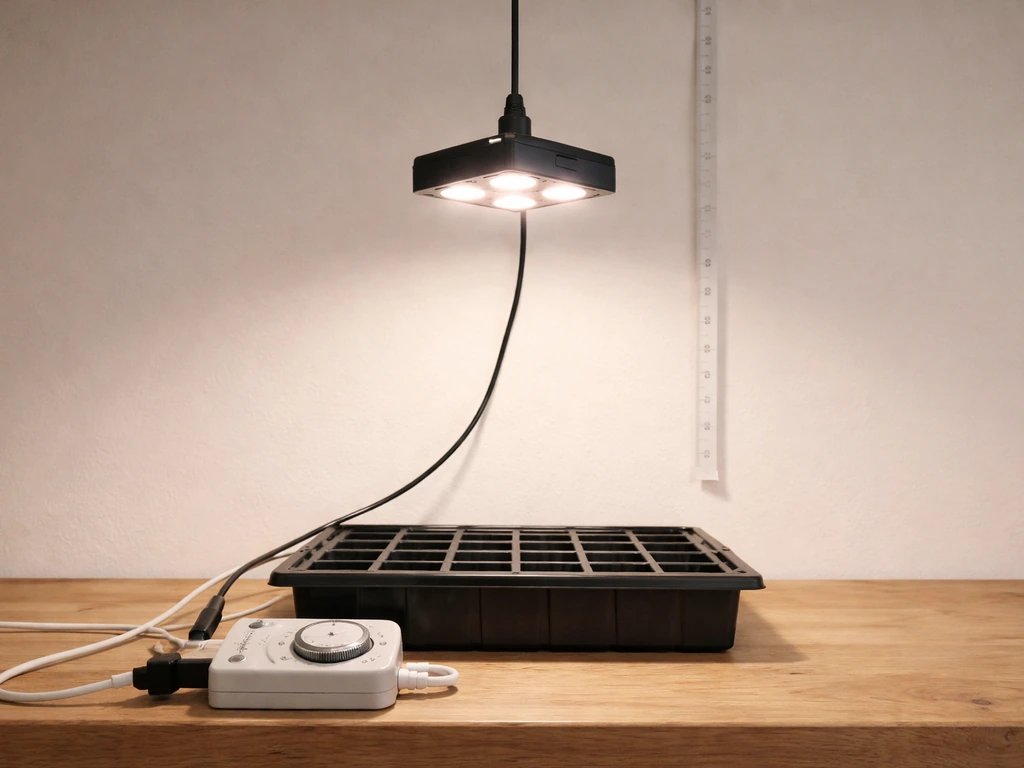
Using a timer correctly
A timer is non-negotiable. Set a maximum of 16–18 hours for seedlings and most vegetative plants. For flowering plants that need a dark period trigger, 12 hours on and 12 hours off is the standard starting point. Don't assume more hours equals more growth, it almost never does past 16 hours, and for many plants it causes the problems described above. Plug-in mechanical timers are cheap and completely reliable; use one.
Dimming
If your fixture has a dimmer, use it. When introducing new plants to a grow light, start at around 50% power for the first few days and gradually increase. This is much gentler on the plant than starting at full blast from day one. It also gives you a safety margin, if you see stress symptoms, you can simply reduce output rather than having to physically move the fixture. Most modern LED grow lights include dimming, so check your manual if you're not sure.
Matching PPFD to growth stage
| Growth Stage | Target PPFD (µmol/m²/s) | Suggested DLI (mol/m²/day) | Max Photoperiod |
|---|---|---|---|
| Seedling / Clone | Under 100 | 6–8 | 16–18 hrs |
| Vegetative (leafy greens, herbs) | 100–400 | 10–15 | 16 hrs |
| Vegetative (high-light crops) | 200–500 | 15–20 | 16–18 hrs |
| Flowering / Fruiting | 400–1,200 | 20–30+ | 12 hrs (short-day plants) |
Fix it today: a step-by-step troubleshooting plan
If you're seeing stress symptoms right now, here's the exact sequence I'd follow. Make one change at a time if possible so you know what worked. The UC Statewide IPM Program also notes that plant growth can be retarded by either too much or too little light, and advises avoiding environment changes that significantly alter light received unless you are intentionally fixing inappropriate light conditions High and Low Light / Home and Landscape / UC Statewide IPM Program.
- Check your timer first. If your lights are running more than 16 hours, reduce to 14–16 hours immediately. This is the easiest and most reversible change, and it costs nothing.
- Check the distance. Measure from the bottom of the fixture to the top of your plant canopy. If you're closer than the manufacturer's recommended minimum, raise the light by 4–6 inches today.
- Dim the output. If your light has a dimmer and you're running at 100%, drop to 70–75% and observe over the next 48 hours.
- Look at where symptoms are. If damage is only on leaves directly under the light, the issue is intensity/proximity. If all leaves look stressed regardless of position, check for watering, temperature, or nutrient issues instead — the light may not be the sole cause.
- Don't make multiple big changes simultaneously. If you raise the light, change the timer, AND adjust nutrients on the same day, you won't know what actually helped.
- Wait 3–5 days after adjusting before judging results. Existing damaged leaves won't recover, but new growth should emerge healthy. If new leaves growing after your adjustment look normal, you've fixed the problem.
- If symptoms continue after raising and dimming, check for heat. Hold your hand at canopy level for 30 seconds. If it's uncomfortably warm, heat stress is compounding the light stress. Improve airflow or raise the fixture further.
One thing worth knowing: the grow-light setups related to tent size, fixture positioning, and how directly overhead your light needs to be all tie into how intense the dose is at canopy level. If you're growing in an enclosed tent, intensity builds up more than in open space, so the same fixture may need to be hung higher than it would outdoors or in a large room. Reflective tent walls also increase effective intensity, which is great for efficiency but means over-lighting can sneak up on you faster than expected.
Getting this dialed in isn't complicated once you understand that intensity and duration are separate variables you can adjust independently. A plant getting 500 µmol/m²/s for 10 hours gets the same total daily dose as one getting 250 µmol/m²/s for 20 hours, but the first setup is safer and more plant-friendly because neither the intensity nor the duration hits a stress threshold. That's the mindset that turns a frustrating over-lit setup into a thriving indoor garden.
FAQ
How can I tell if my plant’s problem is over-lighting versus nutrient deficiency or watering issues?
Use location and texture patterns. Over-lighting most often shows up on leaves closest to the fixture or across the upper canopy, with bleaching or a crinkled, stiff surface. Nutrient issues often follow margin patterns (like yellowing between veins) and watering problems usually track with wilting or uniform droop rather than bleaching confined to the brightest zones.
Is it possible to over-light my plants even if I’m running the light for fewer hours?
Yes. If intensity is high because the light is too close or you are running at high dimmer output, you can hit photoinhibition quickly even with a shorter photoperiod. In practice, the safest approach is to reduce either distance or hours, but never assume time alone will prevent stress.
What light schedule should I use when I’m not sure what plant stage my plants are in?
Start conservatively with vegetative timing for general setups: begin around 12 to 16 hours on, then adjust only after you confirm symptoms and growth response. If flowering is underway or intended, switch to a strict dark period schedule early, because inconsistent nights can delay flowering even if plants look healthy.
Do I need to measure PPFD to avoid over-lighting?
Not strictly, but it helps. If you cannot measure PPFD with a meter, use a cautious default: start seedlings/clones with reduced output (around half power) or keep the fixture higher, then move gradually while checking for bleaching. Most over-lighting complaints come from starting too intense rather than from small scheduling errors.
My leaves are curling upward. Does that always mean my light is too strong?
Not always. Upward or tight curling plus bleaching near the canopy often points to excess light or heat. If curling happens without whitening and the plant is droopy, temperature, watering frequency, or a potassium imbalance may be involved. The fastest confirmation is to change light intensity or distance first and watch for improvement within a few days.
Can reflective grow tents make over-lighting more likely?
Yes. Reflective walls increase effective light reaching the canopy, so a fixture that would be fine in a non-reflective room can become too intense in a tent. If you’re using a highly reflective tent, consider hanging slightly higher or dimming more than you would for the same fixture in open space.
How do I adjust if I raise the light to reduce intensity, but my plants then look like they are not growing?
You likely reduced dose too much. Raise distance gradually and compensate in small steps using dimmer (if available) or a modest schedule increase, rather than jumping straight to long photoperiods. The key is to keep intensity and duration within a range your plant can handle, since the article’s guidance indicates long hours past about 16 can worsen stress.
What’s the safest way to acclimate seedlings or clones to new grow lights?
Start with gentler exposure for several days, then ramp. Practical rule: run at about 50% output or keep the fixture higher, and only move closer or increase power after you see no bleaching of cotyledons or stiff, crinkled texture. Avoid the common mistake of putting full-intensity LEDs inches above fresh seedlings.
Does using supplemental lighting at night count as part of the photoperiod for flowering plants?
Yes. Any light during the dark period can interfere with photoperiod-sensitive flowering by breaking the uninterrupted night length. If you must enter the space, use very low light and keep the light cycle strictly controlled so the “dark” block stays truly dark.
How quickly should I expect symptoms of over-lighting to appear after changing my setup?
With strong changes in intensity or very close placement, symptoms can show up fast, especially on seedlings. Look for bleaching or stiff crinkling on the brightest, closest leaves within days, then adjust one variable at a time so you can attribute the improvement (or lack of it) to the correct change.
Next Articles
How Close Should Grow Lights Be to Plants? Distances
Practical grow light heights for LEDs and fluorescents, plus spacing tips and troubleshooting for burn vs stretching.
What Type of Light Do Plants Need to Grow Indoors
Pick the right grow light indoors by spectrum, brightness, and placement so plants grow well, bloom, and stay healthy.
Does Plant Grow Light Work? A Practical Test Guide for Plants
Practical test guide to see if grow lights work, choose the right spectrum and setup, and troubleshoot weak results.