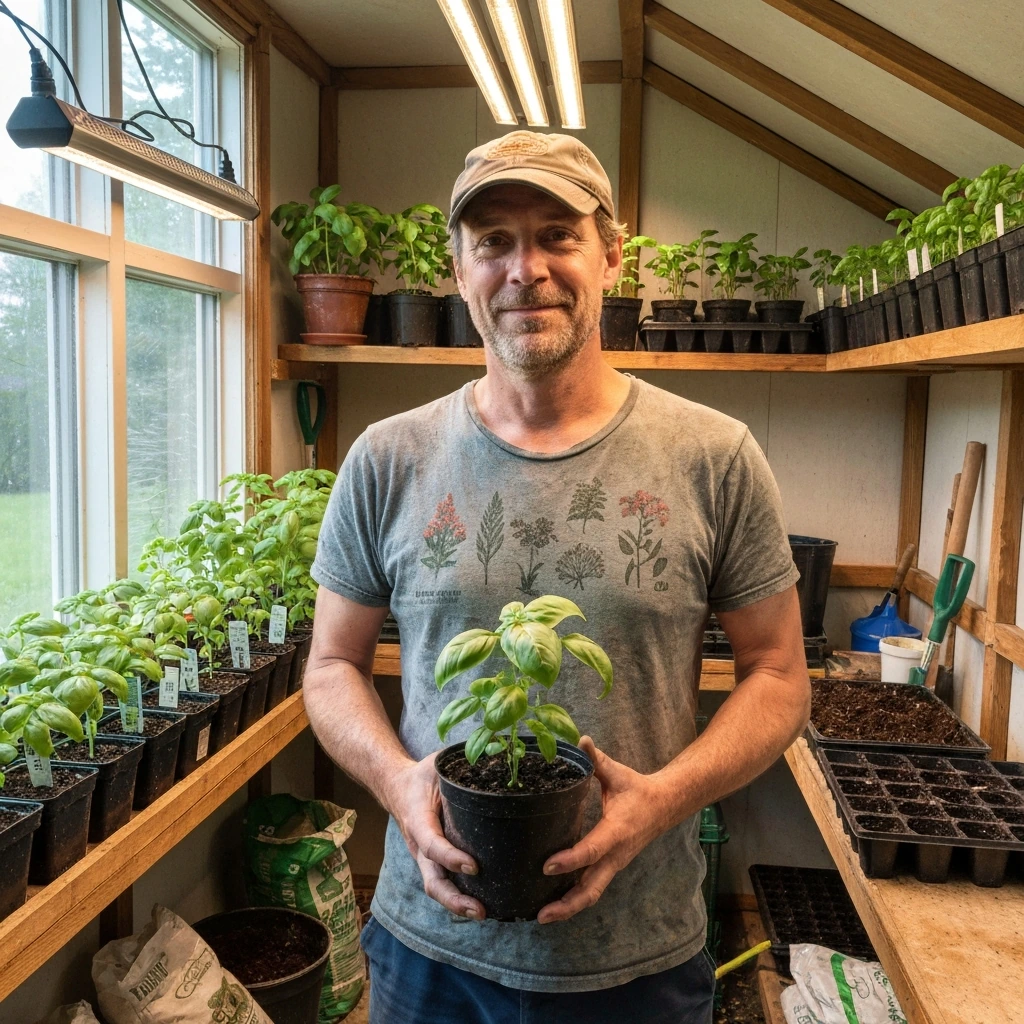
Set your LED grow light 12 to 24 inches above your plants, run it for 12 to 16 hours a day on a timer, and make sure the light is aimed straight down at the canopy. That covers 80% of what most houseplant growers need to know. The rest is just dialing in the details: picking a light that actually delivers enough intensity for your specific plants, catching early signs of too much or too little light, and keeping your setup safe. Here is a full walkthrough of every step.
How to Use LED Grow Lights for Indoor Plants: Setup Guide
Marcus Holloway
29 Jun 2026

Picking the right LED grow light for indoor plants
Ignore wattage as your main buying metric. Wattage tells you how much electricity a light consumes, not how much usable light actually reaches your plants. The number that matters is PPFD, which stands for photosynthetic photon flux density. It measures how many light particles (photons) land on your plant's leaf surface every second, per square meter. A light with a high PPFD delivers more photosynthetically useful light to the canopy; a light with a low PPFD, regardless of how many watts it pulls, delivers less.
The related concept is DLI, or daily light integral. DLI combines PPFD intensity with the number of hours the light runs to give you a total daily dose. Think of PPFD as the flow rate of a garden hose and DLI as the total amount of water that hit the garden that day. Iowa State University Extension frames it this way: targeting a DLI in the medium-light range of 6 to 10 mol/m²/day covers most common houseplants well. A good LED panel will publish its PPFD at various distances; use that number to match the light to your plants.
Beyond PPFD, look for these practical features when shopping:
- A built-in dimmer or 0-10V dimming input, so you can reduce intensity for shade-tolerant plants without raising the fixture
- A published PPFD chart at multiple distances (not just a 'max coverage' claim)
- A UL 8800 listing or equivalent certification, which confirms the fixture has been evaluated for photobiological safety and electrical standards
- A full-spectrum output with both blue (400-500nm) and red (600-700nm) wavelengths, plus some green; most modern white-LED panels qualify
- An appropriate moisture rating for the location, marked on the label as 'dry location' or 'damp location' depending on where you are placing it
For most houseplant setups, a 100 to 200 true-watt LED panel (or a quality quantum-board style light in the same range) covers a 2x4 foot footprint well. For a single shelf of herbs or a few potted tropicals, a 30 to 60 watt bar-style LED is usually enough. Match the coverage area to your actual growing space, not the largest number on the box.
Setting up placement, height, and light direction
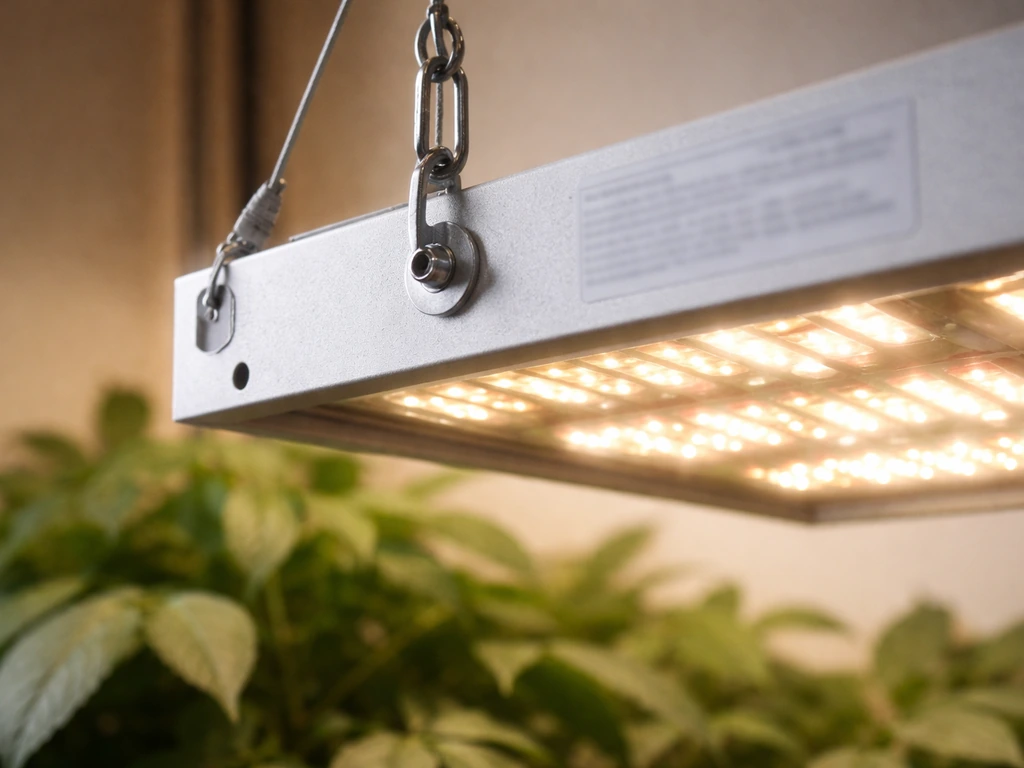
Height is the main dial you have for controlling light intensity without a built-in dimmer. Moving a light closer dramatically increases PPFD at the canopy; moving it farther away drops it fast. This relationship follows the inverse square law, meaning doubling the distance cuts intensity to roughly one-quarter. University of Minnesota Extension is direct on this point: the distance between the light and the plant is one of the most critical variables in your setup.
As a practical starting point, most LED grow light manufacturers recommend hanging their panels 18 to 24 inches above the plant canopy for general houseplant use. Lower wattage bar lights for herbs and seedlings often work well at 12 to 18 inches. High-intensity panels used for fruiting plants or succulents with high light needs may work at 18 to 30 inches to avoid overpowering shade-lovers nearby. Always check the manufacturer's PPFD chart for your specific fixture. If you want a simple way to put those numbers into practice, the grow light placement and height steps below walk you through how to use grow lights for indoor plants PPFD chart.
Direction matters more than most beginners realize. Point the light straight down at the canopy. Plants orient their leaves horizontally to catch overhead light, so a side-mounted or angled light wastes a lot of output and causes uneven growth. If you are working on a shelf system, center the fixture over the plants and make sure the spread reaches the edges of your trays or pots. Adjustable-height ratchet hangers (about $5 a pair) make it easy to raise or lower the fixture as plants grow.
Choosing the right photoperiod for common houseplants
Photoperiod just means how many hours of light your plants get each day. Most tropical houseplants thrive with 12 to 16 hours of light per day from an LED grow light. University of Maryland Extension recommends not exceeding 16 hours total (combining natural and artificial light) for most indoor plants. Running a light 24 hours a day is not beneficial and can actually disrupt flowering cues and stress plants.
Plants that flower based on day length need careful photoperiod management. Short-day plants like Christmas cactus and poinsettias need long uninterrupted dark periods (typically 13 to 16 hours of darkness) to trigger blooming. Even a small amount of stray light during the dark period can disrupt the cycle. University of New Hampshire Extension makes this clear: weak incidental light exposure during the dark period is enough to prevent flowering in sensitive short-day plants. If you are trying to get a short-day plant to bloom, put it in a completely dark spot during its off hours, away from your grow-light setup.
| Plant type | Daily light hours recommended | Notes |
|---|---|---|
| Most tropical foliage (pothos, philodendron, peace lily) | 12-14 hours | Tolerant of lower DLI; don't need long days |
| Herbs (basil, parsley, mint) | 14-16 hours | Faster growth with longer days |
| Succulents and cacti | 12-16 hours | Prefer high intensity, moderate duration |
| African violets | 12-14 hours | Sensitive to excess; keep consistent schedule |
| Short-day bloomers (Christmas cactus, poinsettia) | 8-10 hours light, 14-16 hours darkness | Strict dark period needed to trigger flowers |
| Seedlings and young transplants | 14-16 hours | High DLI needed early; reduce as plants mature |
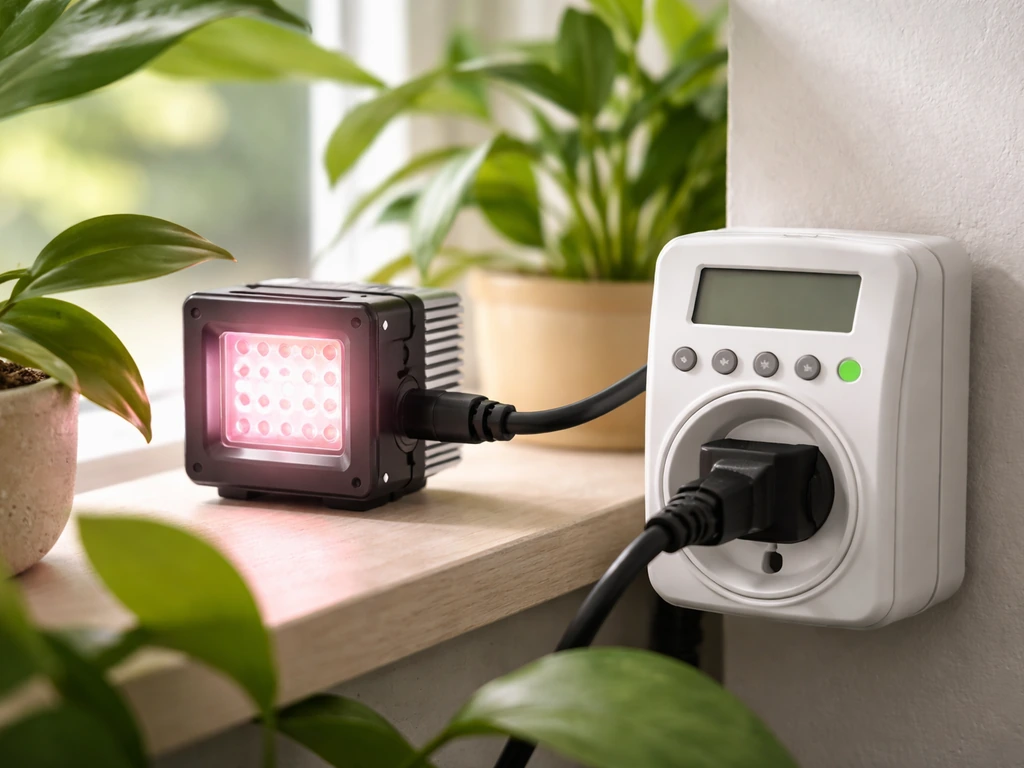
Use a mechanical or digital outlet timer. Set it once and forget it. Inconsistent photoperiods cause more subtle plant stress than almost any other beginner mistake, and a $10 timer eliminates the problem entirely.
Dialing in intensity and preventing common light-stress issues
Your plants will tell you if something is off before you need a meter to confirm it. Here are the symptoms to watch for and what they mean: If you notice browning on leaf edges, it can be a sign the grow lights are too close, which helps guide placement and intensity adjustments.
| Symptom | Likely cause | Fix |
|---|---|---|
| Leggy stems with long gaps between leaf nodes | Too little light (low PPFD or too far away) | Lower the fixture or increase hours |
| Brown or crispy leaf edges | Light too close, intensity too high | Raise the fixture or dim it down |
| Short petioles, crinkled or leathery leaves | Light too close or duration too long | Raise fixture, reduce hours |
| Pale, washed-out leaf color | Too much light (bleaching) or nutrient issue | Raise fixture; check feeding |
| Wilting despite adequate watering | Heat stress from fixture too close | Raise fixture, improve air circulation |
| No flowering on a short-day plant | Dark period being interrupted by stray light | Relocate plant during dark hours |
Matching PPFD targets to your specific plants is the most precise way to avoid both under- and over-lighting. University of Maine Cooperative Extension provides solid reference ranges: African violets do well at 50 to 150 PPFD, philodendrons at 50 to 250 PPFD, orchids at 40 to 500 PPFD depending on the species, and succulents at 100 to 200 PPFD. These are measured at the leaf surface. If your fixture publishes a PPFD chart, use it to position the light so the canopy sits in the right range for your specific plants.
If you have a dimmer on your light, start it at 50 to 70% for the first week when plants are new to artificial light. Give them a few days to acclimate before bumping intensity. This is especially important for plants coming from a dim window or greenhouse environment.
Safe electrical use, heat, and eye and skin basics
LED grow lights are genuinely safe when used correctly. Most modern LED panels run cool compared to older HID or T5 fluorescent setups, but they still generate heat, especially at the driver and heatsink. Keep at least 6 inches of clearance around the fixture for airflow, never drape anything over it, and check that the fixture's moisture rating matches your location. A fixture labeled 'dry location only' should not be used in a greenhouse with overhead misting or in a room with high humidity.
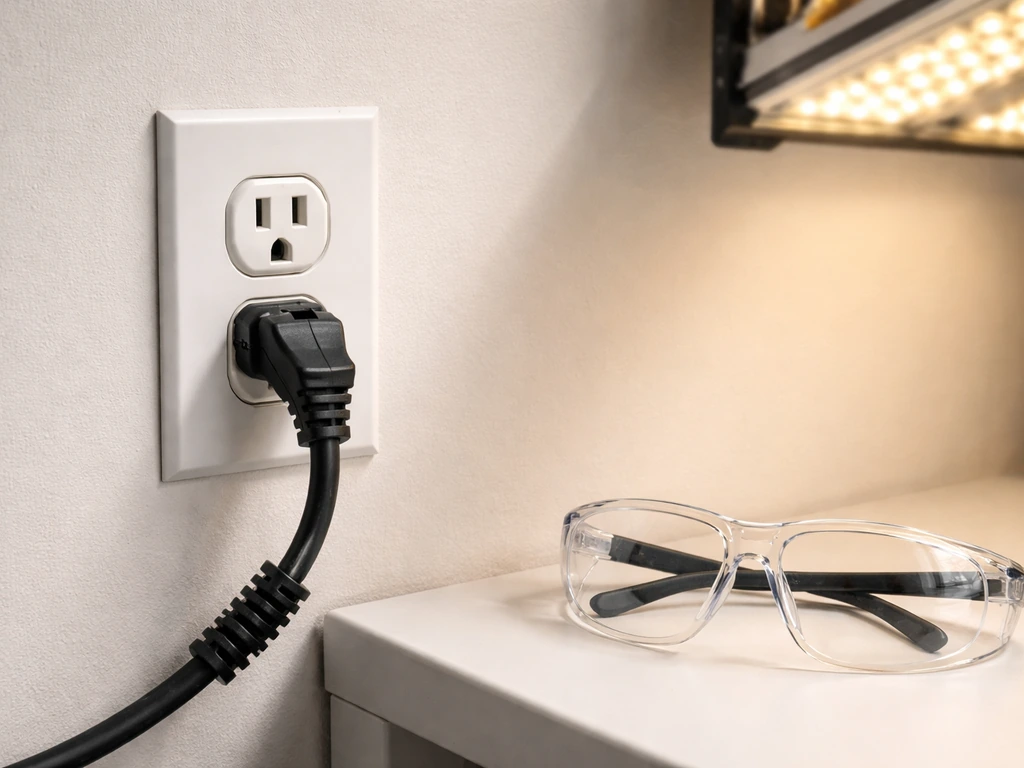
On the electrical side: plug grow lights into a grounded outlet. If your setup is near a sink, bathroom, or any water source, use a GFCI-protected outlet. NEC code requires GFCI protection in wet and damp locations for exactly this reason. Extension cords are acceptable for temporary use but should be rated for the amperage draw of your fixture. A 100-watt LED panel pulling about 1 amp is fine on a standard 16-gauge extension cord; a multi-fixture setup pulling 8 to 10 amps needs a properly rated cord and ideally a dedicated circuit.
For your eyes: do not stare directly into an LED grow light, especially at close range. The concentrated blue-white output can cause temporary eye strain and, with repeated direct exposure, more serious photobiological effects. [UL 8800, the safety standard for horticultural lighting equipment](https://www. ul.
com/services/horticultural-lighting), specifically addresses eye and skin exposure hazards. Most quality fixtures are designed to minimize risk at normal working distances, but you should still avoid looking directly at the light when it is on. If you spend a lot of time working under your lights, a pair of UV-blocking safety glasses rated for LED work is worth the small investment.
And no, LED grow lights will not give you a tan or cause cancer from normal incidental exposure at plant-tending distances. That concern is based on a misunderstanding of the light spectrum and intensity involved.
How to use LED grow lights step by step
Here is a simple workflow you can follow from day one. This covers a basic single-fixture houseplant setup.
- Assess your existing light first. Walk around your space at different times of day and note where natural light hits and how bright it is. Supplemental LED lighting works best when you know what you are supplementing.
- Choose your fixture based on coverage area and PPFD output, not wattage alone. Confirm the fixture covers the square footage of your grow area at a usable PPFD for your plant types.
- Mount or hang the fixture directly above the plant canopy, starting at 18 to 24 inches. Use adjustable hangers so you can change height easily.
- Plug the fixture into a timer and set the photoperiod for your plant type (12 to 16 hours for most foliage plants and herbs, 8 to 10 hours for short-day bloomers).
- If the fixture has a dimmer, start at 60 to 70% intensity for the first week to let plants acclimate.
- Check plants after 5 to 7 days for stress symptoms: leggy growth means raise intensity or lower the light; crispy edges or crinkled leaves mean raise the light or dim it down.
- Adjust height or dimmer based on what you see. Most setups reach their sweet spot within two to three weeks of fine-tuning.
- Monitor temperature under the canopy. If it consistently exceeds 85°F (29°C), add a small fan or raise the fixture.
- Keep a simple log: note the fixture height, hours on timer, and any plant changes. This makes troubleshooting much faster.
Building your own DIY LED grow light: what to know
DIY LED grow lights are a real option, especially for growers who want a custom-sized setup or want to maximize efficiency on a budget. The core components are an LED board or strip (usually Samsung LM301B or similar high-efficiency chips), a compatible LED driver, a heatsink, and a mounting frame. You connect the driver to the LED board, mount everything to the heatsink, and wire to a power cord. It is more like assembling a PC than doing electrical work, as long as you buy components that are matched and pre-wired where possible.
The driver is the heart of the build. MEAN WELL is the most commonly used brand in the DIY community. Their LPF and HLG series drivers are well-matched to quantum-board style LED panels and many support 0-10V dimming, which lets you add a dimmer knob without modifying the LED board itself. Match your driver's output wattage and voltage range to your LED board's specifications. Mismatching here can burn out your LEDs or underdriven them to the point of poor output.
A few safety non-negotiables for DIY builds:
- Use a UL-listed driver, not a generic unrated power supply. This matters for both safety and longevity.
- Secure all wiring connections and use wire nuts or properly rated connectors. Loose connections under load can cause arcing.
- Mount the LED board to an aluminum heatsink sized appropriately for your wattage. Without adequate thermal management, LEDs degrade quickly and can become a fire hazard.
- Rate your power cord and any extension cords for the full amperage draw of the driver.
- If you are mounting the fixture permanently, consult a licensed electrician for hardwired installations. Plug-in setups are safer for beginners.
- Do not use DIY fixtures in wet or humid environments unless every component is rated for it. UL 153 standards for portable luminaires include moisture resistance requirements for a reason.
- Label your build with its wattage, voltage, and a 'dry location only' note if appropriate.
Realistically, a well-built DIY 200-watt quantum board can outperform many commercial lights at half the price, but it takes a few hours of research and assembly. If the idea of matching drivers to boards feels overwhelming, start with a commercial fixture and revisit DIY later when you have a better feel for what you actually need from a light. For growers interested in expanding into vegetables or fruiting plants indoors, the efficiency gains from a well-tuned DIY build become more worth the effort at larger scales. If you are aiming for vegetables, the same PPFD and daily light integral approach helps you dial in enough light for strong indoor growth expanding into vegetables.
Getting results faster: what actually moves the needle
After all the setup details, the highest-impact things are surprisingly simple: get the light close enough to matter, run it on a consistent timer, and watch your plants for feedback. If you are working with very low ambient light, follow these indoor lighting tips to keep your plants thriving with minimal brightness how to grow plants indoors with little light. Most people either hang lights too high (because they are nervous about burning plants) or run them for inconsistent hours (because they forget to flip the switch). Both problems are solved the same way: lower the light to within the manufacturer's recommended range and buy a timer.
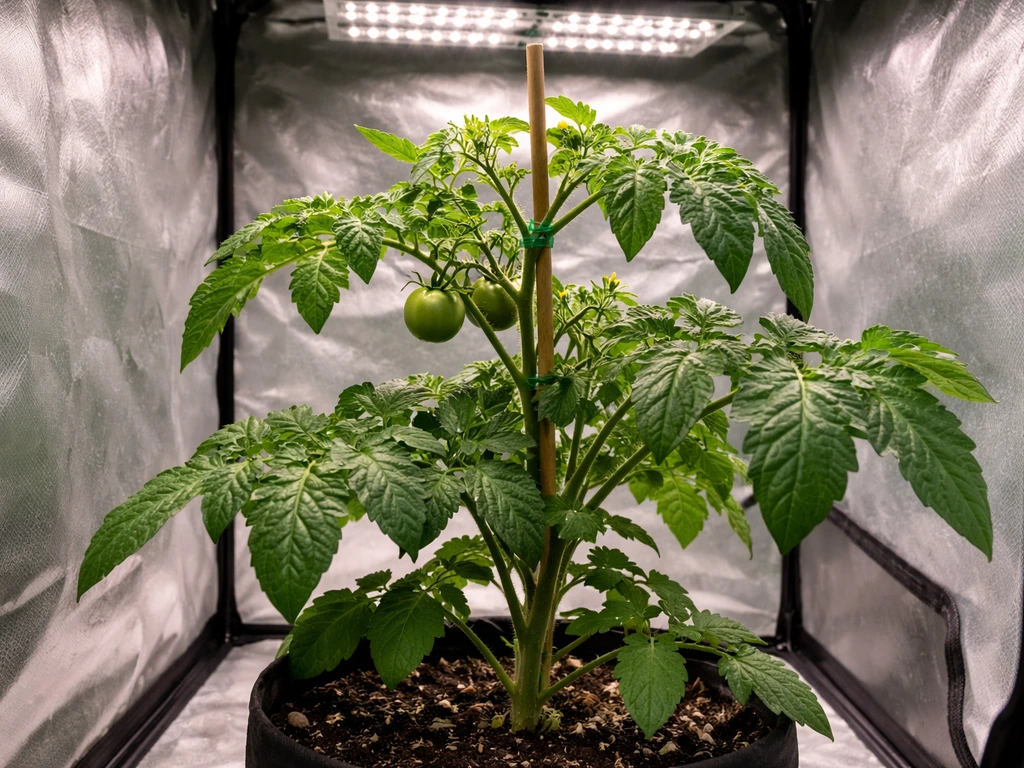
Plants respond to grow lights over days and weeks, not hours. Expect to see tighter, more compact new growth within one to two weeks of correct setup. A grow light can help tomatoes ripen, but you usually need the right intensity and daily hours of light to get green tomatoes to turn color. Seedlings and fast-growing herbs like basil will show a response in a week. Slow-growing tropicals like pothos or peace lilies may take a full month before you notice a visible difference in leaf size and color intensity. Be patient, keep conditions consistent, and let the plant tell you what to adjust.
If you are planning to expand into vegetables or want to understand what it takes to grow tomatoes indoors under lights, the lighting demands scale up significantly compared to foliage houseplants. Fruiting crops need higher DLI targets and more precise spectrum management. But the core principles here (PPFD, DLI, photoperiod, height adjustment) are the same foundation. Get comfortable with one plant type first, then build from there.
FAQ
How do I size an LED grow light for my exact room or shelf (not just the plant area)?
Use a PPFD chart or published PPFD-by-distance data, not a “wattage per square foot” rule. If your light doesn’t list PPFD, you can still approximate by starting at the recommended hang height and then adjusting based on response, but you should expect slower dialing-in for larger footprints.
How long should I wait after changing light height, intensity, or timer before deciding it’s working?
After you adjust height or dimming, wait at least 5 to 7 days before judging. Leaf damage or persistent stretching can take days to show, and day-to-day placement changes can mask whether the new setting is helping or harming.
What if my plants are different heights on the same shelf, how do I set the light?
Measure or estimate PPFD at leaf level, and if your plants are not all the same height, use an average canopy height. For mixed heights, treat the tallest plants as the reference, or raise the light gradually and then spot-correct for shorter plants to avoid over-lighting them.
My short-day plant won’t bloom, could the issue be stray light, and what should I watch for?
For short-day plants, do not rely only on turning off the grow light, also block any other light sources during the dark period (LED indicators, night lights, streetlight glare). Even weak stray illumination during the off period can stop flowering.
Can I increase hours of light to compensate for a weaker LED, or should I change something else?
Yes, but it should be purposeful. Increase photoperiod only within the typical maximum guidance, and adjust DLI by changing either intensity or hours in small steps, not both at once, so you can tell which variable caused the improvement or setback.
What are the most common signs my plants have too much or too little light, and what should I change first?
If you see early bleaching or leaf edge scorch, raise the light or reduce intensity immediately, then stabilize. If you see persistent stretching plus small, pale leaves, lower intensity adjustments are usually not enough, you may need to bring the light closer or choose a higher-PPFD fixture.
My LED grow light feels hot, should I raise it to protect the plants?
Heat is not the same as light. Place the fixture according to PPFD at the canopy, then manage heat separately with airflow clearance and fan ventilation if needed. If the driver or heatsink is overheating, you should improve airflow rather than just raising the light.
What should I look for when buying an outlet timer so my photoperiod stays consistent?
Use a quality outlet timer with a mechanical or digital switch rated for the fixture’s load, and avoid plug adapters that loosen over time. Also confirm the timer settings survive power outages, since many “cheap” timers reset to an incorrect schedule.
What happens if my timer goes wrong or power briefly cuts out, and how can I prevent damage?
When a timer fails, the biggest risk is unexpected extended darkness or unexpected extra light, which can stress flowering cues. Keep the timer away from drips, and consider a backup timer or a smart plug with manual override if you travel or have frequent outages.
My light has a dimmer, how do I dim it safely and effectively (especially on DIY or driver-based setups)?
Be careful with dimming range. If the fixture uses driver dimming, set the dimmer so the driver stays within its supported output range, usually not all the way down. If the light has no dimming support, using a third-party dimmer can reduce performance or cause flicker.
How should I acclimate plants when switching them from window light to full LED grow lights?
When plants are transitioning to grow lights from a darker location, start at a lower PPFD for the first week and then adjust. If your fixture has no chart, you can still ramp up gradually by lowering in small increments rather than jumping to the minimum recommended distance.
Do I need a specific spectrum, or is PPFD and DLI enough for indoor plants?
Yes, and it matters for spectrum-related goals, not just “brightness.” If you’re trying to flower or fruit indoors, prioritize fixtures that publish PPFD and spectrum details, then dial height and DLI. If you only want foliage growth, you can focus more on meeting PPFD and photoperiod than chasing specific spectrum marketing terms.
How does dust or dirty reflective material affect grow light performance, and should I clean the setup?
A thin dust layer on the fixture or reflective surfaces can reduce usable output. Clean the fixture according to the manufacturer’s instructions, and if you use a reflective background, wipe it occasionally so grime doesn’t silently lower performance.
Can I use the same LED grow light in a humid bathroom or near misting without risking damage?
For outdoor-style misting or high humidity, confirm the fixture’s moisture rating and whether the driver is safely sealed for that environment. “Dry location only” labels usually mean you must avoid direct moisture exposure and keep the light away from misting zones.
How should I protect my eyes if I’m frequently working directly under the lights?
No staring means eyes. The practical approach is to work from the side when possible, avoid direct viewing at close range, and if you must tend plants frequently under intense panels, use LED-rated eye protection and keep your face out of the beam path.
Next Articles
Can You Grow Tomatoes Indoors With Grow Lights? A Guide
Yes, grow tomatoes indoors with LED grow lights: setup, light specs, care steps, and troubleshooting for harvest results
How to Use Grow Lights for Indoor Plants Step by Step
Step-by-step guide to set up and use grow lights indoors, including placement, timers, schedules, and safety tips.
What Type of Light Do Plants Need to Grow Indoors
Pick the right grow light indoors by spectrum, brightness, and placement so plants grow well, bloom, and stay healthy.