Set your grow light 12 to 24 inches above your plants, run it on a timer for 12 to 14 hours a day, and you will cover the basics for most common houseplants. That is the short version. The longer version, which is what actually gets plants thriving instead of just surviving, is about matching the right light type to your plants, dialing in the distance so you do not burn or starve them, and building a consistent schedule your plants can count on. Here is exactly how to do all of that.
How to Use Grow Lights for Indoor Plants Step by Step
Marcus Holloway
13 May 2026
Choosing the right grow light type for indoor plants
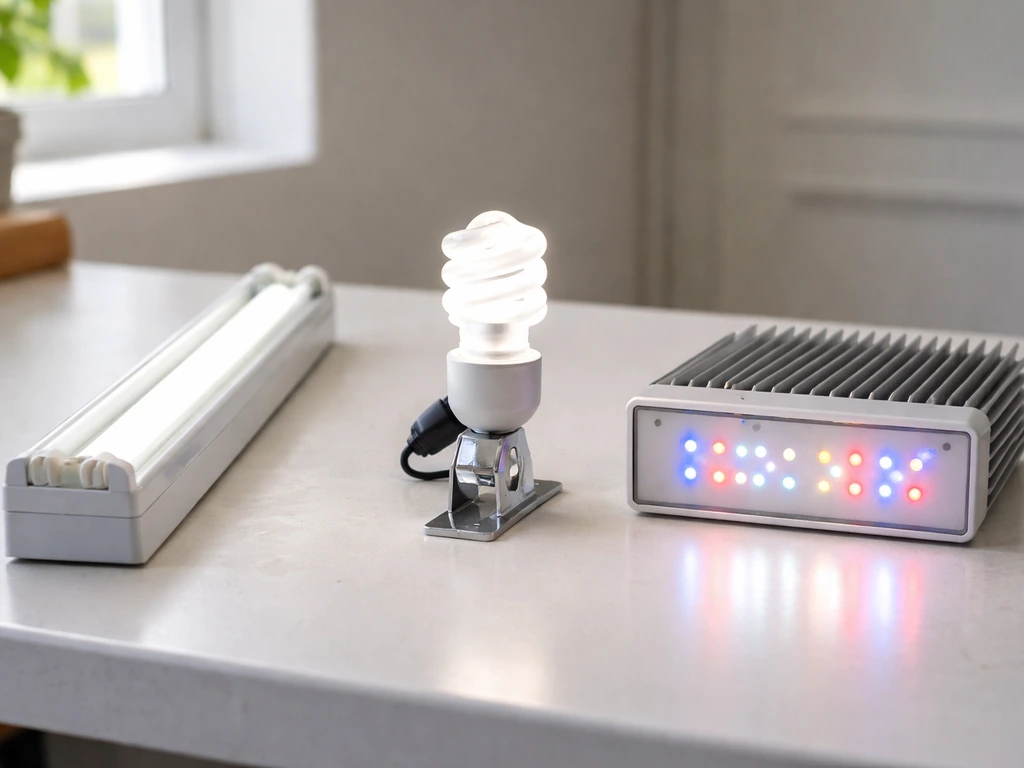
The grow light market has four main players: fluorescent (T5/T8 tubes), compact fluorescent (CFL), high-intensity discharge (HID, including MH and HPS), and LED. For most home gardeners, LED is the obvious starting point in 2026. LEDs run cooler, use less electricity, last longer, and full-spectrum models cover the blue and red wavelengths plants care about most. The only reason to look elsewhere is budget or a very specific need.
Fluorescent T5 tubes are still genuinely good for seed starting and low-light houseplants. They are cheap, easy to find, and produce a soft, even light that is hard to burn plants with. If you are germinating seeds or keeping ferns and pothos alive through a dark winter, T5s are perfectly adequate and cost very little upfront.
HID lights (the big bulbs you see in commercial grows) produce serious output but also serious heat. They are overkill for most home setups and they require ballasts, ventilation, and a real electrical setup. Unless you are running a dedicated grow room with fruiting vegetables or large harvests, skip them. LEDs have largely made HIDs obsolete for home use.
When shopping for an LED panel or bar light, look for one labeled "full spectrum" and check whether the manufacturer lists PPFD (photosynthetic photon flux density) ratings. PPFD is just a measure of how much usable light actually hits your plant canopy per second. Succulents and cacti do fine around PPFD 100 to 200. Foliage houseplants sit comfortably in the PPFD 150 to 400 range. Fruiting plants and vegetables want PPFD 400 to 600 or higher. For a direct guide on setting them up for harvests, see how to grow vegetables indoors with grow lights PPFD 400 to 600 or higher. A good LED panel will list these numbers; if it does not, that is a red flag.
| Light Type | Best For | Heat Output | Cost | Longevity |
|---|---|---|---|---|
| LED (full spectrum) | All plant types, general home use | Low | Medium to high upfront, low running cost | 50,000+ hours |
| T5/T8 Fluorescent | Seed starting, low-light plants | Low to medium | Low | 15,000–20,000 hours |
| CFL | Small setups, supplemental light | Low to medium | Very low | 8,000–10,000 hours |
| HID (MH/HPS) | Large grow rooms, high-output crops | High | High upfront and running | 10,000–18,000 hours |
Planning placement and spacing (distance to canopy)
Distance is probably the most common mistake beginners make. Too far away and plants stretch toward the light, going leggy and weak. Too close and leaf tips burn or bleach out. The right distance depends on your light type and its wattage, but here are the practical starting points that work for most home setups.
| Light Type | Low-Light Plants (ferns, pothos) | Medium-Light Plants (herbs, tropicals) | High-Light Plants (succulents, tomatoes) |
|---|---|---|---|
| LED panel (100–300W) | 24–36 inches | 18–24 inches | 12–18 inches |
| T5 Fluorescent | 4–6 inches | 2–4 inches | 1–3 inches |
| CFL bulb | 6–12 inches | 4–6 inches | 2–4 inches |
| HID (400W+) | 24–36 inches | 18–24 inches | 12–18 inches |
Start at the higher end of the recommended range and watch your plants for a week before moving the light closer. Plants will tell you when something is wrong. Leaves curling upward or bleaching near the top of the plant usually means too close. Stems stretching toward the light and pale coloring means too far. Adjust in 2-inch increments and give the plant a few days to respond before adjusting again.
Horizontal spread matters too. One light panel does not bathe every corner of a wide shelf evenly. The PPFD at the edges of a panel's footprint can drop by 50 percent or more compared to the center. If you have plants spread across a wide area, either use multiple lights or rotate your pots every few days so each plant spends equal time under the sweet spot.
Powering and setup basics (timers, mounts, reflectors, safety)
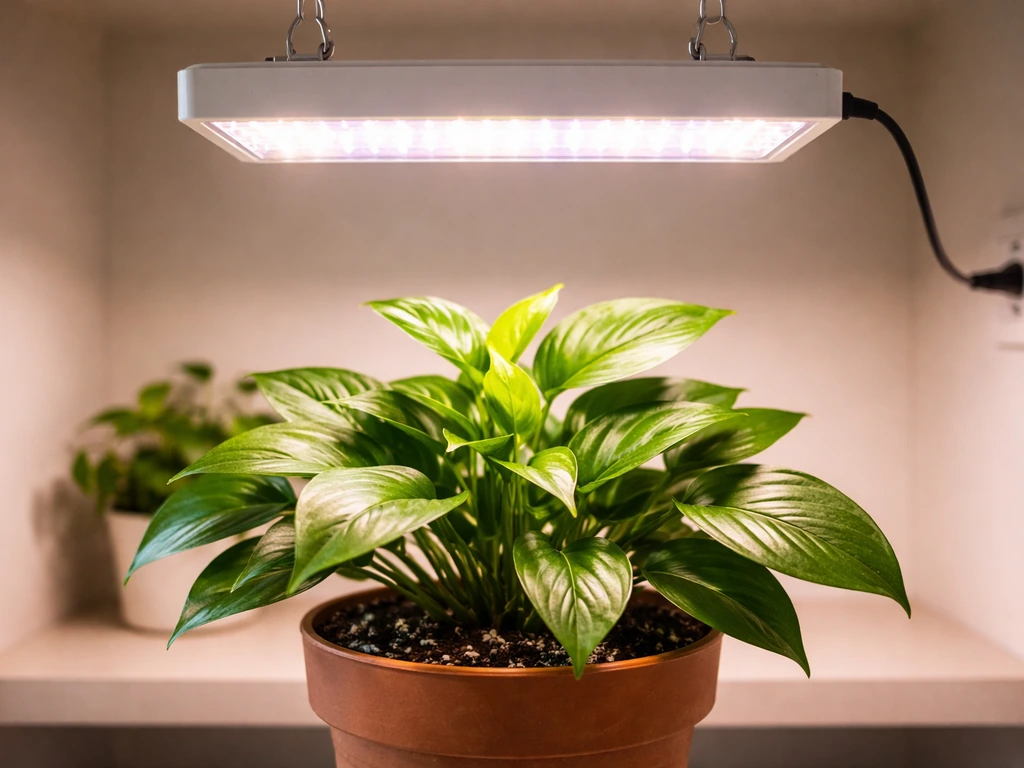
Mounting your light
How you mount the light matters both for safety and for being able to adjust height as plants grow. The most flexible option is an adjustable rope ratchet hanger, which you can buy for a few dollars and lets you raise or lower the light without tools. Clip it to a sturdy shelf bracket, a ceiling hook rated for the weight, or a dedicated grow light stand. Never drape the fixture over a flimsy hook or balance it on something unstable. A falling light can damage plants, start a fire, or crack a pot and flood water near an outlet.
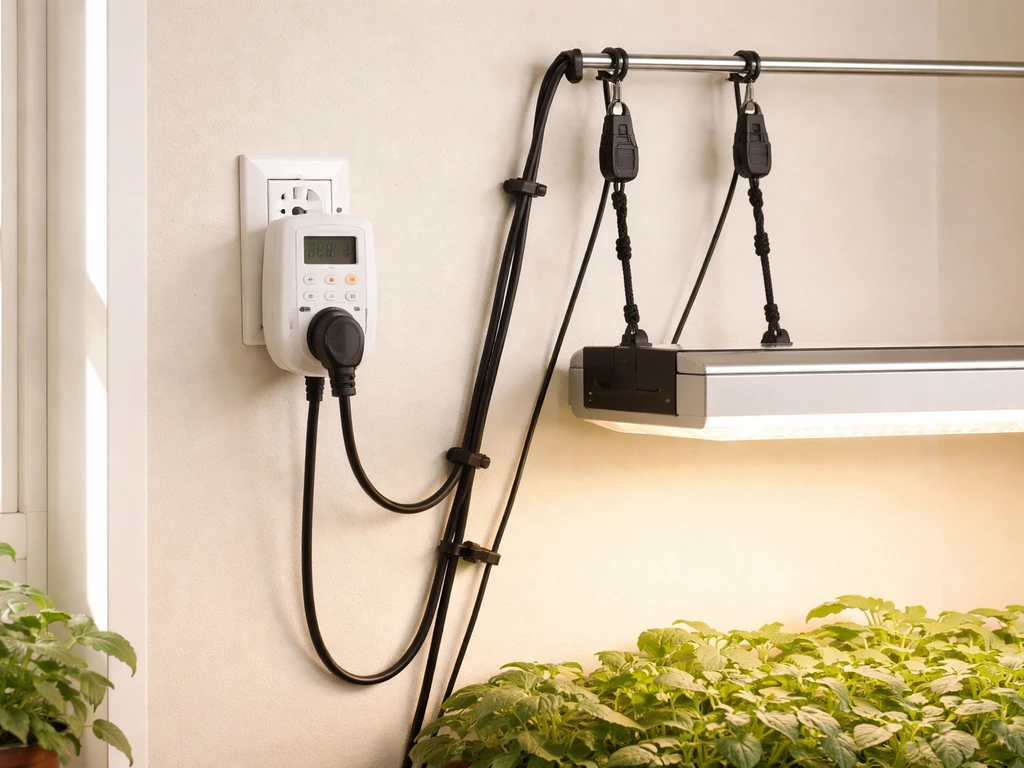
Using a timer
A plug-in outlet timer is non-negotiable. Plants need consistent light cycles, and manually turning lights on and off at the right time every day is not realistic long-term. A basic mechanical outlet timer costs under $15 and handles the job fine. Digital timers let you set multiple on/off windows per day, which is useful if you want to split your light cycle or avoid running lights during peak electricity hours. Plug the timer into the outlet, plug the grow light into the timer, set your hours, and you are done.
Reflectors and light optimization
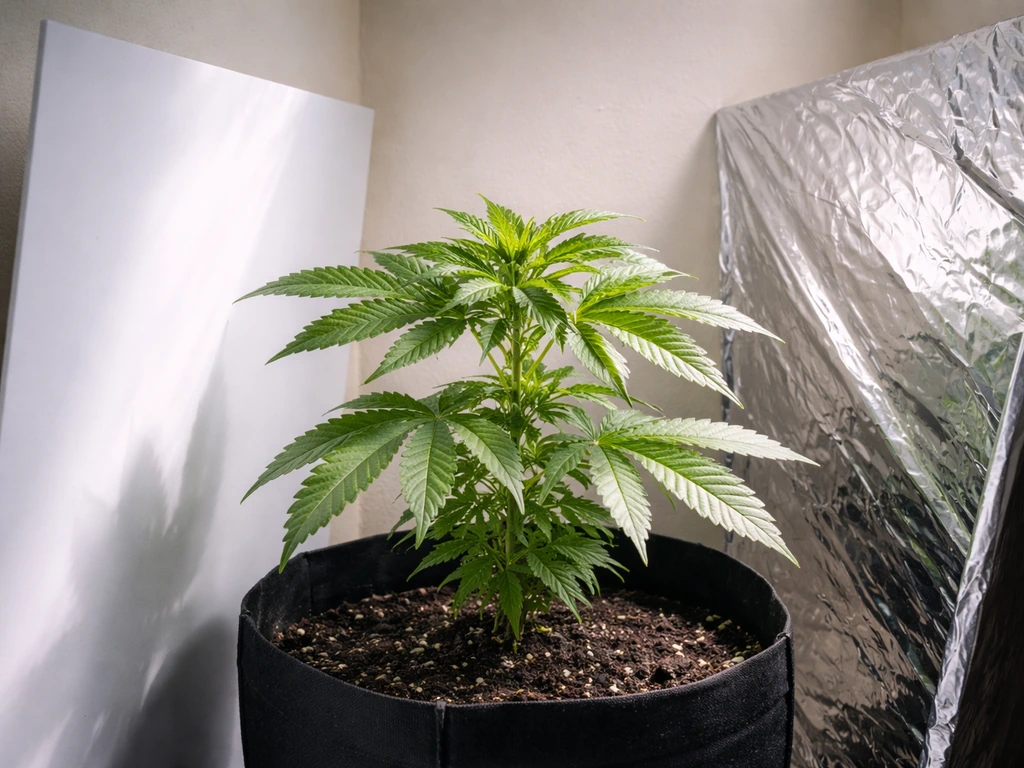
Reflective surfaces around your plants bounce light back toward the canopy instead of letting it disappear into the room. White walls are already decent reflectors. Mylar film or white foam board propped behind and around your grow area can noticeably increase effective light intensity without spending anything on a more powerful fixture. This is an easy win if you are working with a weaker light or trying to squeeze more growth out of a budget setup.
Basic electrical safety
Keep power strips and extension cords off the floor if there is any chance of water dripping from pots or watering cans. Use a power strip with surge protection rather than a bare extension cord. Check that your light fixture and any cords carry a UL or ETL certification, which means they have been tested to basic safety standards. Do not daisy-chain extension cords or overload a single circuit with multiple high-wattage lights. If you are running more than 400 watts of lighting off a single outlet, talk to an electrician before proceeding.
Light schedules and duration for different plant needs
Most foliage houseplants do best with blank" rel="noopener noreferrer">12 to 14 hours of light per day. That is the recommendation from multiple university extension programs and it lines up with real-world experience. Plants need a dark period too, so do not run lights 24 hours thinking more is always better. Consistent darkness at night is part of how plants regulate their internal cycles, and some plants actually need it to flower properly.
The 12-to-14-hour window is a solid baseline, but your specific plants and goals shift it. Here is a practical breakdown by plant category:
| Plant Type | Daily Light Duration | Notes |
|---|---|---|
| Low-light foliage (pothos, ferns, peace lily) | 10–12 hours | These tolerate dim conditions; supplemental light helps in winter |
| Medium-light tropicals (monsteras, philodendrons, herbs) | 12–14 hours | Standard target for most home setups |
| Succulents and cacti | 14–16 hours | Need more light than most people give them indoors |
| Vegetable seedlings | 14–16 hours | Fast growth phase needs longer days |
| Fruiting vegetables (tomatoes, peppers) | 14–18 hours | High light demand; see the tomatoes-under-grow-lights topic for specifics |
| Short-day flowering plants (poinsettias, chrysanthemums) | 8–10 hours light, 14–16 hours dark | Need long dark periods to trigger blooming |
When you first introduce a plant to supplemental lighting, especially if it was previously in low light, ramp up gradually. Start at 10 hours for the first week, then move to your target duration. Sudden exposure to long, bright light days can stress plants that are not adapted to it yet. This is especially true if you are also moving the light closer at the same time.
Adjusting intensity and troubleshooting common growth problems
Plants are good at signaling when something is off with their light situation. Once you know what to look for, troubleshooting is mostly a matter of observation and small adjustments.
Signs of too little light
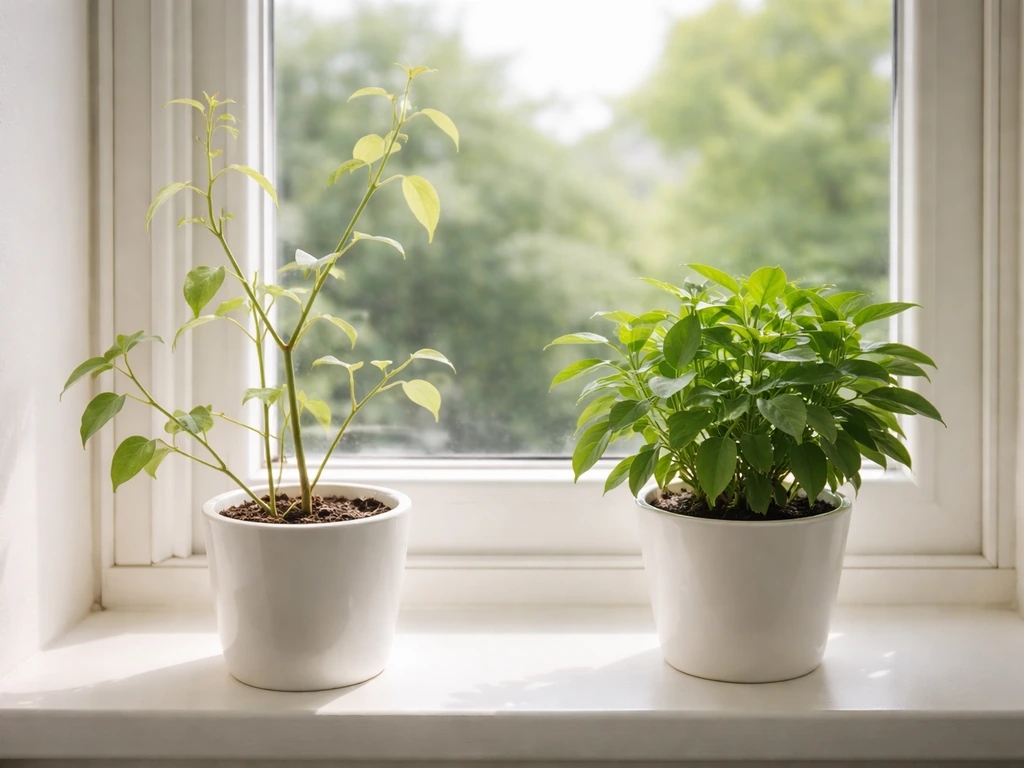
- Etiolation (stretching): stems become long and spindly as the plant reaches toward the light source
- Pale or yellowish new growth that should be green
- Slow or stalled growth over several weeks
- Leaves spaced far apart on the stem instead of compact growth
- Variegated plants losing their pattern and going more solid green
Fix: move the light 2 to 4 inches closer, or increase the daily duration by 1 to 2 hours. If neither helps after two weeks, you may need a more powerful fixture.
Signs of too much light or light too close
- Bleached or white patches on the upper leaves closest to the light
- Leaf edges or tips turning brown and crispy
- Leaves curling upward or cupping in the direction of the light
- Wilting during the light cycle even when the soil is moist (heat stress)
Fix: raise the light 2 to 4 inches and watch for improvement over several days. If the light is running very hot and the ambient temperature near the canopy exceeds 85 degrees Fahrenheit, add a small fan to improve air circulation.
Adjusting intensity with dimmable LEDs
Many quality LED grow lights now come with a dimmer. This is genuinely useful. When starting seedlings, you do not need full intensity. Running the light at 50 to 70 percent during the first few weeks of growth, then stepping up as the plant matures, reduces the risk of stress and gives you finer control without having to physically move the fixture. If your light is not dimmable, distance is your only intensity tool, so keep a measuring tape handy.
DIY vs buying: how to make grow lights safely (and when not to)
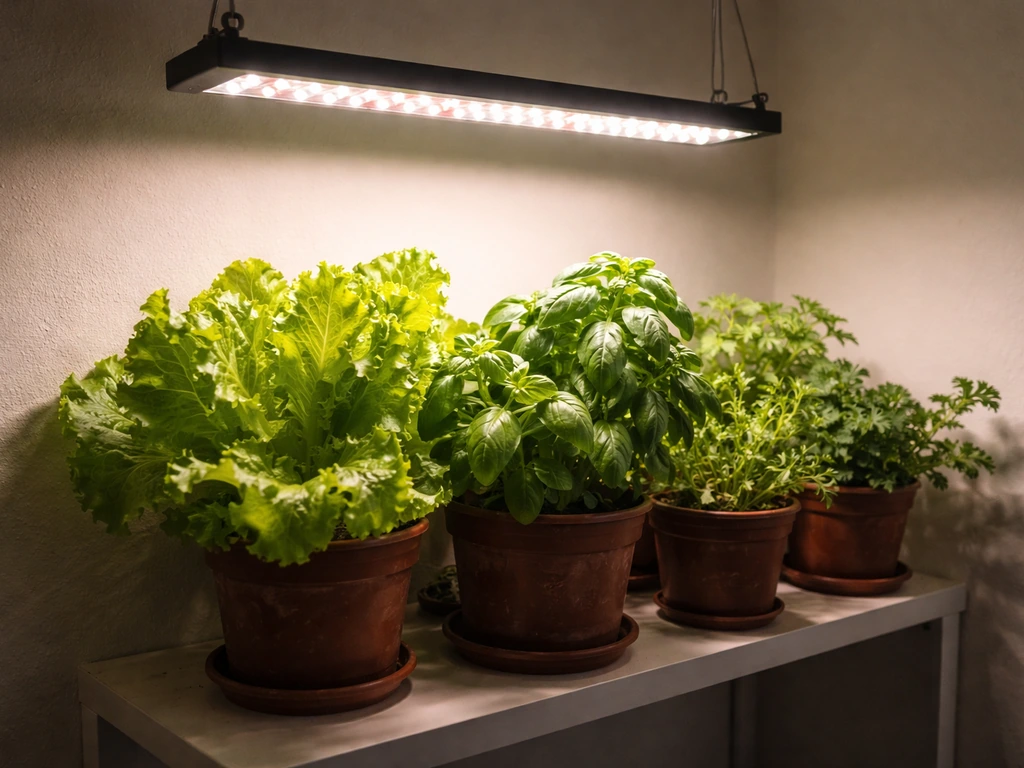
The idea of building your own grow light setup is appealing and, in some cases, genuinely practical. The most reasonable DIY approach is assembling a shop light fixture (T5 or T8 LED tubes are cheap at hardware stores) with a reflective hood and mounting it yourself. This is safe, affordable, and produces real results for seedlings and low-to-medium light plants. A 4-foot T8 shop light with a good full-spectrum LED tube can cost under $40 and outperform many purpose-marketed grow lights at three times the price.
Where DIY gets risky is when people try to wire their own bulb sockets, modify existing fixtures, or build something involving bare wiring and high-voltage components without electrical training. This is not worth attempting. The risk of electrical fire, short circuits, or shock is real, and the money saved is minimal compared to affordable off-the-shelf options. The sweet spot for DIY is assembling components (fixture plus tube plus mount plus timer), not building electrical components from scratch.
If you want to go the DIY assembly route, here is a simple setup that works:
- Buy a 4-foot LED shop light (look for 4000K to 6500K color temperature for seedlings, or 3000K to 4000K for flowering plants)
- Add a reflective hood or line the back of a shelf with white foam board or mylar
- Mount it with adjustable rope hangers so you can change height
- Plug into a programmable outlet timer
- Set for 14 hours on, 10 hours off for most plants
That setup costs roughly $50 to $80 total and handles most houseplant and seed-starting needs without any safety concerns. Growing vegetables indoors with this kind of setup is absolutely viable, though fruiting crops like tomatoes will eventually want more PPFD than a single shop light delivers. To ripen green tomatoes indoors, you will need to increase light intensity and timing so the fruit can finish developing properly.
Safety and expectations: heat, electricity, eye protection, and real results
Heat and fire safety
Modern LED grow lights run much cooler than HID lights, but they still generate heat. Keep lights away from flammable materials, do not cover them with anything, and make sure there is adequate airflow around the fixture. If you run multiple lights in an enclosed space like a grow tent, you will need exhaust ventilation to keep temperatures in check. A clip-on fan pointed at the canopy (not directly at the light) helps with both heat dissipation and strengthening plant stems.
Eye protection
This is worth taking seriously. Full-spectrum LED grow lights, especially those with high blue and UV output, can cause eye strain and discomfort if you look at them directly for extended periods. They will not give you a tan (the UV output in grow lights is far below what solar UV delivers), and the fears around cancer risk from grow lights are not supported by evidence at normal home-use levels. But looking directly at a high-output LED for more than a few seconds is genuinely uncomfortable and can cause temporary visual effects. Wear UV-blocking glasses when working under high-intensity lights for extended periods. Many grow light kits come with a pair; they are also cheap to buy separately.
What results to actually expect
Grow lights make a real difference, but they are not magic. A plant that was barely surviving in a dim corner will perk up noticeably within two to three weeks of consistent supplemental lighting. If you want to learn how to grow plants indoors with little light, focus on the right light intensity, distance to the canopy, and a consistent timer schedule dim corner. Expect to see new growth that is greener, more compact, and faster-developing than what the plant was producing before. Seedlings started under lights will be stockier and more robust than windowsill-grown ones. Herbs will produce more consistently through winter. Succulents will finally stop etiolating.
What grow lights cannot do is fully replace the complexity of natural sunlight for high-demand crops without serious investment in wattage and setup. If your goal is growing full tomato plants to harvest indoors, you will need a much more robust light setup than a single panel. If your goal is to grow tomatoes indoors with grow lights, you can dial this in further by choosing enough intensity for fruiting and keeping the light at the right distance growing full tomato plants. That topic is worth exploring separately if fruiting crops are your goal. For most houseplants and herbs, a good LED light on a timer is all you need to see meaningful improvement, and you can be up and running today. If you want to go from setup to thriving plants, focus on light type, placement, and a consistent daily schedule when you learn how to grow indoor plants with grow lights.
Your next steps
- Identify which plants you want to grow or support and look up their light category (low, medium, or high light)
- Choose a light type based on your budget and plant list: LED panel for versatility, T8 shop light for budget seed starting
- Mount it at the appropriate starting distance and set up a timer for 12 to 14 hours per day
- Watch your plants for the first two weeks and adjust distance or duration based on what you see
- Add reflective surfaces if you want to maximize light without buying a stronger fixture
- If you want to grow vegetables or fruiting crops, plan for a more powerful setup from the start
FAQ
Can I use grow lights 8 hours a day instead of 12 to 14 if I do not want to run them for so long?
You can, but it usually works best as a starting point or for plants that tolerate lower intensity. If your light is dimmer or farther away, 8 hours often leads to weaker growth even if plants look “okay.” If you shorten the day, compensate by either raising PPFD (move closer or increase intensity if the fixture allows) or accept slower, leggier growth and extend the ramp-up gradually.
Should I run grow lights on a timer with a single on/off window, or split it into two shorter periods?
Most houseplants do fine with one continuous photoperiod. Splitting into two windows can help if your schedule is constrained or if you are avoiding running lights during peak electricity hours, but it is not required. Avoid very frequent changes and do not toggle lights multiple times daily, since plants respond better to predictable cycles.
How do I know if my plants are getting too little light versus too much heat from the grow light?
Check temperature at the canopy, not just whether plants look “stressed.” If leaf tips bleach or curl upward and the area near the plant is very hot, heat is likely a factor, so raise the light slightly, improve airflow, or reduce intensity. If the plant looks pale and stretches with longer stems and you measure normal or cool temperatures, it is more likely a light-intensity problem.
What is the best way to measure light if my LED does not list PPFD?
If the fixture does not provide PPFD, you have two practical options: use a PAR/PPFD meter to measure at canopy height, or adjust by observing response over a week using distance and duration changes. Observation is less precise, so use conservative steps (for example 2-inch changes and 1 to 2 hour duration adjustments) and avoid large jumps, because without PPFD data you are guessing the intensity.
Do I need a fan, or is that only for DIY setups and grow tents?
A fan is strongly recommended even for a single indoor shelf setup. It improves air movement around leaves and helps prevent stagnant, humid microclimates. It also supports sturdier stems, which matters when plants stretch toward a light; aim air across the canopy gently rather than blasting the plant directly.
Is it normal for seedlings to look “stressed” at first after I start using grow lights?
Some adjustment is normal, especially if the plant previously lived in low light. The key is gradual ramping and avoiding simultaneous big changes. Start with a shorter duration or lower intensity (if dimmable), keep the light distance stable for the first week, and then make one change at a time so you know what caused any visible shift.
Can I leave lights on 24/7 to maximize growth?
No. Most houseplants require a dark period, and 24/7 lighting commonly disrupts normal growth patterns and can reduce flowering in plants that rely on night cues. Stick to the photoperiod guidance (typically 12 to 14 hours for many foliage plants) and keep the night consistently dark.
How high should I mount the light if I am switching between different plant sizes or species?
Set the light for the tallest plants initially, then manage the shorter ones by either raising them (for example, staging pots) or using multiple smaller fixtures. If you raise or lower the fixture often, it helps to use an adjustable hanger so height changes are small and consistent. Avoid leaving shorter plants far below the “sweet spot,” since edge falloff can make them lag even if taller plants look fine.
What should I do if my plants start turning toward the light even though the timer and distance seem correct?
Turning toward the light usually indicates uneven distribution or insufficient intensity at that canopy. First rotate pots every few days to even out exposure, especially for wide shelves. If they keep leaning, either add a second light or move the fixture closer in small increments rather than increasing time dramatically.
Can reflective materials like mylar damage plants or create hotspots?
Reflective backing is generally beneficial, but you still want airflow and safe spacing. Mylar or foil-like surfaces can reflect very aggressively, so do not place the light too close and create a “hot spot” behind leaves. Use reflective materials to bounce light, not as a cover over the fixture, and keep all wiring and cords away from damp areas.
Are dimmers always a good idea, and how should I use them safely?
Dimmers are helpful for seedlings and gradual acclimation, since they reduce stress without constantly moving the light. Use the dimmer to start lower (for example 50 to 70 percent) and then increase slowly as plants mature. If the fixture is not designed for dimming or flickers when adjusted, stop using it and rely on distance changes instead.
What is the safest way to handle multiple lights and power outlets?
Use a properly rated outlet timer for the total load and avoid daisy-chaining power strips or overloading a single circuit. If your lighting load approaches or exceeds roughly 400 watts on one outlet circuit, get an electrician’s input before proceeding. Also route cords off the floor where water could reach them, and confirm fixtures and cords have safety certification labels.
Do grow lights affect pets, especially cats that like to walk under fixtures?
The main concerns are heat and electrical safety. Keep lights securely mounted, prevent access to hot components, and ensure cords and timers are out of reach and not in contact with water. Eye exposure can also matter, so if your fixture is high-intensity, consider positioning it so pets are not directly under the brightest angle during long sessions.
How long does it usually take to see results after starting grow lights?
Many plants show noticeable changes within 2 to 3 weeks of consistent supplemental lighting. Early signs include greener foliage, less stretching, and more compact new growth. If there is no improvement after a couple of weeks, the most likely causes are incorrect height, inadequate intensity, or an inconsistent schedule rather than “bad luck.”
Next Articles
What Type of Light Do Plants Need to Grow Indoors
Pick the right grow light indoors by spectrum, brightness, and placement so plants grow well, bloom, and stay healthy.
Does Plant Grow Light Work? A Practical Test Guide for Plants
Practical test guide to see if grow lights work, choose the right spectrum and setup, and troubleshoot weak results.
Can You Use Grow Lights for Reptiles Safely?
Yes, you can use some grow lights for reptiles safely with correct spectrum, distance, intensity, and timers.