You do not strictly need a grow light for microgreens if you have a bright, south-facing window that gets four or more hours of direct sun per day. But most indoor spots don't qualify, and the moment your light drops below that threshold, a cheap LED bar makes the difference between a crisp, dense tray and a pile of pale, floppy stems. For growers without reliable natural light, or anyone who wants consistent results year-round, a supplemental grow light is worth it.
Do You Need a Grow Light for Microgreens? A Clear Guide
Marcus Holloway
5 Aug 2026
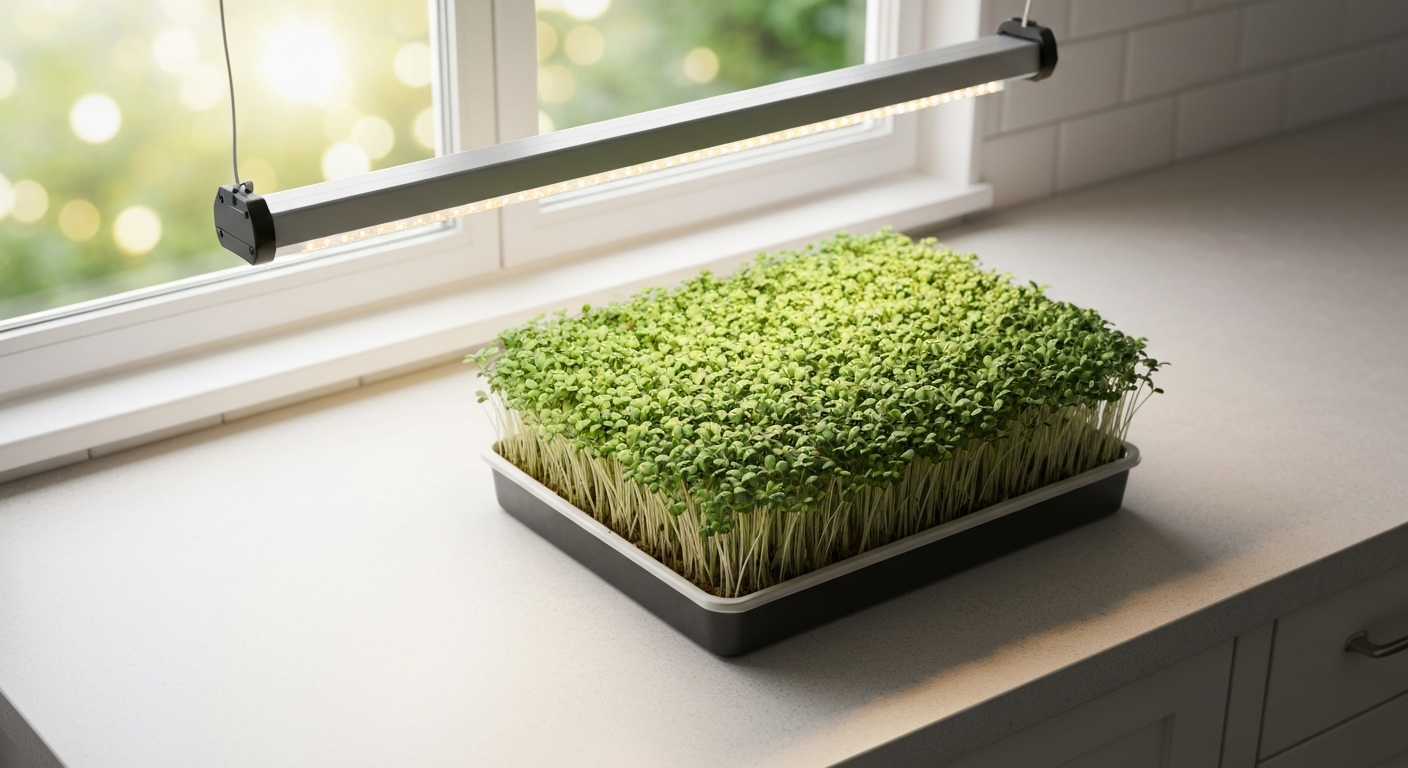
Quick decision checklist: when you actually need a grow light
Run through these five checkpoints before spending anything. If you tick even two of them, a grow light will noticeably improve your harvest.
- Natural light: Does your best window get fewer than 4 hours of direct sun per day, or is it north- or east-facing? A grow light fills the gap.
- Species: Are you growing basil, amaranth, sunflower, or peas? These are higher-light crops. Radish, mustard, and broccoli can get by with less, but still benefit from supplemental light in dim rooms.
- Growing method: Hydroponic setups (mats, jute, coconut coir) often run in enclosed or basement spaces where window light simply isn't an option. A fixture is nearly always necessary here.
- Color and leaf thickness: If you want deep green, thick cotyledons and high phytochemical content (the stuff that makes microgreens nutritious), consistent PPFD above 100 µmol·m⁻²·s⁻¹ produces better results than dim window sills.
- Harvest timing: Microgreens turn around in 7–14 days. If you're growing in winter, even a south-facing window may only deliver 2–3 hours of usable PAR light. A grow light lets you keep a predictable schedule regardless of season.
How microgreens actually use light
Microgreens start differently from mature crops. For the first 2–4 days after sowing, most growers keep trays in darkness under a blackout cover or stacked beneath another tray. This encourages germination and stretching of the hypocotyl (the stem between the seed and the first leaves). Once the lid comes off, the seedlings need photons fast. Light triggers chlorophyll production, compacts stem growth, and drives the photosynthesis that builds the cotyledons into the dense, flavorful leaves you're after.
The relevant measurement here is PPFD: photosynthetic photon flux density, reported in µmol·m⁻²·s⁻¹. Think of it as the number of light 'packets' hitting a square meter of your tray every second. The daily total your tray receives is called the DLI (daily light integral), measured in mol·m⁻²·d⁻¹. Virginia Tech's controlled environment agriculture research puts the practical DLI target for microgreens at roughly 9–16 mol·m⁻²·d⁻¹. Hit that and your plants are well-fed. Fall below it and you'll see problems fast, usually within 3–4 days of uncovering.
Blue light (roughly 400–500 nm) keeps stems compact and boosts chlorophyll and anthocyanin. Red light (620–700 nm) drives total biomass and speeds up growth. Far-red (700–750 nm) is particularly useful at low PPFD levels because it can increase leaf area and yield in species like broccoli, where research has shown carotenoid accumulation peaks around 75–100 µmol·m⁻²·s⁻¹ with a far-red supplement. For most beginners, a full-spectrum white LED with a decent red component covers all the bases without overthinking the spectrum.
Measurable light specs beginners should actually know
You do not need a $300 quantum sensor to grow good microgreens. But knowing these numbers helps you shop for a fixture without getting bamboozled by marketing language.
| Specification | What it means | Beginner target for microgreens |
|---|---|---|
| PPFD (µmol·m⁻²·s⁻¹) | Photon intensity hitting your canopy per second | 100–300 µmol·m⁻²·s⁻¹ (150–200 is a solid all-around starting point) |
| DLI (mol·m⁻²·d⁻¹) | Total daily photon dose (PPFD × hours × 3.6) | 9–16 mol·m⁻²·d⁻¹ |
| PPF (µmol·s⁻¹) | Total photons emitted by the fixture per second | For a single 1020 tray (~0.13 m²) you need ~32–40 µmol·s⁻¹ PPF |
| PPE (µmol·J⁻¹) | Efficiency: photons per watt of electricity used | Aim for ≥2.0 µmol·J⁻¹ in LED fixtures |
| Spectrum | Wavelength mix of the light | Full-spectrum white LED with R:B ratio roughly 2:1–3:1 |
| Hanging distance | Gap between fixture and canopy | Typically 15–30 cm (6–12 inches) for LED bars/panels |
To estimate whether a fixture will hit your PPFD target, use this simple formula: required PPF = (target PPFD × tray area in m²) ÷ 0.80. The 0.80 factor accounts for light spread and edge losses. A standard 1020 tray is 25.4 × 50.8 cm, or about 0.129 m². To reach 200 µmol·m⁻²·s⁻¹ average PPFD: 200 × 0.129 ÷ 0.80 = roughly 32 µmol·s⁻¹ PPF. Any LED bar or small panel rated above that number, hung at the manufacturer's recommended height, will do the job for a single tray.
Daily light duration and scheduling
Most microgreen protocols use a 16–18 hour photoperiod. Virginia Tech's indoor vertical farm guide specifically reports growing at 18 hours on and 6 hours off, which at 250 µmol·m⁻²·s⁻¹ produces a DLI of about 16.2 mol·m⁻²·d⁻¹. For home growers at lower PPFD (say 150 µmol·m⁻²·s⁻¹), running lights 16 hours per day hits a DLI of about 8.6 mol·m⁻²·d⁻¹, sitting right at the lower edge of the recommended range. Bump to 18 hours and you reach 9.7 mol·m⁻²·d⁻¹, which is comfortably inside the window.
A mechanical or smart plug timer is the single most useful accessory you can add to a microgreen setup. Set it and forget it. I personally run 16 hours on (6 am to 10 pm) and 6 hours off. Plants do need a dark period: continuous light stresses most species and can cause leaf tip burn or abnormal growth in some cultivars. Some growers also increase light intensity or extend the photoperiod slightly in the final 24–48 hours before harvest to boost anthocyanin and color, particularly in purple varieties like red cabbage or amaranth.
Species and growing method: does it change the light equation?
Soil vs hydroponic
The substrate you grow in, whether potting mix, coconut coir, jute mat, or a recirculating hydroponic tray, does not meaningfully change the PPFD your plants need. The roots care about the substrate; the leaves care about light. Research comparing substrate types finds that fundamental photon requirements stay consistent. Where substrate does matter is food safety and nutrient buffering, not canopy light targets. So if you're wondering whether your hydroponic microgreens need more or less light than soil-grown ones, the answer is roughly the same. The question of grow lights for hydroponics is really a separate topic, but the underlying PPFD targets carry over directly.
High-light vs low-light microgreen species
Not every microgreen responds the same way to intensity. Peer-reviewed studies using PPFD treatments from 67 to 174 µmol·m⁻²·s⁻¹ found strong species-specific differences in growth and phytochemical accumulation across basil, arugula, carrot, and radish. See the peer-reviewed study 'Light Intensity Drives Species-Specific Growth and Phytochemical Accumulation in Microgreens, MDPI Plants' which tested PPFD treatments of 67, 100, 140 and 174 µmol·m⁻²·s⁻¹ on basil, arugula, carrot and radish and reported strong species-specific responses Light Intensity Drives Species-Specific Growth and Phytochemical Accumulation in Microgreens — MDPI Plants. Arugula yield and nutrient concentration has been studied across a much wider range, 100–600 µmol·m⁻²·s⁻¹, with different quality peaks at different intensities. Broccoli often performs well at relatively modest PPFD under 100 µmol·m⁻²·s⁻¹, especially when far-red is added. The practical takeaway: start at 150–200 µmol·m⁻²·s⁻¹ for most species, and if you want to optimize a specific crop you can adjust from there.
| Species | Relative light need | Practical PPFD starting point | Notes |
|---|---|---|---|
| Radish | Low–medium | 100–150 µmol·m⁻²·s⁻¹ | Tolerates lower light; fast grower |
| Broccoli | Low–medium | 75–150 µmol·m⁻²·s⁻¹ | Far-red supplement useful at lower end |
| Mustard / arugula | Medium | 150–200 µmol·m⁻²·s⁻¹ | Quality metrics vary widely with intensity |
| Sunflower | Medium–high | 200–300 µmol·m⁻²·s⁻¹ | Large cotyledons; needs more photons |
| Basil | Medium–high | 150–250 µmol·m⁻²·s⁻¹ | Blue light boosts aroma compounds |
| Peas | Medium–high | 200–250 µmol·m⁻²·s⁻¹ | Tall vines stretch badly under low light |
| Amaranth | High | 200–300 µmol·m⁻²·s⁻¹ | Needs intensity for deep red color |
Example setups with real numbers
Single 1020 tray on a shelf or counter
A 1020 tray (0.129 m²) targeting 200 µmol·m⁻²·s⁻¹ needs about 32 µmol·s⁻¹ PPF at the canopy after accounting for spread losses. A single LED bar in the 10–30 W range from a reputable horticultural brand (Spider Farmer, HLG, Mars Hydro) hung 20–25 cm above the tray will comfortably cover this. Run it 16–18 hours per day on a timer. Total system cost including the timer: around $30–60.
Small windowsill tray (roughly 20 × 30 cm)
A windowsill tray at 0.06 m² targeting 150 µmol·m⁻²·s⁻¹ needs roughly 11 µmol·s⁻¹ PPF (0.06 × 150 ÷ 0.80). Any compact LED plant bar in the 8–15 W range works here. These are often sold as clip-on or USB desk lights. If the window also delivers 1–2 hours of direct sun, you may only need supplemental light in the early morning and evening to extend the photoperiod.
Multi-tier rack with 4–6 trays per shelf
A standard wire utility shelf (roughly 45 × 90 cm per tier, or about 0.41 m²) holding three side-by-side 1020 trays targeting 200 µmol·m⁻²·s⁻¹ needs about 103 µmol·s⁻¹ PPF per tier (0.41 × 200 ÷ 0.80). A 40–60 W full-spectrum LED panel or two linked LED bars per shelf will typically reach this. Mount lights on the underside of the shelf above using zip ties or the included brackets, keeping 20–30 cm clearance above the tray canopy. Each shelf operates independently on the same timer circuit. A four-tier rack running 50 W per shelf uses 200 W total: roughly 0.2 kWh per hour, or 3.2 kWh per day at 16 hours.
Fixture types and how to install them simply
LED bars are the easiest entry point. They're narrow, light, and mount with adhesive clips or screws to the underside of a shelf. For a single tray, one bar is usually enough. LED panels cover more area uniformly and suit wider setups or anyone growing multiple trays per shelf. Full-spectrum shop lights (T8 or T5 fluorescent or LED-retrofit tubes) are a budget option that works reasonably well for low-PPFD species, though they top out around 80–120 µmol·m⁻²·s⁻¹ at typical hanging heights and are less efficient than purpose-built horticulture LEDs.
- LED bars (8–30 W): best for single trays, clip or zip-tie mount, very low heat, 15–25 cm hang height
- LED panels (30–100 W): best for multi-tray shelves, hang on adjustable ratchet straps or bolt to shelf above, 20–35 cm hang height
- T5/T8 fluorescent shop lights: budget entry point, works for low-light species, less efficient than LED, 10–20 cm hang height needed to reach useful PPFD
- Smart plugs with timers: plug any fixture in, set a 16–18 hour on/off cycle, no manual switching needed
Beam angle matters more than many growers realize. A narrow-beam fixture (60–90°) concentrates light on a small footprint and can create hot spots on a standard tray. Wide-beam fixtures (120°+) spread light more evenly across a 1020 tray from 20–25 cm. Check the manufacturer's coverage map before buying and confirm the fixture was tested at a distance relevant to shelf growing, not a full-height tent setup.
Energy use, running costs, and efficiency
Microgreen lights are on for 16–18 hours per day but are typically low wattage. A 20 W LED bar running 17 hours uses 0.34 kWh per day. At the US average electricity rate of around $0.16 per kWh (mid-2026), that's about $0.054 per day, or roughly $1.65 per month. A full 200 W rack setup (four shelves at 50 W each) running 17 hours uses 3.4 kWh per day, costing about $0.54 per day, or $16.50 per month. These are manageable numbers even for a serious home operation.
To keep costs down without hurting yield, prioritize fixtures with a high PPE rating (photon production per joule). Modern horticulture LEDs from established brands hit 2.0–2.8 µmol·J⁻¹. Budget no-name LED panels often come in at 1.2–1.5 µmol·J⁻¹, meaning you're paying significantly more in electricity for the same PPFD output. Paying slightly more upfront for an efficient fixture nearly always makes sense over a 12-month growing season.
Common problems and how to fix them
| Problem | Likely cause | Fix |
|---|---|---|
| Leggy/stretching stems | PPFD too low, light too far away, or photoperiod too short | Lower fixture by 5–10 cm, increase hours to 16–18, check actual PPFD |
| Pale yellow leaves | Low PPFD, low DLI, or light spectrum lacking blue | Increase intensity, switch to full-spectrum LED, check for nutrient deficiency in substrate |
| Slow growth past day 5 | Insufficient DLI or temperature below 18°C | Extend photoperiod to 18 h, check room temperature, confirm DLI target |
| Uneven canopy (edges short, center tall or vice versa) | Hot spot from narrow beam or fixture not centered | Center fixture, use wider-beam light, rotate tray 180° daily |
| Leaf tip burn or bleaching | PPFD too high or fixture too close | Raise fixture 5–10 cm, reduce intensity if fixture is dimmable |
| Heat stress (wilting despite watering) | Fixture producing excess infrared, poor airflow | Switch to quality LED (lower heat output), add small USB fan for airflow |
Safety, health concerns, and the myths worth addressing
The two questions I get asked most often are whether grow lights can cause cancer and whether they'll give you a tan. Both are worth taking seriously, because they're based on real knowledge about UV radiation just applied to the wrong type of light.
Standard horticultural LED grow lights designed for home use do not emit meaningful levels of UV-A or UV-B radiation. The photons they produce are concentrated in the visible PAR range (400–700 nm) and occasionally include a small far-red component (700–750 nm). The UV wavelengths responsible for skin tanning (UV-A, 315–400 nm) and DNA damage associated with cancer risk (UV-B, 280–315 nm) are largely absent from consumer horticulture LEDs. You are not going to tan under your microgreen light, and standard home grow lights do not pose the radiation-based cancer risk associated with tanning beds or prolonged UV sun exposure.
Eye safety is a real but manageable concern. Staring directly into a high-intensity LED grow light is uncomfortable and can cause temporary glare-related discomfort or afterimages. Some specialized horticulture lights include a UV diode for specialty cultivation. In those cases, the manufacturer will specify it, and standard protective eyewear should be worn during close-up work. For the LED bars and panels most microgreen growers use, the main rule is simple: don't stare at the light directly, and if you're spending time working under it daily, inexpensive grow-light safety glasses are a sensible precaution.
Buy vs build: choosing a fixture or going DIY
For most beginners, buying a purpose-built LED bar or panel from a reputable brand is faster, cheaper per photon, and safer than building something from scratch. Brands like Spider Farmer, HLG, and Mars Hydro publish their PPF and PPE specs so you can verify the numbers before buying. A 20–40 W LED bar from any of these brands in the $25–55 range will cover a single 1020 tray reliably. Look for: stated PPF output in µmol·s⁻¹, PPE at or above 2.0 µmol·J⁻¹, full-spectrum output, and a 120° beam angle.
If you already have T5 fluorescent shop lights, they'll work for low-demand species like radish or broccoli at close range (10–15 cm). Don't buy them new if the goal is efficiency. A DIY strip-light build using Samsung LM301B or LM301H diodes on a heatsink is genuinely viable for someone comfortable with basic wiring, and can reach 2.5+ µmol·J⁻¹ at a lower component cost than assembled fixtures. But the time investment and risk of wiring mistakes make it a project for growers already comfortable with the hobby, not a first-time setup.
Step-by-step beginner setup and what to do next
- Assess your natural light: stand at your growing spot at midday and count direct sunbeam hours. Under 4 hours means you need supplemental light.
- Pick your tray size and calculate required PPF: multiply target PPFD (use 150–200 µmol·m⁻²·s⁻¹ to start) by tray area in m², then divide by 0.80.
- Choose a fixture: look for an LED bar or panel with stated PPF above your calculated requirement, PPE ≥ 2.0 µmol·J⁻¹, and 120° beam angle. Spend $25–55 for a single tray.
- Mount the fixture 20–25 cm above where the canopy will be, on the underside of a shelf or on adjustable straps.
- Plug into a timer set to 16–18 hours on per day with a consistent dark period of 6–8 hours overnight.
- Germinate in darkness (2–4 days under a cover or stacked tray), then uncover and turn on the light.
- Check for stretching on day 5–6. If stems are leggy, lower the fixture by 5 cm or extend light hours by 1–2.
- Harvest when cotyledons are fully open and the first true leaves are just beginning to show, typically 7–12 days depending on species.
- Track your results and adjust PPFD or photoperiod by species based on color, stem thickness, and growth speed, then repeat.
Once you've nailed microgreens, the same fixture and logic scales directly to seed starting and seedling trays, which share many of the same light requirements. For a focused answer to the common question "do you need grow lights to start seeds", see our seed-starting guide covering light needs by species and window conditions. If you grow in a greenhouse or enclosed space, the interaction between natural and supplemental light becomes the next variable worth understanding. If you grow in a greenhouse or enclosed space, see can you put grow lights in a greenhouse for guidelines on integrating supplemental fixtures with natural sunlight. For a deeper dive on whether supplemental lighting is necessary in greenhouse setups, read our guide on do you need grow lights in a greenhouse. And if you're still on the fence about whether any grow light is actually necessary for your setup, the honest answer is that it depends on your window, your species, and your expectations, and those three factors almost always settle the question once you measure them. If you're still asking whether grow lights are necessary for your setup, a short checklist on 'are grow lights necessary', covering your window light, species, and yield expectations, will help you decide. If you're still undecided, see a short guide titled "Do you need grow lights for seedlings" that walks through windows, species, and expectations to help you decide.
FAQ
Short answer: do you need a grow light for microgreens?
Not always. If you have consistent bright natural light (a south/east/west window or sheltered balcony with several hours of direct or strong indirect sunlight) many microgreens will grow acceptably. However, a grow light is recommended when natural light is inadequate, inconsistent, or when you want predictable color, leaf thickness, faster growth, multi-tier production, or year‑round results.
Decision checklist: how to decide whether to use a grow light
Use a grow light if one or more of these apply: (1) your window/space gives less than bright indirect light (less than ~200 µmol·m⁻²·s⁻¹ at canopy during day); (2) you get fewer than 4–6 useful daylight hours per day or light varies a lot by season; (3) you want compact, non‑leggy stems and deeper green/anthocyanin color; (4) you grow quickly (harvest 7–21 days) and want consistent timing; (5) you run multiple stacked trays or hydroponic racks; (6) you grow species known to be light‑sensitive for quality (e.g., basil, arugula). If none of these apply, try natural light first.
Measurable light targets for beginners (PPFD, DLI, photoperiod)
Beginner numeric targets: aim for average PPFD 100–300 µmol·m⁻²·s⁻¹ at the canopy with a 12–18 hour photoperiod. This yields a DLI roughly 4.3–19.4 mol·m⁻²·d⁻¹; many guides target DLI ≈9–16 mol·m⁻²·d⁻¹ (e.g., 150–250 µmol·m⁻²·s⁻¹ for 12–18 h). Lower intensities (≈75–100 µmol·m⁻²·s⁻¹) can be fine for some species (broccoli) or for specific quality goals; higher intensity can increase yield for other species but may change pigments and texture.
Spectrum guidance: what light colors/spectrum to use
Use a broad white full‑spectrum LED for easy, predictable results. If tuning for traits: increase blue ratio to produce shorter, thicker stems and more pigments; increase red to boost biomass; small amounts of far‑red/green can enhance canopy penetration or extension in low light. For beginners, a white LED or balanced red/blue‑dominant fixture labeled for seedlings/microgreens is simplest.
Fixture specs and how to size for tray coverage (practical rules)
Look for fixtures that list PPF (µmol·s⁻¹), PPE (µmol·J⁻¹) and recommended coverage. Practical sizing rule: average PPFD ≈ total fixture PPF ÷ canopy area (m²) (use a ~0.75–0.85 efficiency factor for non‑reflective setups). Example: a 10×20 in tray ≈0.13 m²; for a 200 µmol·m⁻²·s⁻¹ target you need PPF ≈200×0.13≈26 µmol·s⁻¹; allowing 80% efficiency gives ≈32 µmol·s⁻¹ PPF—so a small LED bar or 10–30 W horticultural lamp is sufficient for a single tray.
Typical fixture wattage/coverage examples for beginners
Single tray (10×20 in / 0.13 m²): 10–30 W LED bar rated for seedlings (or a 25–50 µmol·s⁻¹ PPF). Single 1020 tray under higher target (200–250 µmol·m⁻²·s⁻¹): a 30–60 W hobby LED fixture. Two stacked trays on a rack: use LED strip/bars per tier sized to each tier’s area (same PPFD target per tier). Small room or 2–4 trays: 100–200 W of total fixture output (distributed) is typical. Always check manufacturer PPF/coverage maps rather than relying only on wattage.
Next Articles
Are Grow Lights Necessary? How to Decide and Set Up
Learn if grow lights are necessary, how to assess window light, choose the right LED, and set safe timing.
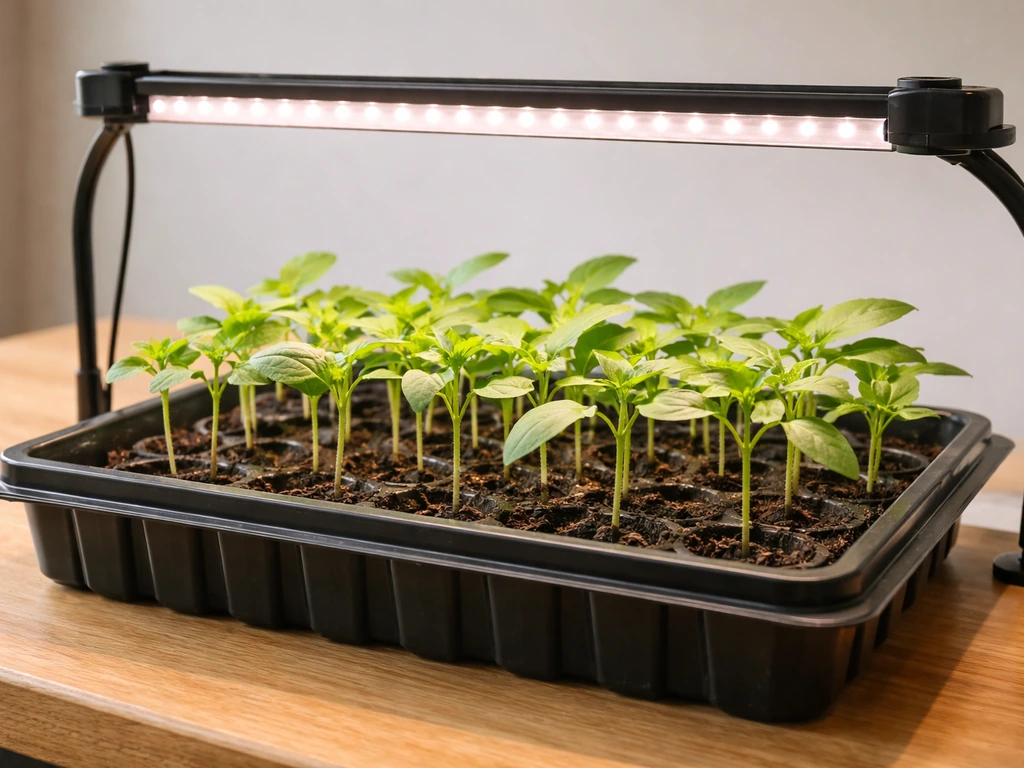
Do You Need Grow Lights for Seedlings? Quick Guide
Learn when seedlings need grow lights, when windows suffice, how to check light, and safe setup timing and placement.
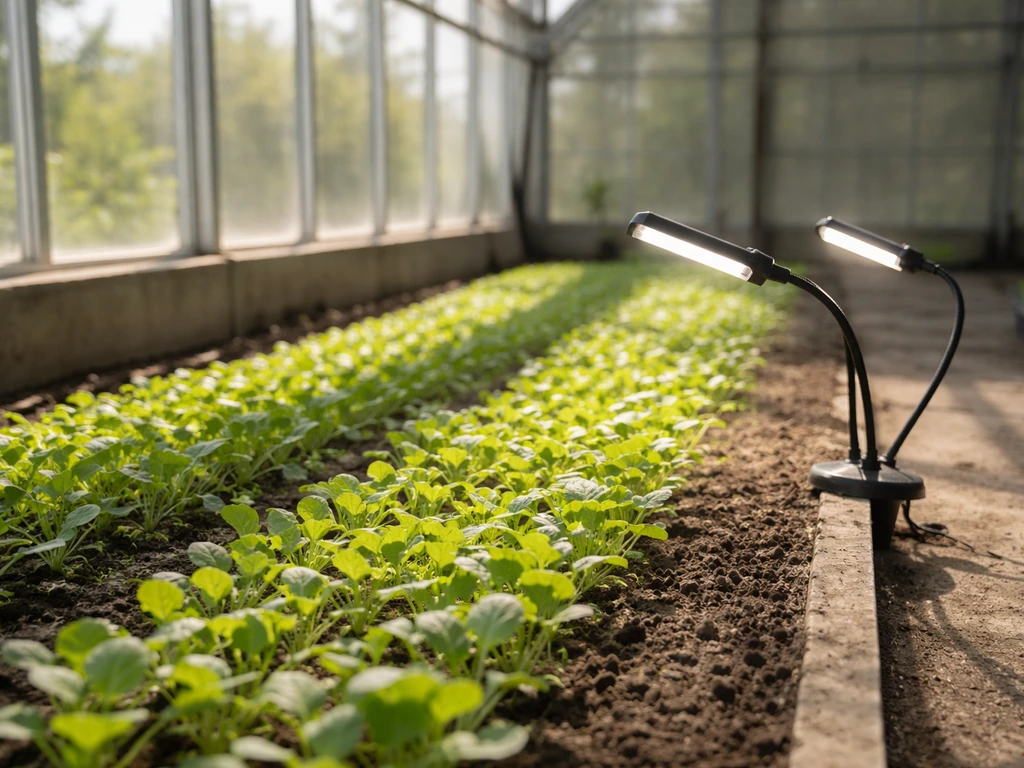
Do You Need Grow Lights in a Greenhouse? A Guide
Decide if your greenhouse needs grow lights by measuring sunlight, season, and plant needs, plus safe setup and schedule